1. Танилцуулга
The StarTech.com SV231DPU34K is a 2-Port DisplayPort KVM Switch designed to allow control of two DisplayPort-enabled computers from a single monitor, keyboard, and mouse. This device supports high-resolution video up to 4K at 60Hz and includes an integrated USB 3.0 hub for sharing additional USB peripherals between connected systems. It also features 3.5mm analog audio switching and offers flexible control via front-panel push buttons or hotkey commands.
2. Багцын агуулга
- 1x KVM Switch (SV231DPU34K)
- 1x Universal Power Adapter (NA/JP, EU, UK, ANZ)
- 4x Rubber Foot Pads
3. Бүтээгдэхүүн дууссанview
3.1 Урд самбар
The front panel provides convenient access to a USB HID port, a USB 3.0 port, and selection buttons for switching between connected computers.

Зураг 1: Front Panel of the SV231DPU34K KVM Switch. Features include a USB HID port, a USB 3.0 port, and two computer selection buttons (1 and 2) with a 'SELECT' button.
3.2 Арын самбар
The rear panel houses the power input, console DisplayPort and USB HID ports, and dedicated DisplayPort, USB, and audio ports for each connected PC.
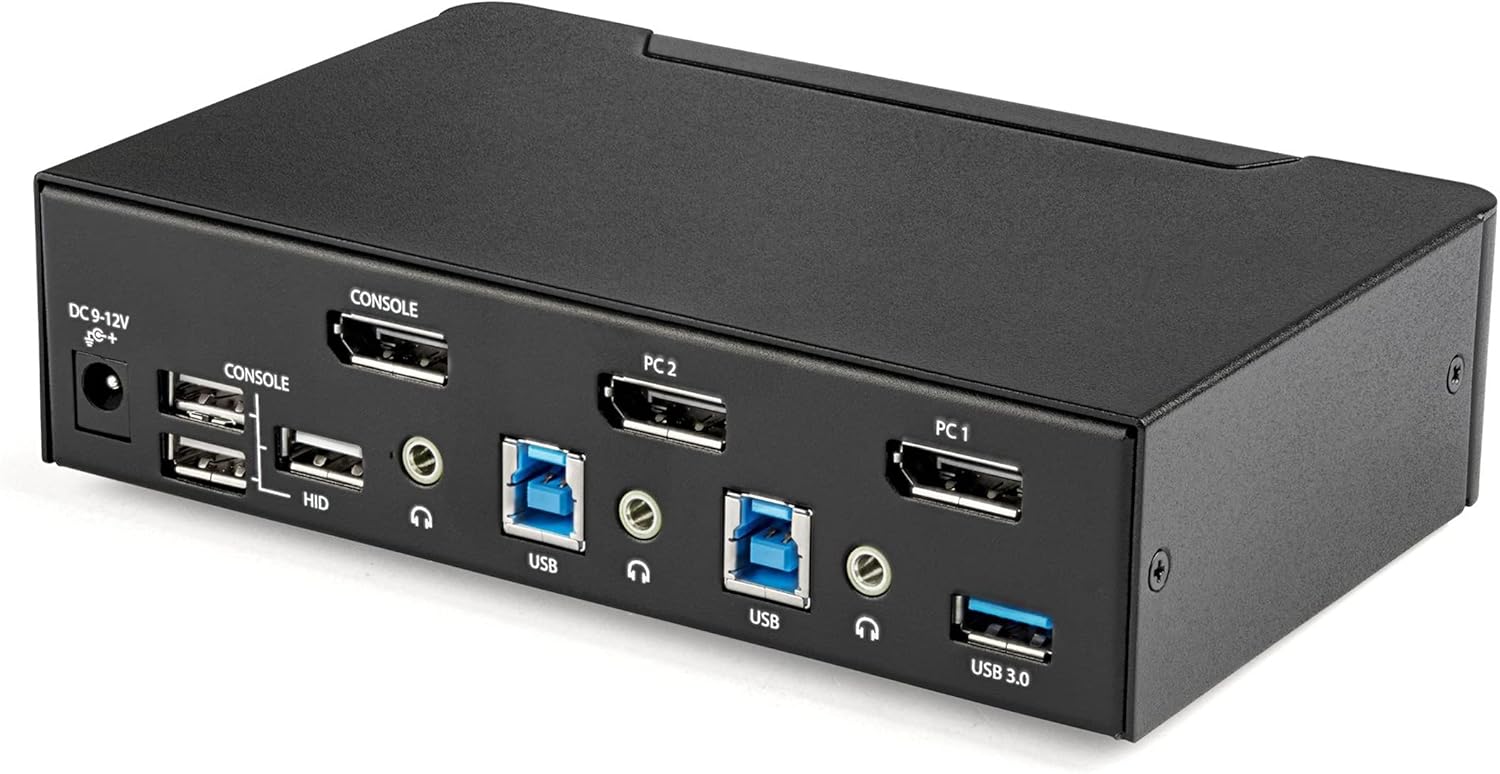
Зураг 2: Rear Panel of the SV231DPU34K KVM Switch. Connections include DC 9-12V power, Console DisplayPort, Console USB HID ports, and individual DisplayPort, USB 3.0 Type-B, and 3.5mm audio jacks for PC1 and PC2.
3.3 Labeled Diagram
This diagram provides a comprehensive view of all ports and their functions on both the front and rear panels.

Зураг 3: Labeled diagram illustrating all ports on the SV231DPU34K KVM Switch, including console connections for monitor, keyboard, and mouse, and PC connections for two computers.
4. Тохируулах заавар
Follow these steps to set up your StarTech.com SV231DPU34K KVM Switch:
- Унтраах төхөөрөмжүүд: Ensure all computers, monitors, and peripherals are powered off before beginning the installation.
- Консолын төхөөрөмжүүдийг холбох:
- Connect your DisplayPort monitor to the CONSOLE DisplayPort on the rear of the KVM switch.
- USB гар болон хулганаа холбоно уу CONSOLE HID USB Type-A ports on the rear of the KVM switch.
- If using external speakers or a microphone, connect them to the CONSOLE 3.5mm audio jacks ар талд.
- Connect Computers (PC1 and PC2): Компьютер бүрийн хувьд:
- Connect a DisplayPort cable from your computer's DisplayPort output to the corresponding PC1 DisplayPort or PC2 DisplayPort input on the KVM switch.
- Connect a USB 3.0 Type-A to Type-B cable from your computer's USB 3.0 port to the corresponding PC1 USB 3.0 Type-B or PC2 USB 3.0 Type-B input on the KVM switch.
- If using audio, connect 3.5mm audio cables from your computer's audio output/input to the corresponding PC1/PC2 3.5mm audio jacks.
- USB нэмэлт төхөөрөмжүүдийг холбоно уу: Connect any additional USB 3.0 peripherals (e.g., USB hub, printer, flash drive) to the USB 3.0 Type-A портууд on the front or rear of the KVM switch.
- Эрчим хүчийг холбох: Дагалдаж ирсэн бүх нийтийн цахилгаан адаптерийг холбоно уу DC 9-12V тэжээлийн оролт on the rear of the KVM switch, then plug it into a power outlet.
- Асаах: Power on the KVM switch, then power on your monitor, and finally power on your connected computers.
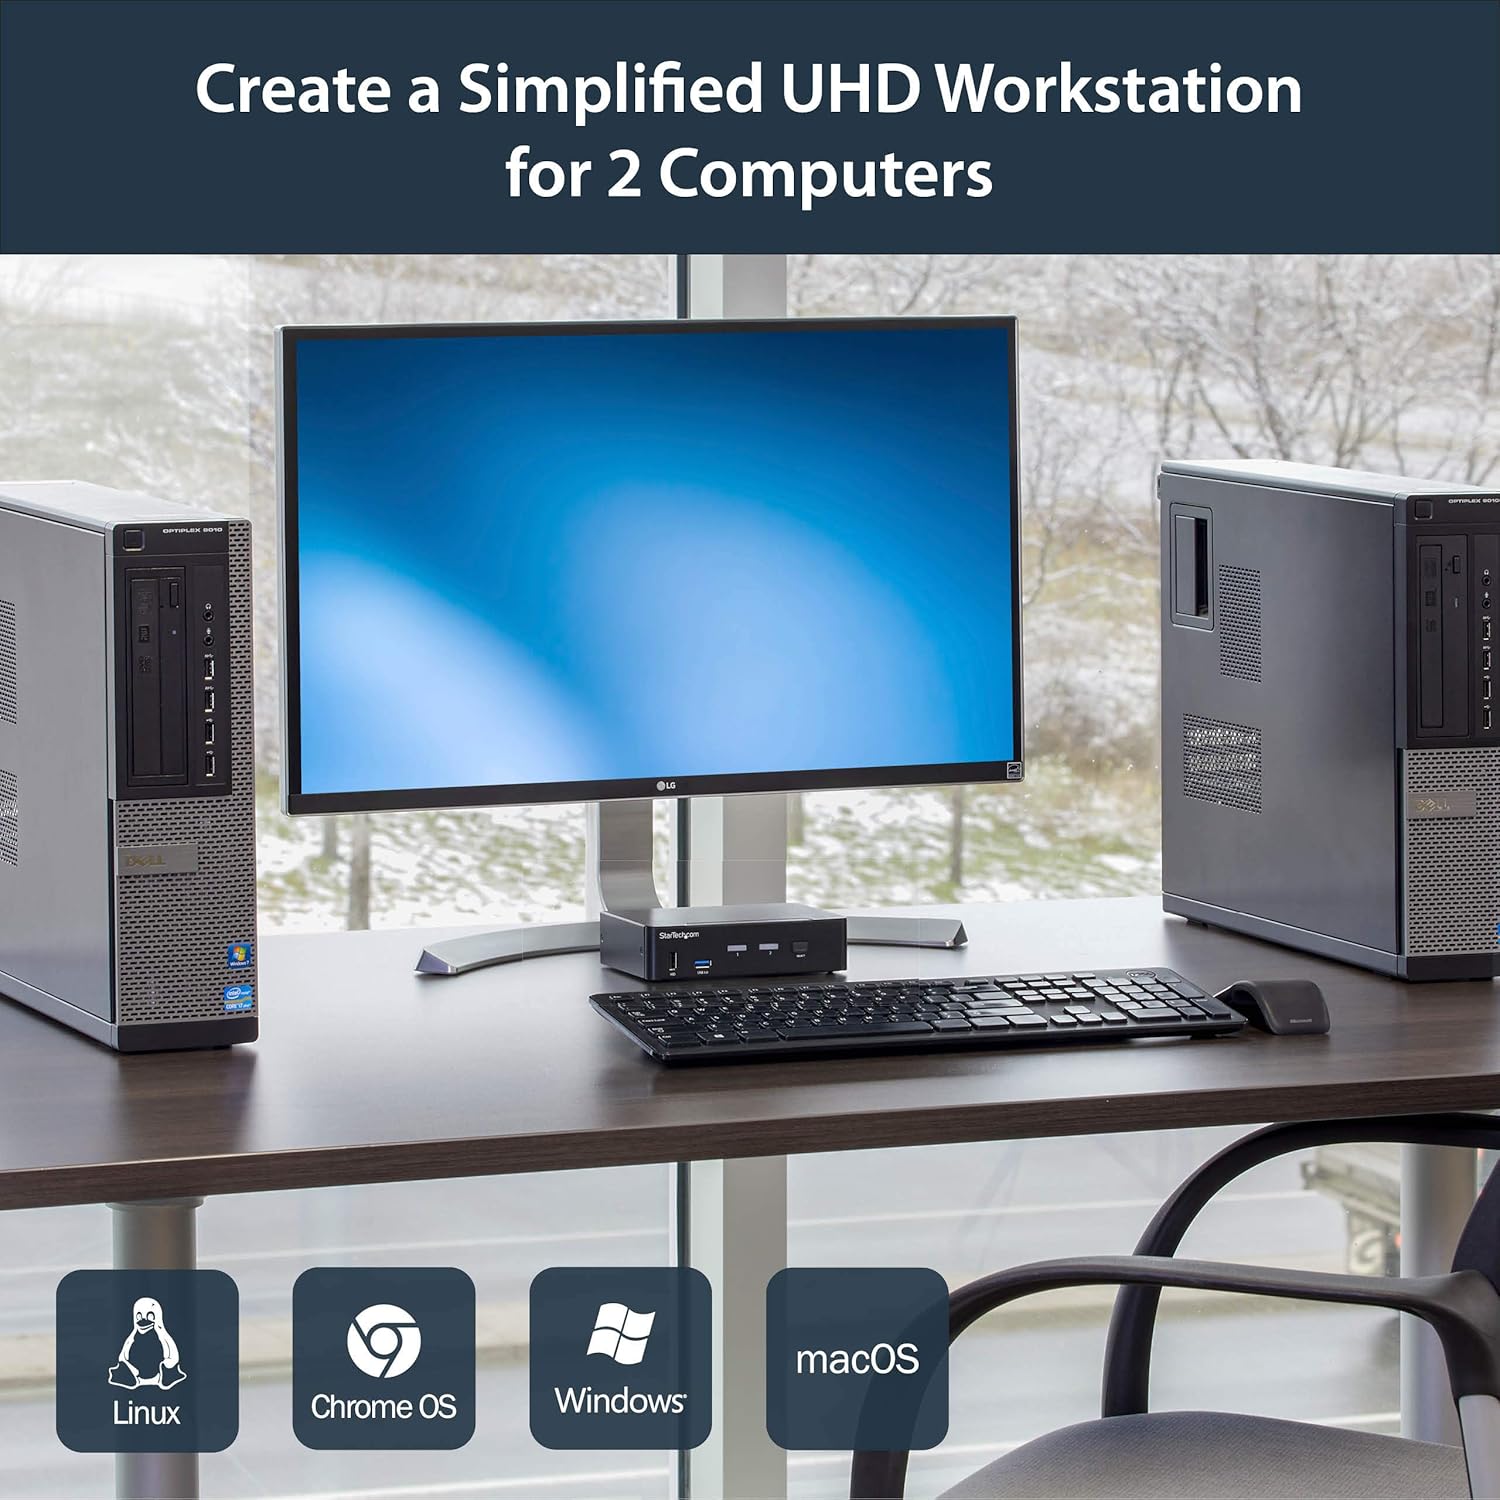
Зураг 4: Connection diagram for the SV231DPU34K KVM Switch, showing how two computers share one display and peripherals.
5. Ашиглалтын заавар
The SV231DPU34K KVM Switch offers two methods for switching between connected computers:
5.1 Front Panel Push Buttons
Харгалзах товчийг дарна уу СОНГОХ button on the front panel of the KVM switch to switch to the desired computer (PC1 or PC2). The LED indicator for the selected computer will illuminate.
Зураг 5: Front panel with computer selection buttons.
5.2 Халуун товчлуурын шилжилт
The KVM switch supports hotkey commands for switching between computers. Refer to the quick start guide or the official StarTech.com product page for specific hotkey sequences.
6. Засвар үйлчилгээ
To ensure optimal performance and longevity of your KVM switch, follow these maintenance guidelines:
- Цэвэрлэгээ: Keep the device clean and free from dust. Use a soft, dry, lint-free cloth for cleaning. Avoid using liquid or aerosol cleaners.
- Агааржуулалт: Ensure adequate airflow around the KVM switch to prevent overheating. Do not block any ventilation openings.
- Кабелийн менежмент: Портууд дээр ачаалал өгөх, санамсаргүй тасрахаас сэргийлэхийн тулд кабелийг зохион байгуул.
- Байгаль орчны нөхцөл: Operate the device within its specified temperature and humidity ranges. Avoid extreme temperatures or moisture.
7. Алдаа засах
Хэрэв та KVM свичтэй холбоотой асуудалтай тулгарвал дараах нийтлэг асуудал болон шийдлүүдийг үзнэ үү:
| Асуудал | Боломжит шийдэл |
|---|---|
| No display or flickering display after switching. |
|
| Гар эсвэл хулгана хариу өгөхгүй байна. |
|
| USB 3.0 devices not detected or working intermittently. |
|
| Audio issues (static, no sound). |
|
| G-Sync or FreeSync not working. |
|
8. Техникийн үзүүлэлтүүд
| Онцлог | Дэлгэрэнгүй |
|---|---|
| Загвар | SV231DPU34K |
| Брэнд | StarTech.com сайт |
| Видео интерфейс | DisplayPort 1.2 |
| Макс тогтоол | 3840 x 2160 @ 60Hz (4K UHD) |
| MST Passthrough | Дэмжигдсэн |
| USB төв | 2 порттой USB 3.0 төв |
| USB HID портууд | 4x USB Type-A (for keyboard/mouse) |
| Аудио | 3.5mm Analog Audio Switching |
| Солих аргууд | Push Button, Hotkey |
| Материал | Ган |
| Хэмжээ (L x W x H) | 3.9 x 6.3 x 1.6 инч (9.9 x 16.0 x 4.1 см) |
| Зүйлийн жин | 1.3 фунт (0.59 кг) |
| Эрчим хүчний оролт | DC 9-12V, 18 Watts |
| Өнгө | Хар |
| Ашиглалтын температур | 0°C - 40°C (32°F - 104°F) |
| Хадгалах температур | -20°C - 60°C (-4°F - 140°F) |
| Чийгшил | 0-80% RH (конденсацгүй) |
9. Баталгаат хугацаа ба дэмжлэг
9.1 Баталгаат хугацааны мэдээлэл
Энэхүү StarTech.com бүтээгдэхүүнийг дараах бүтээгдэхүүнүүд дэмждэг. 2 жилийн баталгаат хугацаа. For detailed warranty terms and conditions, please refer to the official StarTech.com webсайт.
9.2 Техникийн дэмжлэг
For technical assistance, product documentation, or driver downloads, please visit the official StarTech.com support webсайт: