AirWire ACP2012BQ
AirWire 12' x 20' Heavy Duty Portable Carport Instruction Manual
Брэнд: AirWire
Загвар: ACP2012BQ
1. Танилцуулга
Thank you for choosing the AirWire 12' x 20' Heavy Duty Portable Carport. This manual provides essential information for the safe and efficient assembly, operation, and maintenance of your new carport. Please read all instructions carefully before beginning assembly and retain this manual for future reference.
This carport is designed to provide robust protection for vehicles, boats, or serve as a versatile shelter for outdoor events. Its durable construction and thoughtful features ensure long-lasting performance.

Figure 1.1: The AirWire 12' x 20' Heavy Duty Portable Carport, providing shelter for a vehicle.
2. Аюулгүй байдлын чухал анхааруулга
Эдгээр аюулгүй байдлын зааврыг дагаж мөрдөхгүй байх нь ноцтой гэмтэл эсвэл эд хөрөнгийн хохирол учруулж болзошгүй.
- Зөв бэхэлгээ: Ensure the carport is securely anchored to the ground using all provided ground stakes and cables. In areas prone to high winds or severe weather, additional anchoring methods (e.g., concrete anchors, heavy-duty auger anchors, sandbags) are strongly recommended.
- Жингийн багтаамж: Do not exceed the structural weight capacity of the carport. Avoid hanging heavy objects from the frame.
- Угсрах, задлах: Exercise extreme caution during assembly and disassembly. Wear appropriate personal protective equipment, including gloves and safety glasses. Work with at least two people for safe handling of components.
- Галын аюул: Keep the carport away from open flames, heaters, and other ignition sources. The polyethylene material is flammable.
- Snow and Ice Removal: In snowy conditions, regularly remove accumulated snow and ice from the canopy to prevent structural collapse. Do not allow heavy snow loads to remain on the roof.
- Сайтын сонголт: Choose a level, well-drained area for installation. Avoid placing the carport under power lines or near trees with falling branches.
3. Багцын агуулга
Before beginning assembly, verify that all parts listed below are present and undamaged. If any parts are missing or damaged, contact customer service immediately.
| Бүрэлдэхүүн хэсэг | Тодорхойлолт | Тоо хэмжээ |
|---|---|---|
| Халхавчны бүрээс | 180g Polyethylene material, black, UV and water-resistant. | 1 |
| Frame Poles | Heavy-duty galvanized metal poles for main structure. | (Various, refer to parts list in box) |
| Frame Joints | Artfully welded connectors for poles. | (Various, refer to parts list in box) |
| Газрын гадас | For securing the carport to the ground. | (Various, refer to parts list in box) |
| Cables/Ropes | For additional stability and anchoring. | (Various, refer to parts list in box) |
| Хажуугийн хавтангууд | Removable panels with roll-up windows and side-opening door. | (Various, refer to parts list in box) |
| Зааварчилгааны гарын авлага | Энэхүү баримт бичиг. | 1 |

Figure 3.1: Detail of the upgraded square base with four anchoring points.
4. Тохиргоо ба угсралт
Assembly is designed to be straightforward. Each part is specifically numbered. No additional tools are typically required beyond what may be included or commonly available household items (e.g., a hammer for stakes).
- Сайтыг бэлтгэх: Select a flat, clear area for assembly. Ensure adequate space around the carport for installation and future access.
- Assemble the Top Frame (Step 1): Begin by connecting the top frame poles and joints according to the numbered parts in your specific parts list. Lay them out on the ground to form the roof structure.
- Assemble 8 Pillar Steel Pipes (Step 2): Attach the vertical support poles (pillars) to the assembled top frame. Ensure all connections are secure.
- Cover the Frame with Tarpaulin (Step 3): Carefully drape the main canopy cover over the assembled frame. Align it properly to ensure even coverage.
- Cover the Sides with Tarpaulins (Step 4): Attach the side panels, including those with roll-up windows and the side-opening door, to the main frame. Secure them as per the instructions.
- Secure Carport with Ground Nails (Step 5): Once the structure is complete, use the provided ground stakes and cables to firmly anchor the carport to the ground. Ensure all anchoring points are utilized for maximum stability.

Figure 4.1: Visual guide for the carport assembly steps.
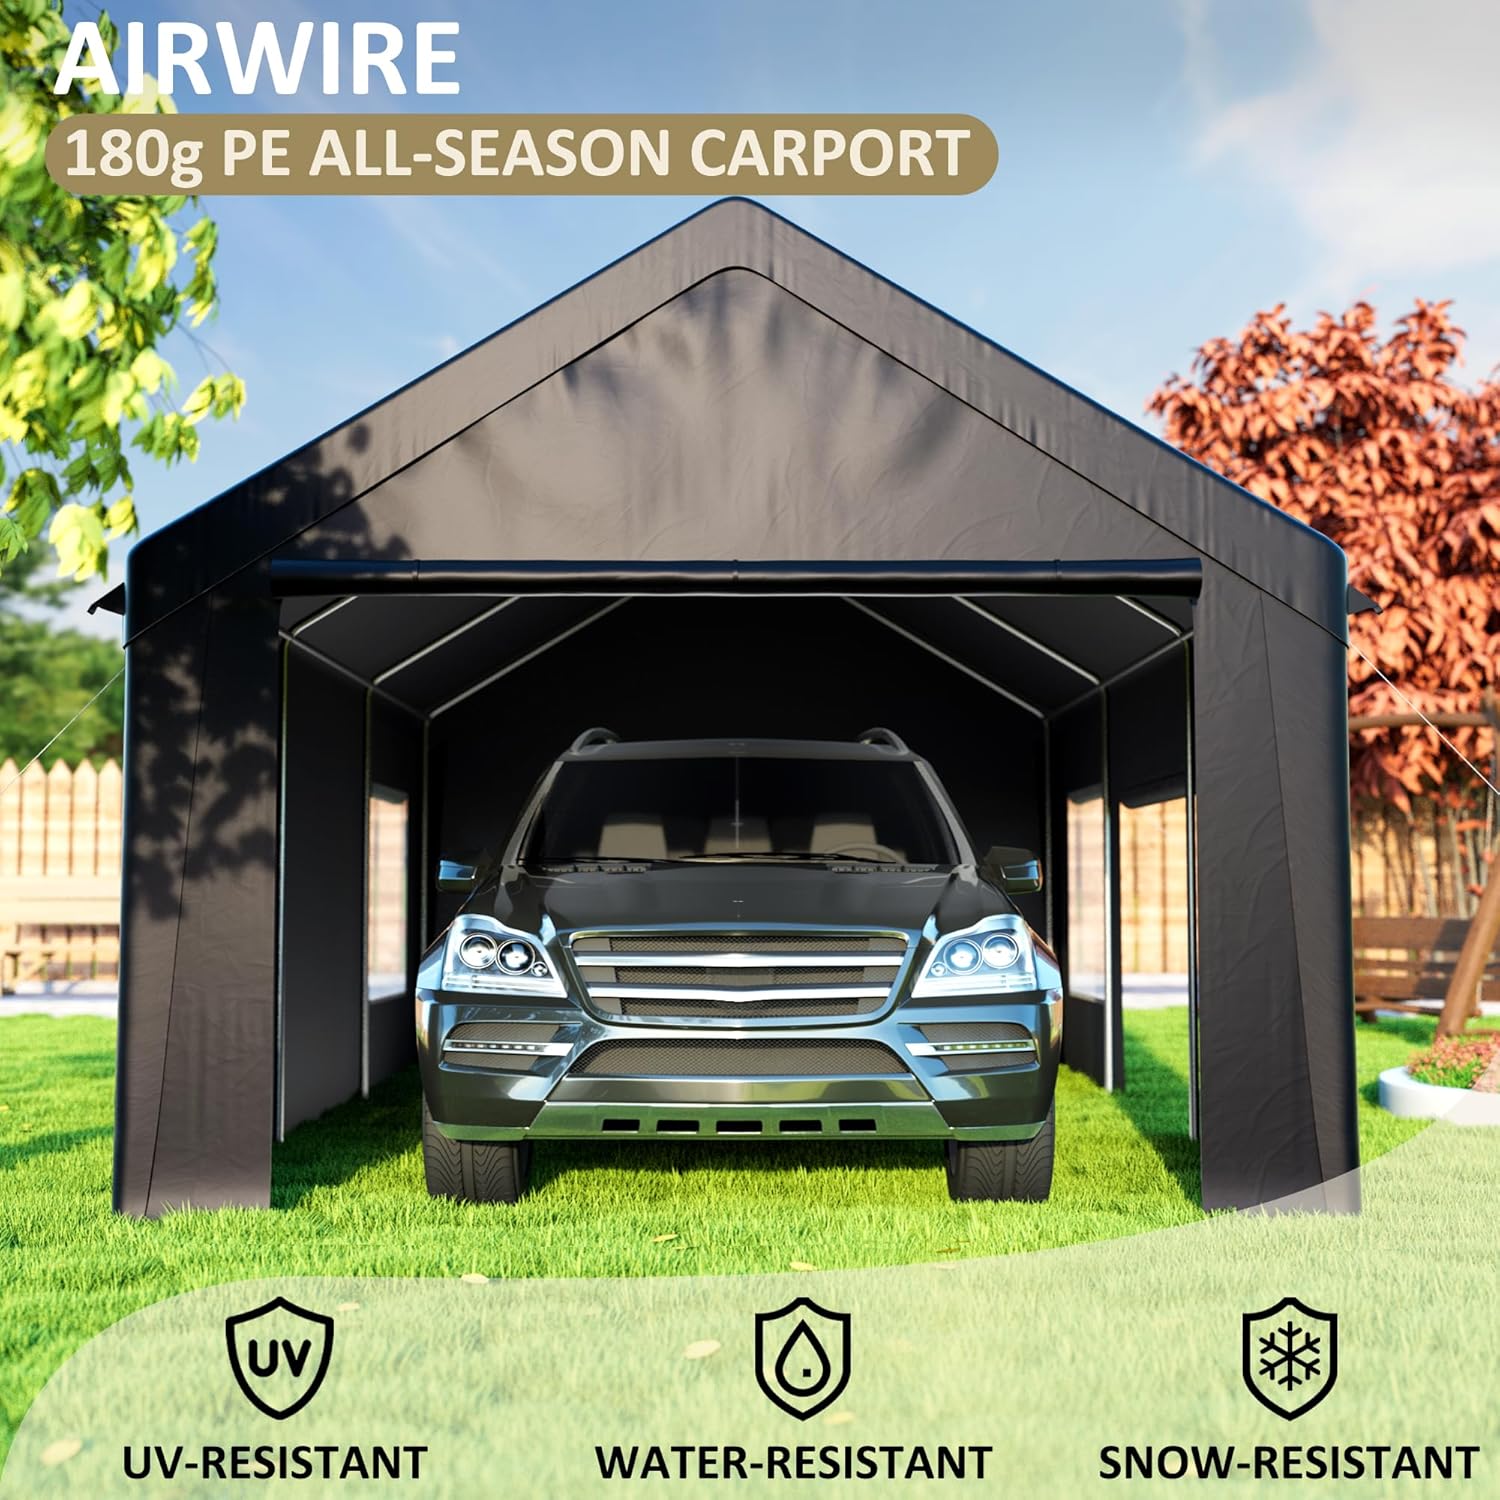
Figure 4.2: The assembled carport highlighting its all-season protective qualities.
5. Үйл ажиллагаа ба хэрэглээ
The AirWire carport offers flexible usage options thanks to its thoughtful design.
5.1 Roll-Up Windows and Side-Opening Door
The carport features four roll-up mesh windows on both sides and a unique side-opening door. These features are designed to provide excellent ventilation and easy access.
- To open a window, unfasten the securing straps or zippers and roll the window panel upwards. Secure it in the rolled-up position using the attached fasteners.
- To close a window, unfasten it from the rolled-up position and carefully unroll it downwards, securing it with the straps or zippers.
- The side-opening door operates similarly, allowing for convenient entry and exit without needing to open the main front or rear panels.

Figure 5.1: Accessible design with enhanced ventilation through roll-up windows and side door.
5.2 Олон талт хэрэглээ
Beyond vehicle storage, the carport's removable sidewalls make it adaptable for various outdoor functions:
- Тээврийн хэрэгслийн хадгалах газар: Protects cars, trucks, boats, and other vehicles from sun, rain, and snow.
- Гадна үйл явдлууд: With sidewalls removed, it can serve as an open canopy for parties, gatherings, or business functions, providing shade and a designated space.
- Ерөнхий хадгалах сан: Ideal for storing lawnmowers, bikes, garden equipment, and other items that require protection from the elements.

Figure 5.2: Multi-purpose use as an open canopy for outdoor gatherings.
6. Засвар үйлчилгээ
Regular maintenance will extend the life of your AirWire carport.
- Цэвэрлэгээ: Clean the canopy and frame periodically with mild soap and water. Avoid harsh chemicals or abrasive cleaners that could damage the material or finish. Rinse thoroughly.
- Хяналт шалгалт: Regularly inspect all frame connections, anchoring points, ropes, and the canopy material for any signs of wear, damage, or loosening. Tighten connections and replace damaged parts as needed.
- Цас ба мөс: As mentioned in safety warnings, promptly remove snow and ice accumulation from the canopy to prevent structural strain. Use a soft brush or broom to avoid damaging the material.
- Хадгалах: If disassembling for storage, ensure all components are clean and dry before packing. Store in a cool, dry place away from direct sunlight and extreme temperatures.
7. Алдаа засах
Энэ хэсэгт танд тулгарч болох нийтлэг асуудлуудыг авч үзэх болно.
| Асуудал | Боломжит шалтгаан | Шийдэл |
|---|---|---|
| Carport feels unstable or sways in wind. | Insufficient anchoring; loose frame connections; extreme weather. | Ensure all ground stakes and cables are properly installed and taut. Check and tighten all frame connections. Consider additional heavy-duty anchoring in windy conditions. Disassemble if extreme weather is expected. |
| Халхавч дээр ус хуримтлуулах. | Improper canopy tension; excessive snow/rain load. | Adjust canopy tension to ensure water runoff. Remove snow/ice promptly. |
| Difficulty assembling poles. | Misalignment; minor manufacturing variations. | Ensure parts are correctly oriented. Apply gentle force or slightly rotate poles to align. Do not force connections excessively. Refer to numbered parts. |
| Tears or holes in canopy material. | Sharp objects; prolonged exposure to extreme elements; wear and tear. | Patch small tears with a suitable repair kit. For large damages, replacement of the canopy may be necessary. |
8. Техникийн үзүүлэлтүүд
| Атрибут | Дэлгэрэнгүй |
|---|---|
| Брэнд | AirWire |
| Загварын дугаар | ACP2012BQ |
| Бүтээгдэхүүний хэмжээ (L x W x H) | 144"L x 235"W x 119"H (12' x 20' x 9.9') |
| Шалны талбай | 288 квадрат фут |
| Зүйлийн жин | 145.5 фунт |
| Халхавчны материал | 180g Polyethylene (PE) |
| Хүрээний материал | Heavy-Duty Galvanized Metal |
| Өнгө | Хар |
| Усны эсэргүүцлийн түвшин | Усны хамгаалалттай |
| Хэт ягаан туяаны хамгаалалт | Тиймээ |
| Угсрах шаардлагатай | Тиймээ |
| Онцлог шинж чанарууд | Side-opening door, Roll-up windows, Reinforced four-hole base, Removable sidewalls. |

Figure 8.1: Key dimensions of the AirWire Carport.
9. Баталгаат хугацаа ба дэмжлэг
For information regarding warranty coverage, replacement parts, or technical support, please refer to the warranty card included with your product or contact AirWire customer service directly. Contact details can typically be found on the product packaging or the official AirWire webсайт.
Please have your model number (ACP2012BQ) and purchase date ready when contacting support.