WONEGG Ecohatch30H
WONEGG 30 Egg Incubator User Manual
Model: Ecohatch30H
1. Танилцуулга
Thank you for choosing the WONEGG 30 Egg Incubator. This automatic incubator is designed to provide an optimal environment for hatching various poultry eggs, including chicken, duck, and quail. It features precise temperature control, automatic egg turning, LED candling, and a humidity monitor to maximize your hatching success. Please read this manual thoroughly before operation to ensure proper use and care of your incubator.
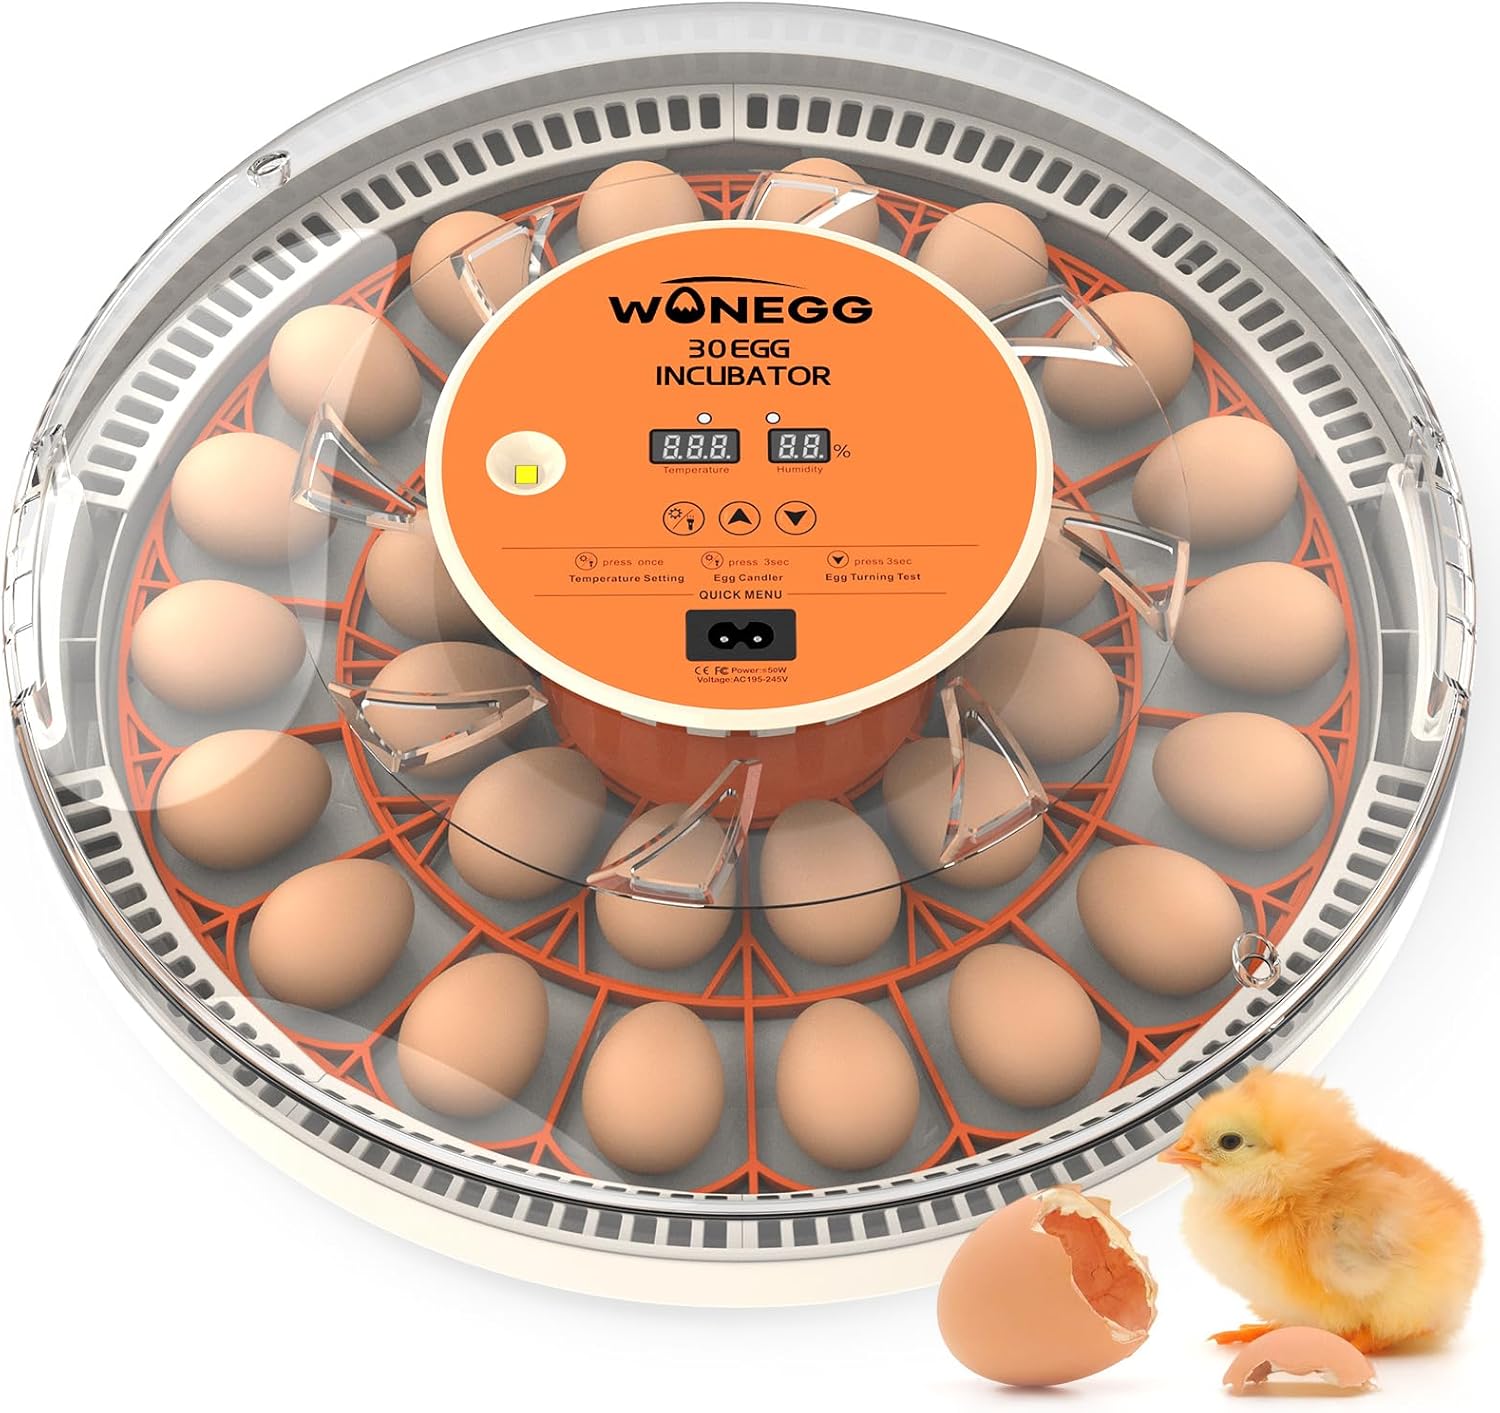
The WONEGG 30 Egg Incubator, designed for efficient and successful egg hatching.
2. Бүтээгдэхүүний онцлог
The WONEGG 30 Egg Incubator is equipped with advanced features to simplify the hatching process:
- Нарийвчлалтай температурын хяналт: Mimics natural hen warmth (99.5°F ±1°F / 37.5°C ±0.5°C) with auto-adjusting technology for high hatch rates.
- Fully Automatic 360° Egg Turning: Trays rotate every 2 hours to ensure even heat distribution and prevent embryo adhesion, eliminating manual turning.
- Real-Time Humidity Display + No-Opening Refill: Built-in hygrometer and included drip bottle allow humidity adjustment without opening the incubator, crucial for critical hatching phases.
- Built-In LED Candling Light: Cold-source LED enables checking embryo development without heat risk, making it easy to observe veins and movement.
- Хэрэглэгчдэд ээлтэй дизайн: Clear PET+ABS viewing window for monitoring, ergonomic handle for transport, and detachable parts for easy cleaning. Quick setup in approximately 5 minutes.
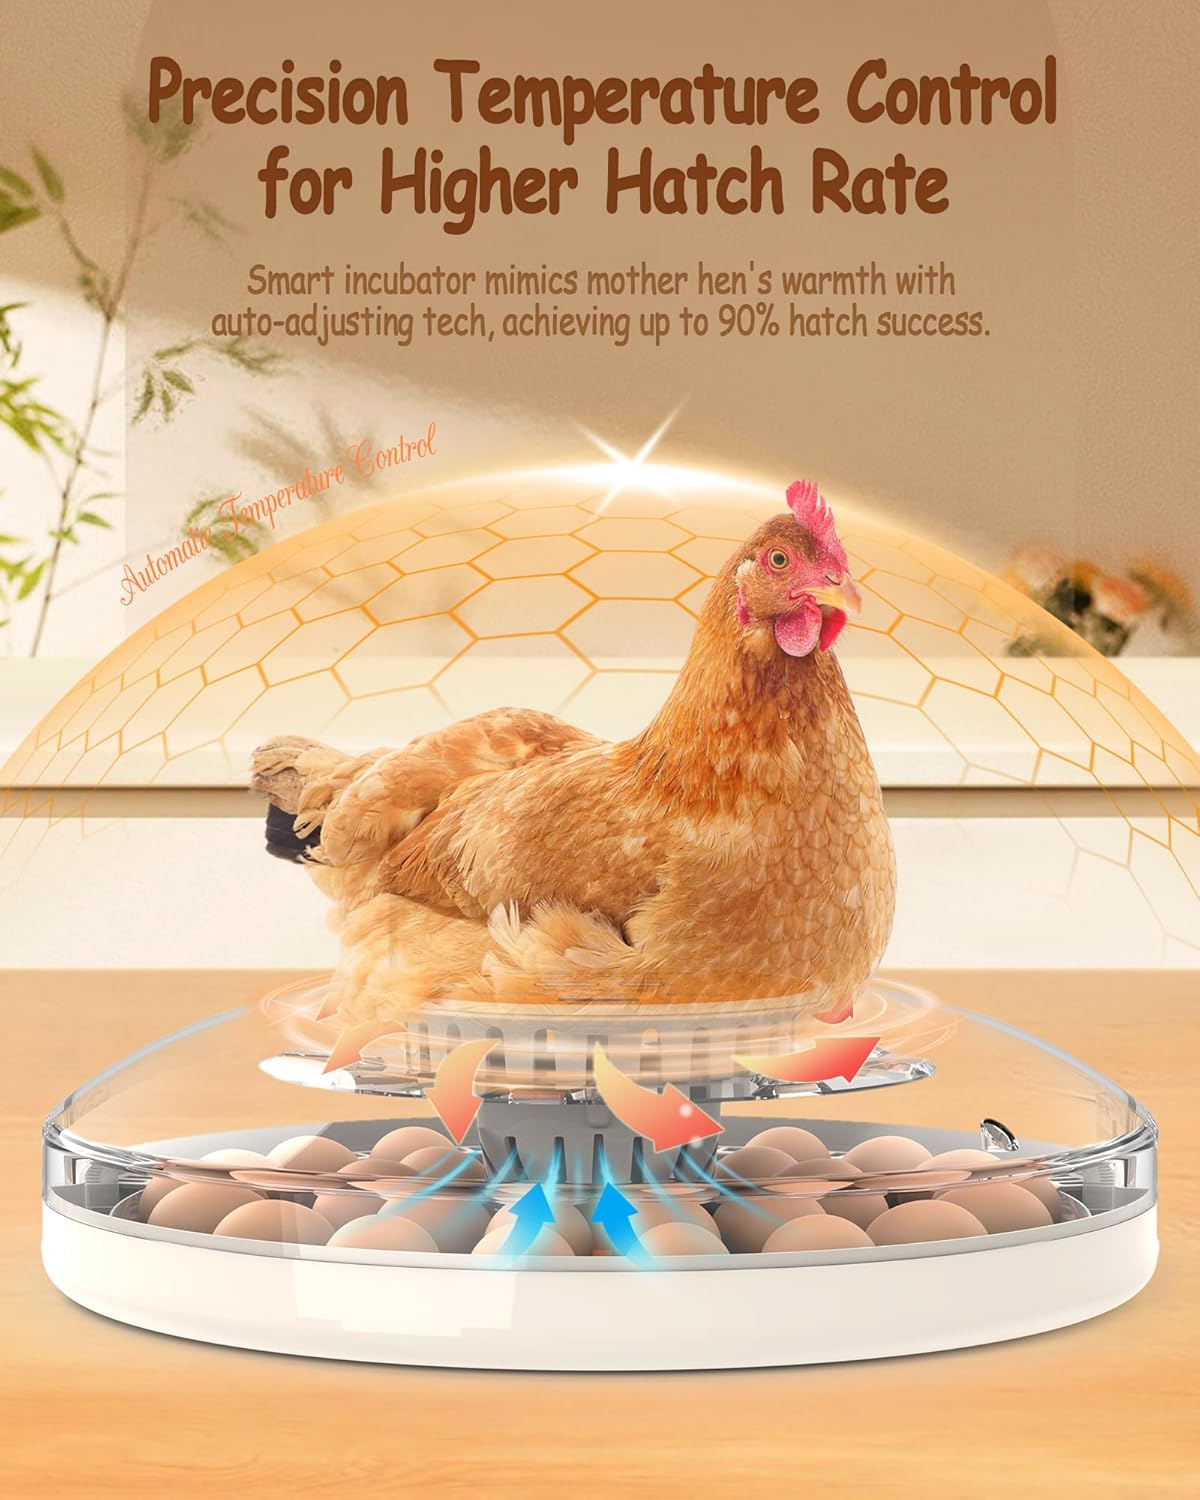
Precision temperature control ensures optimal hatching conditions.
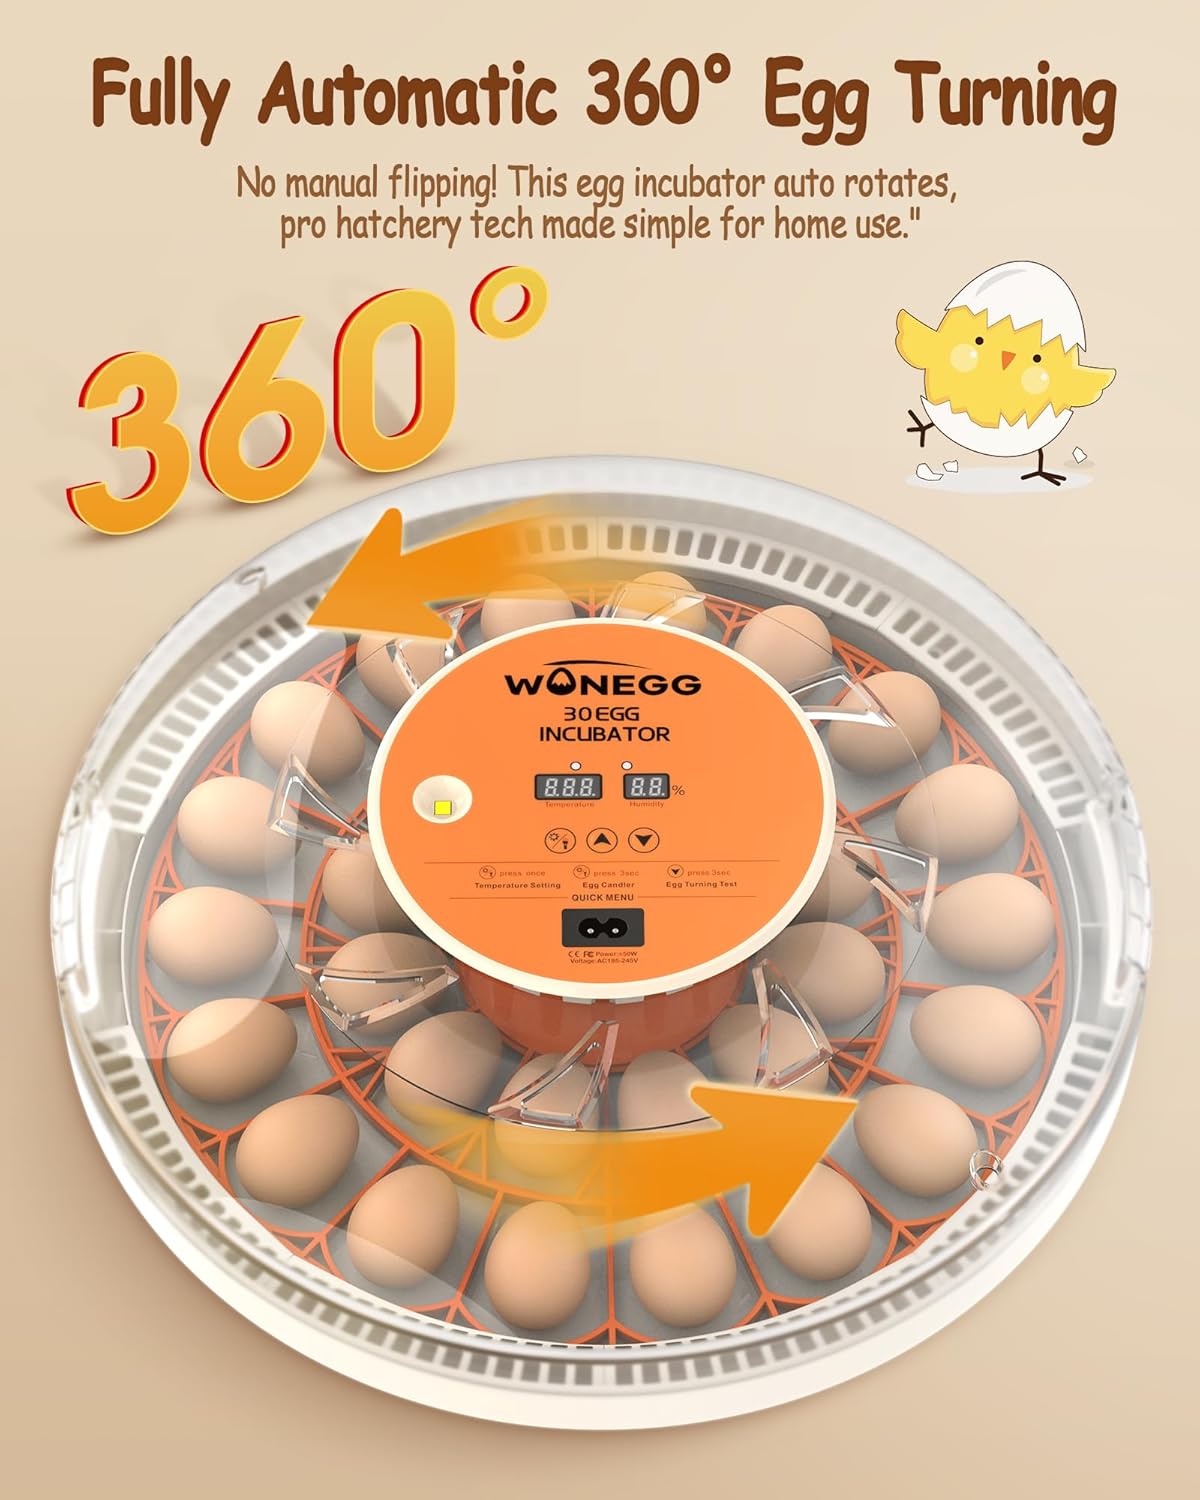
Automatic 360-degree egg turning for even heat distribution.
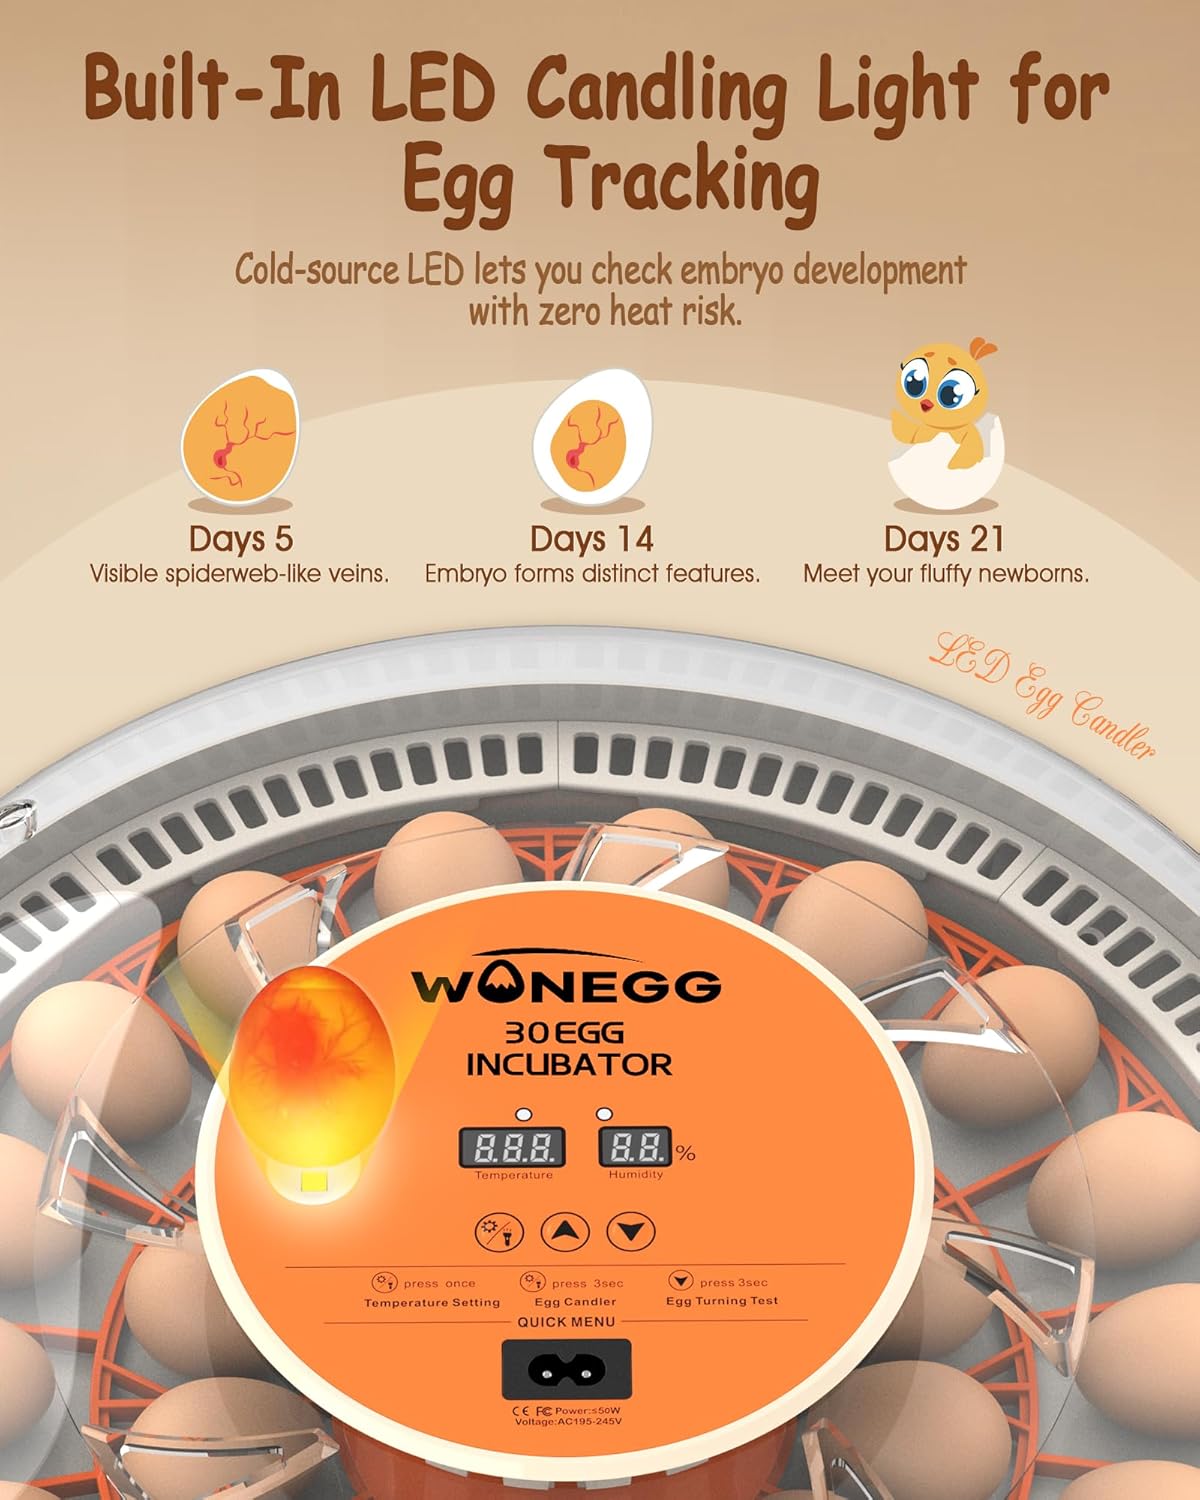
Built-in LED candling light for easy embryo tracking.
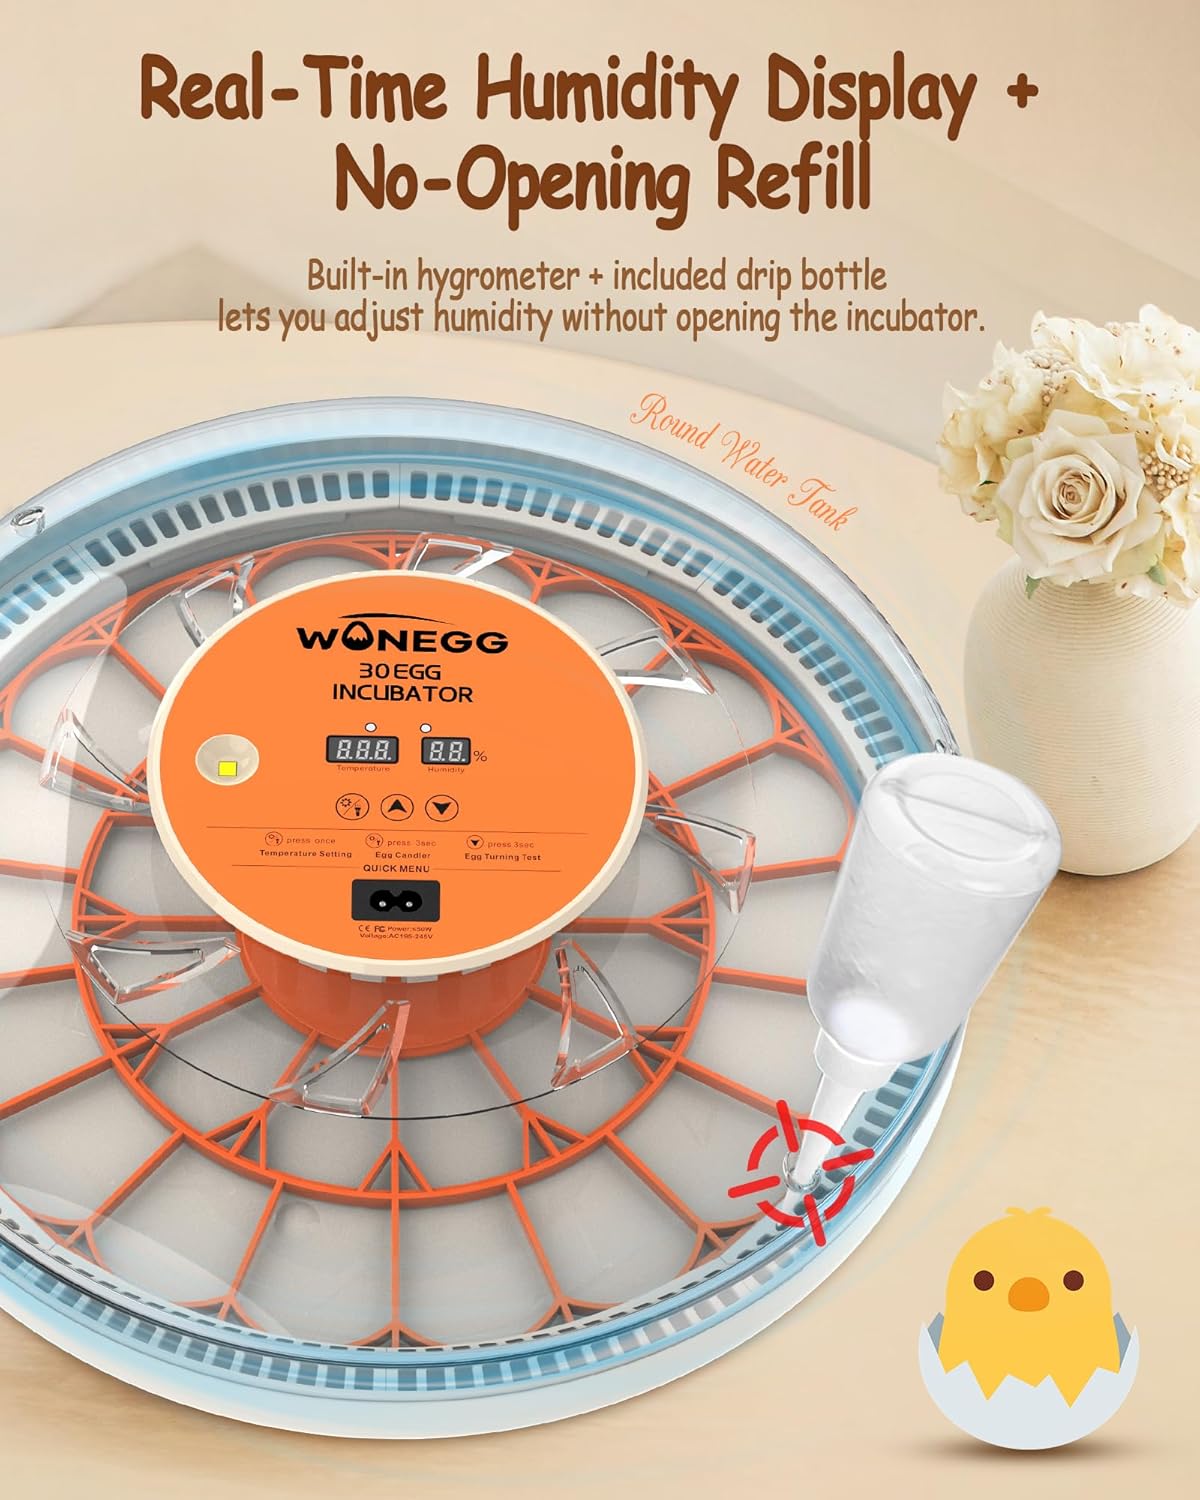
Humidity display and no-opening refill system for convenience.
3. Сав баглаа боодлын жагсаалт
Багцыг нээхдээ бүх бүрэлдэхүүн хэсгүүд байгаа бөгөөд гэмтэлгүй эсэхийг шалгана уу.
- 1 x Egg Incubator Unit
- 1 х цахилгаан кабель
- 1 х хэрэглэгчийн гарын авлага
- 1 x Water Bottle (for humidity control)
- 1 х зөөврийн тавиур
- 1 x Insulation Foam Box (for insulation during operation)
Ensure all listed items are included in your package.
4. Тохируулах заавар
Follow these steps to set up your WONEGG incubator:
- Баглаа задлах: Carefully remove all components from the packaging. Retain the insulation foam box for future use, especially in cooler environments.
- Угсрах: Place the removable egg tray inside the incubator base. Ensure it is seated correctly for the automatic turning mechanism.
- Байршил: Position the incubator on a stable, level surface away from direct sunlight, drafts, or extreme temperature fluctuations. An indoor environment is recommended.
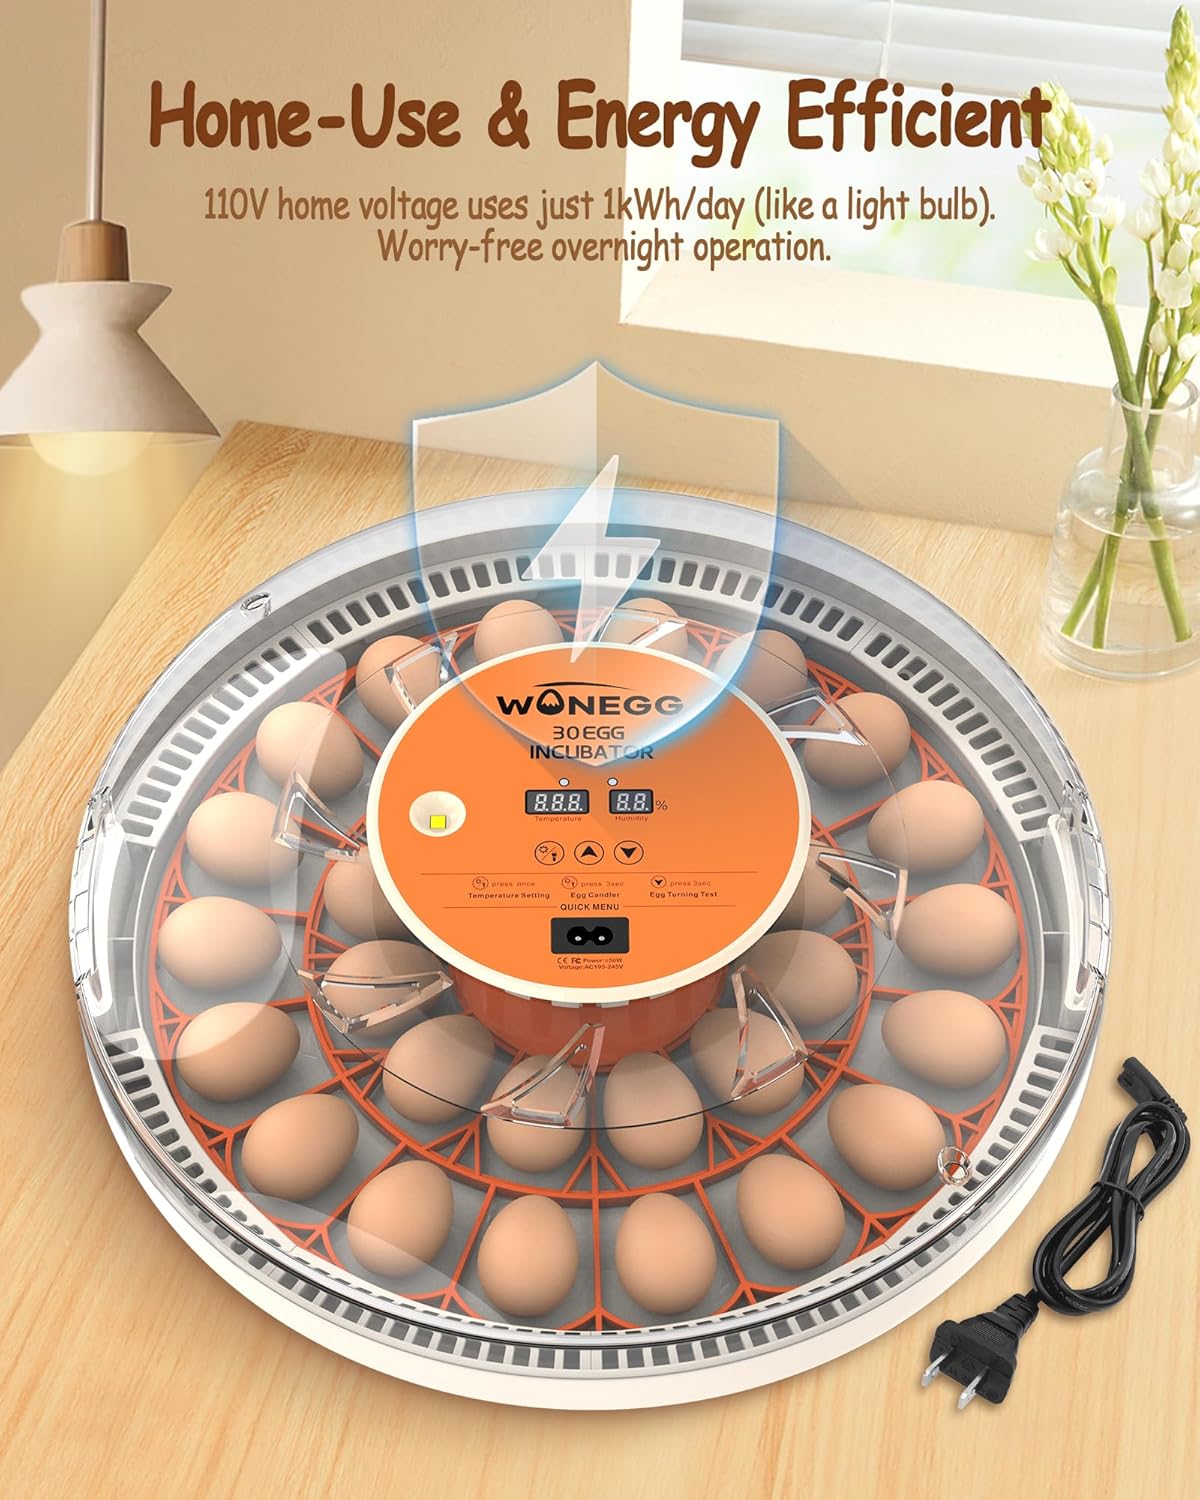
- Эрчим хүчний холболт: Connect the power cable to the incubator and then plug it into a standard 110V AC outlet. The display will light up.
- Туршилтын ажил: It is highly recommended to perform a test run for at least 2-4 hours without eggs to familiarize yourself with the incubator's operation and to ensure stable temperature and humidity readings.

Utilize the insulation foam box for optimal performance, especially in rooms below 68°F (20°C).
5. Ашиглалтын заавар
5.1 Хяналтын самбар дээрview

Familiarize yourself with the intelligent controller for easy operation.
- Температурын дэлгэц: Shows current internal temperature (in Celsius).
- Чийгийн дэлгэц: Shows current internal humidity percentage.
- Халаалтын үзүүлэлт: Lights up when the heating element is active.
- Setting Indicator: Lights up when entering settings mode.
- Egg Candler Button: Press to activate the LED candling light.
- Temperature Setting Buttons (Up/Down): Adjust target temperature.
- Egg Turning Test Button: Press and hold for 3 seconds to initiate a manual egg turning cycle.
5.2 Incubation Process
- Egg Selection: Choose fresh, fertile eggs that are clean and free of cracks.
- Loading Eggs: Carefully place eggs into the designated slots on the turning tray. The incubator can hold up to 30 chicken eggs.
- Температурын тохиргоо: The incubator comes pre-set to 37.5°C (99.5°F). Adjust if necessary using the temperature setting buttons. Refer to the incubation parameters table below for specific species.
- Чийгийн хяналт: Fill the included water bottle with distilled water and use it to add water to the external water channels. Monitor the humidity display and add water as needed without opening the lid.
- Automatic Turning: The incubator will automatically turn the eggs every 2 hours. Do not manually turn the eggs once the automatic turning is active.
- Candling: Use the built-in LED candler to check embryo development periodically. This is typically done around day 5-7 and again around day 14 for chicken eggs.
- Lockdown (Last 3 Days): For the last 3 days of incubation (e.g., Day 18 for chickens), remove the egg turning tray. Increase humidity as per the table below. Do not open the incubator during this period to maintain stable conditions for hatching.
5.3 Incubation Parameters (Reference Only)

Recommended incubation parameters for different poultry species.
5.4 Chicken Incubation Phases (21 Days - Reference Only)

Key developmental milestones and environmental conditions for chicken incubation.
6. Засвар үйлчилгээ
Proper cleaning and maintenance ensure the longevity and hygiene of your incubator:
- Дизассембл хийх: Gently detach all removable parts, including the egg turning tray and the base.
- Wipe Top Cover: Use a dry, soft cloth to wipe the inside and outside of the top cover. Avoid using abrasive cleaners.
- Wash Base Tray: The base tray can be washed with mild soap and water. Ensure all residue is rinsed off.
- Air-Dry & Reset: Allow all parts to air dry completely before reassembling. To reset the incubator, press and hold both the Up and Down arrow keys simultaneously.

Follow these steps for thorough cleaning and maintenance.
7. Алдаа засах
Нийтлэг асуудлууд болон тэдгээрийн шийдлүүдийг доорх хүснэгтээс харна уу.

Quick solutions for common incubation problems.
| Асуудал | Боломжит шалтгаан | Шийдэл |
|---|---|---|
| Stuck to shell | Low humidity/infrequent turning | Increase humidity to 70%, ensure automatic turning is active. |
| Early hatching | Хэт халалт | Calibrate thermostat if possible, avoid temperature fluctuations in the room. |
| Сул дорой дэгдээхэйнүүд | Oxygen/nutrition deficiency | Improve ventilation, ensure good quality fertile eggs. |
8. Техникийн үзүүлэлтүүд
| Тодорхойлолт | Дэлгэрэнгүй |
|---|---|
| Загварын нэр | Ecohatch30H |
| Хүчин чадал | 30 Egg (Chicken) |
| Материал | Акрилонитрил бутадиен стирол (ABS) |
| Өнгө | Улбар шар |
| Хэмжээ (LxWxH) | 15 x 15 x 3.5 инч |
| Зүйлийн жин | 4.9 фунт |
| Эрчим хүчний оролт | AC 110V (Standard Home Use) |
| Үүлдрийн зөвлөмж | Chicken, Duck, Quail |
| Бүтээгдэхүүний тусгай хэрэглээ | Дотор |
9. Баталгаат хугацаа ба дэмжлэг
The WONEGG 30 Egg Incubator comes with a 2 жилийн үйлдвэрлэгчийн баталгаа. Энэхүү баталгаа нь ердийн ашиглалтын үед хийгдсэн материал, хийцийн согогийг хамарна. Баталгаат заргад зориулж худалдан авалтаа нотлох баримтаа үлдээнэ үү.
For technical support, troubleshooting assistance, or warranty inquiries, please contact WONEGG customer service through the retailer where you purchased the product. Our team is dedicated to providing prompt and helpful assistance to ensure your satisfaction.
Ask a question about this manual
Ask about setup, troubleshooting, compatibility, parts, safety, or missing instructions. Manuals+ will review the question and use this page’s manual context to help answer it.