1. Танилцуулга
Худалдан авалт хийсэнд баярлалааasing the VELATEMOR 2.4 Inch 16MP Portable Digital Camera. This manual provides essential information for the safe and efficient operation of your device. Please read it thoroughly before use and retain it for future reference.
2. Бүтээгдэхүүн дууссанview
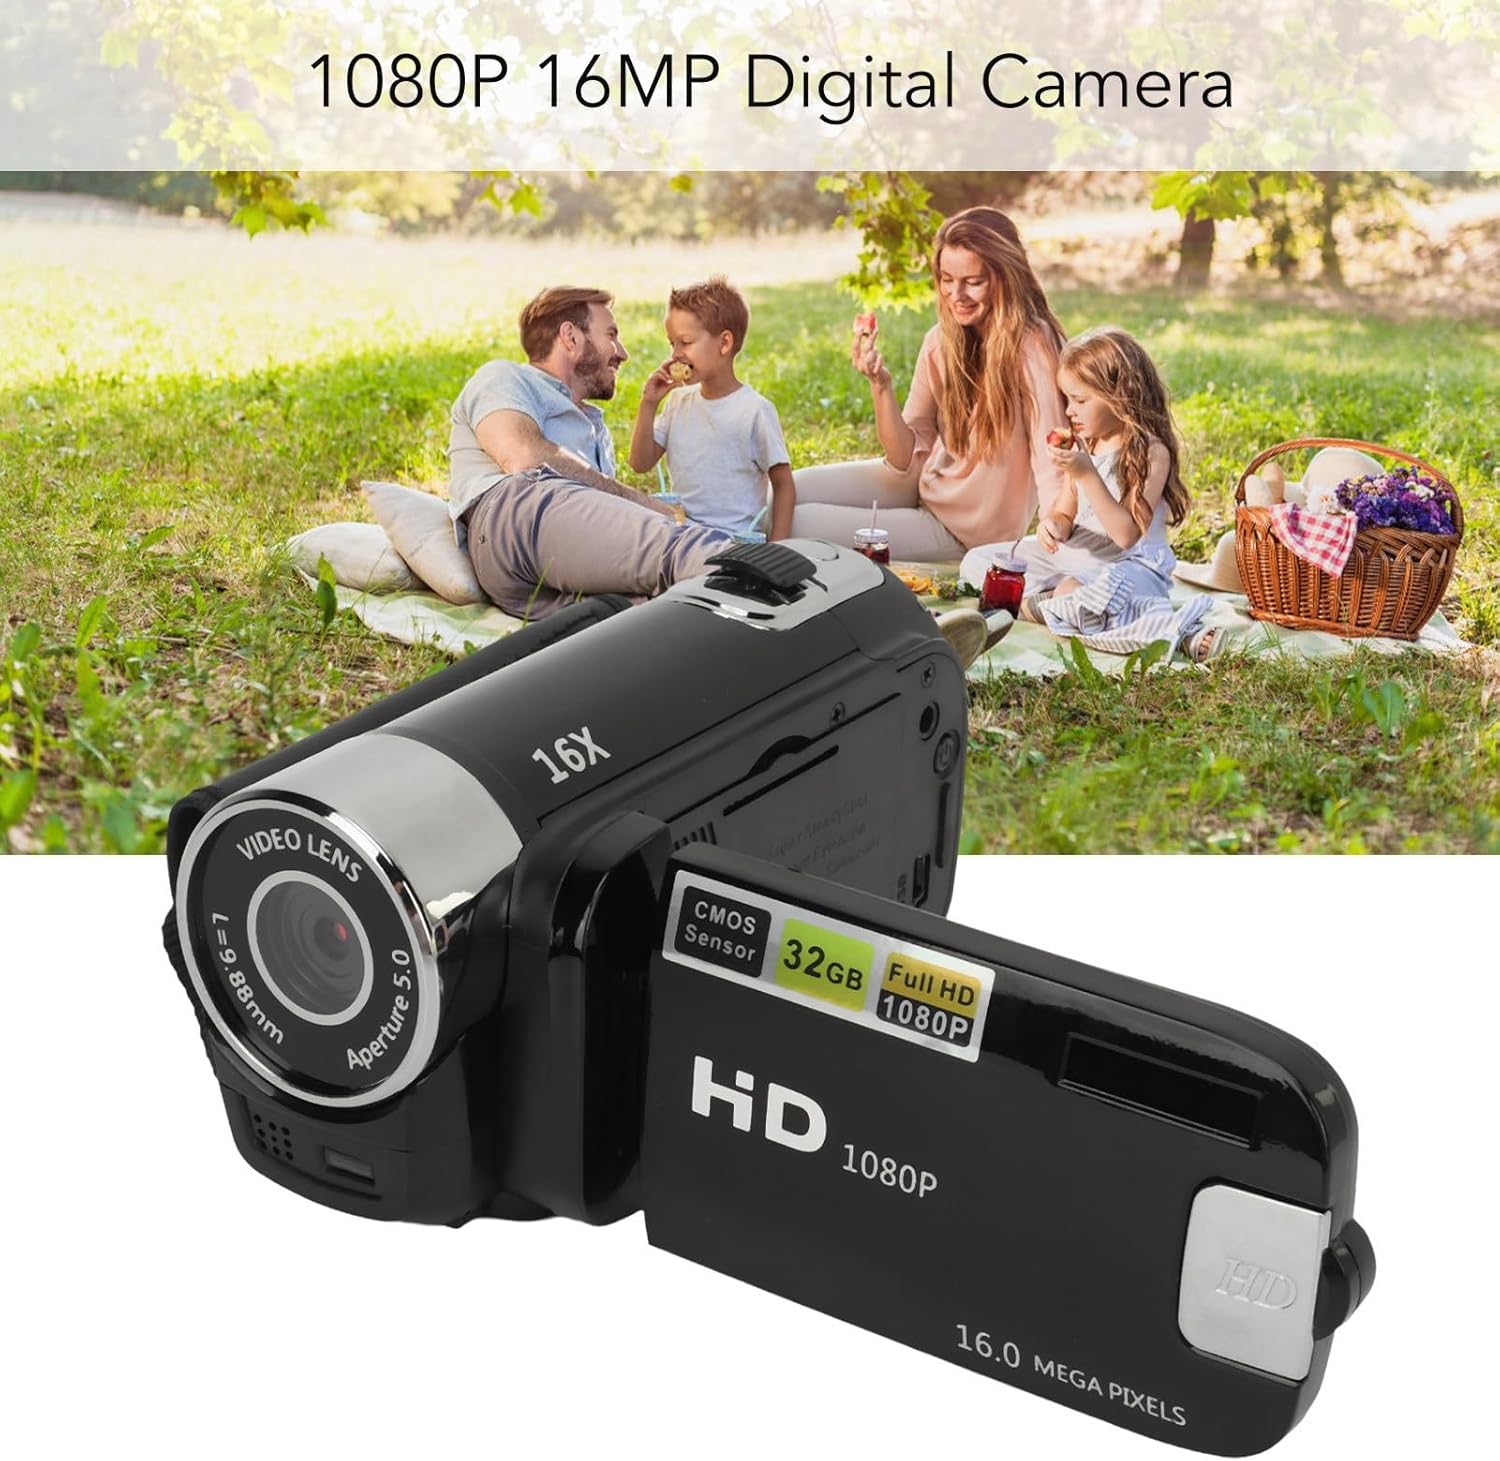
The VELATEMOR Digital Camera is a compact and versatile device designed for capturing high-quality photos and videos. It features a 2.4-inch rotatable screen, 16X digital zoom, and a built-in fill light for various lighting conditions.
2.1 Багцын агуулга
- VELATEMOR 16MP Digital Camera
- USB цэнэглэгч кабель
- Хэрэглэгчийн гарын авлага
2.2 Камерын бүрэлдэхүүн хэсгүүд

Зураг 1: Урд view of the camera, showing the lens and fill light.
Зураг 2: Арын view of the camera with the rotatable screen open, displaying controls and ports.

Зураг 3: Нарийвчилсан view of the camera lens, showing aperture and focal length markings.

Зураг 4: Close-up of the camera's control buttons (Menu, Mode) and USB port.
3. Тохиргоо
3.1 Зайг цэнэглэх
The camera uses a built-in BL-5C Li-ion battery. Before first use, fully charge the camera.
- Connect the small end of the provided USB charging cable to the camera's USB port.
- USB кабелийн том үзүүрийг USB тэжээлийн адаптер (дагаагүй) эсвэл компьютерийн USB порт руу холбоно уу.
- The charging indicator light will illuminate. Once charging is complete, the light will change or turn off.
The camera supports recording while charging.
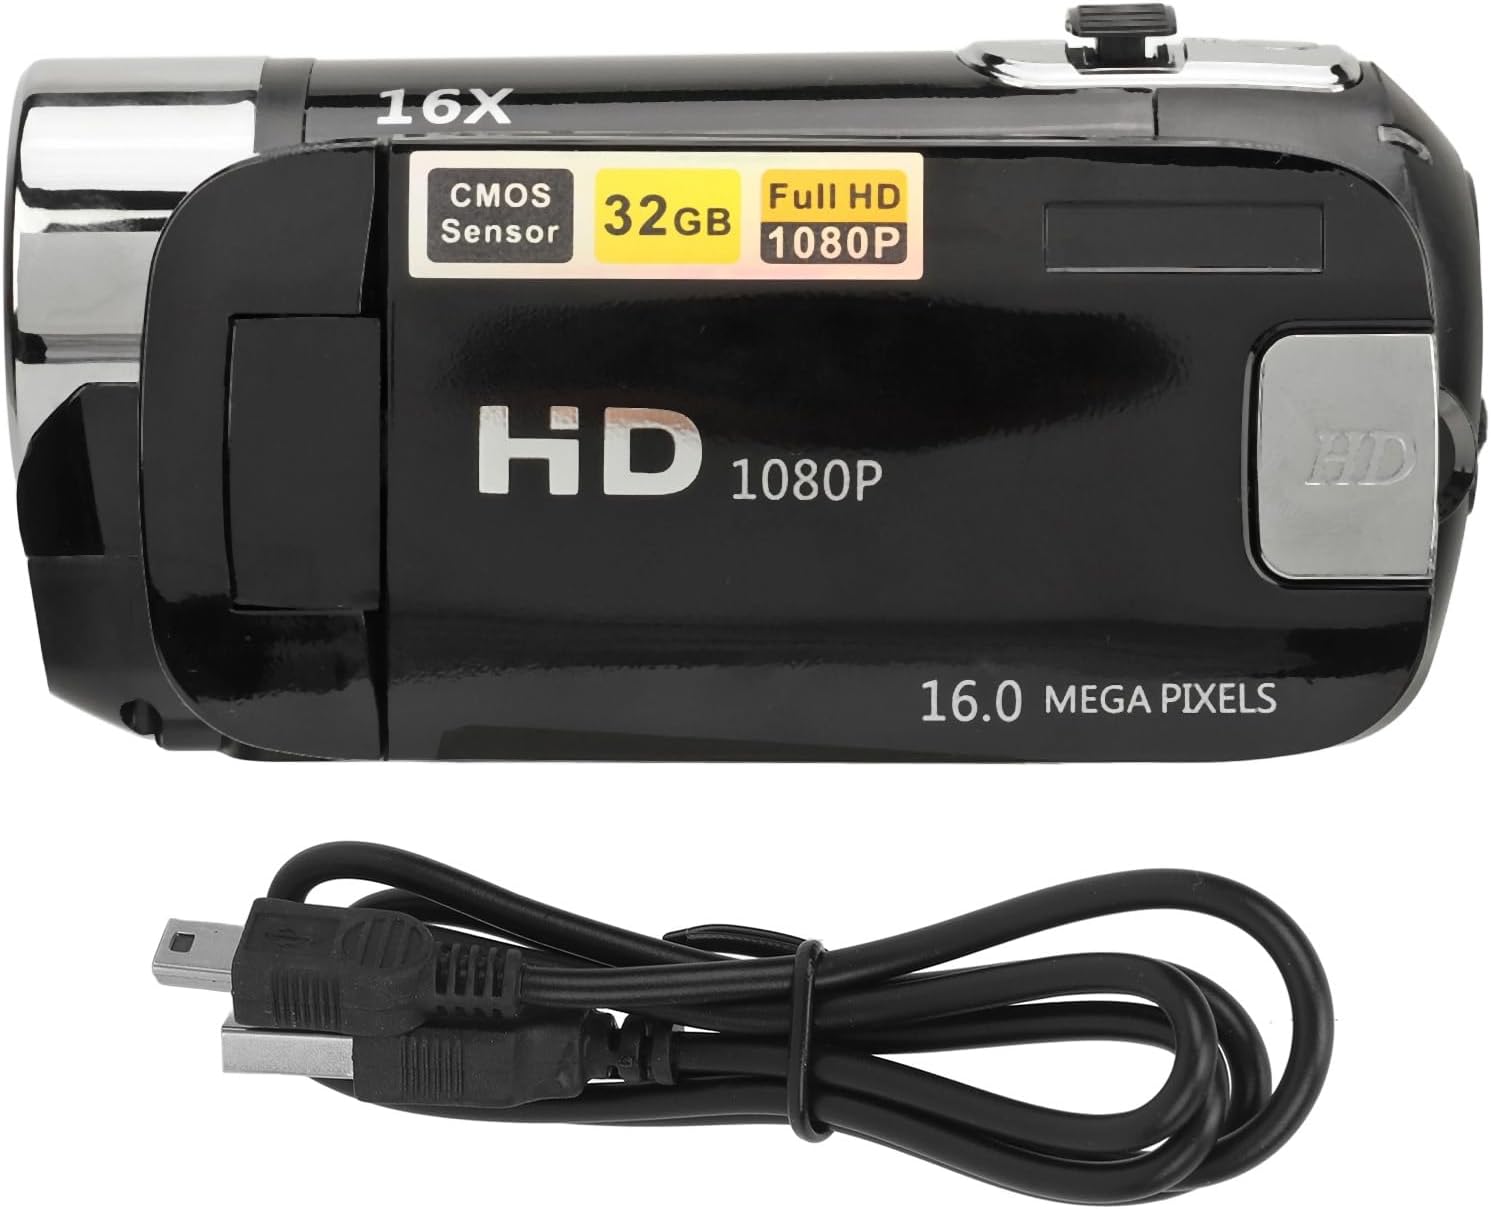
Зураг 5: The camera and its USB charging cable.
3.2 Санах ойн карт оруулах
The camera requires a standard memory card (up to 128GB, not included) for storing photos and videos.
- Камерын хажуу эсвэл доод хэсэгт санах ойн картны үүрийг олоорой.
- Insert the memory card with the metal contacts facing the correct direction (refer to the diagram near the slot if available) until it clicks into place.
- Авахын тулд картыг гартал нь зөөлөн түлхэнэ үү.
Note: Ensure the camera is powered off before inserting or removing the memory card to prevent data loss or damage.
4. Ашиглалтын заавар
4.1 Асаах/унтраах
- To power on: Press and hold the Power button (usually located near the screen or top panel) for a few seconds.
- Унтраахын тулд: Дэлгэц унтрах хүртэл Power товчийг дахин дараад барина уу.
4.2 Үндсэн зураг ба видео бичлэг хийх
- Солих горимууд: Use the 'Mode' button to switch between photo mode and video recording mode.
- Зураг авах: In photo mode, press the Shutter button (usually a larger button on top) to capture an image.
- Видео бичлэг хийх: In video mode, press the Record button (often marked with a red dot or video camera icon) to start recording. Press it again to stop.
4.3 Using the Rotatable Screen
The 2.4-inch screen can be rotated to various angles, including facing forward for selfies or vlogging. Adjust the screen to your desired viewөнцөг.

Зураг 6: The rotatable screen positioned for a selfie.
4.4 Дижитал томруулалт
Use the zoom controls (often marked with 'W' for Wide and 'T' for Telephoto) to adjust the 16X digital zoom. Press 'T' to zoom in and 'W' to zoom out.

Зураг 7: The camera highlighting its 16X Digital Zoom capability.
4.5 Гэрэл дүүргэх
The camera is equipped with a front fill light to assist in low-light conditions. Activate or deactivate the fill light through the camera's menu settings or a dedicated button, if available.
4.6 Нарийвчилсан функцууд
- Селфи: Utilize the rotatable screen to frame yourself for self-portraits.
- Electronic Anti-Shake: This feature helps stabilize images and videos, reducing blur from camera movement.
- Давталтын бичлэг: When enabled, the camera will continuously record, overwriting the oldest fileсанах ойн карт дүүрсэн үед.
- Time Watermarking: Add a date and time stamp to your photos and videos.
- Гадаад микрофоны дэмжлэг: Connect an external microphone (not included) for improved audio quality during video recording.
- Recording Pause: Pause and resume video recording without creating multiple files.
4.7 Компьютерт холбогдох
To transfer photos and videos:
- USB кабель ашиглан камераа компьютертээ холбоно уу.
- The camera should appear as a removable disk or media device on your computer.
- Browse the camera's folders to access and transfer your files.
4.8 Гурван хөлтэй штативын холболт
The camera features a 1/4 inch thread hole on the bottom, allowing it to be mounted on a standard tripod (not included) for stable shots.
5. Засвар үйлчилгээ
5.1 Камерыг цэвэрлэх
- Камерын их биеийг цэвэрлэхийн тулд хөвөнгүй зөөлөн даавуугаар цэвэрлээрэй.
- For the lens and screen, use a specialized lens cleaning cloth and solution. Avoid harsh chemicals.
- Gently wipe away dust and smudges.
5.2 Батерейны арчилгаа
- Батерейг хэт өндөр температурт байлгахаас зайлсхий.
- Charge the battery regularly, even if the camera is not in use, to maintain its lifespan.
5.3 Хадгалалт
- Store the camera in a cool, dry place away from direct sunlight and moisture.
- If storing for an extended period, remove the memory card and ensure the battery is partially charged.
6. Алдаа засах
Хэрэв танд камертай холбоотой асуудал тулгарвал дараах нийтлэг асуудал, шийдлүүдийг үзнэ үү.
| Асуудал | Боломжит шалтгаан | Шийдэл |
|---|---|---|
| Камер асахгүй байна. | Батерей бага; зайг зөв оруулаагүй байна. | Charge the battery fully. Ensure the battery is properly seated. |
| Зураг/видео авах боломжгүй. | Memory card full or not inserted; incorrect mode. | Insert a memory card or free up space. Ensure you are in the correct mode (photo/video). |
| Зургууд бүдэг байна. | Camera shake; dirty lens; insufficient light. | Hold the camera steady or use a tripod. Clean the lens. Use the fill light or shoot in brighter conditions. |
| Computer does not recognize camera. | Faulty USB cable; driver issue; camera not in transfer mode. | Try a different USB cable or port. Restart computer and camera. Check camera settings for USB connection mode. |
7. Техникийн үзүүлэлтүүд
| Онцлог | Тодорхойлолт |
|---|---|
| Зургийн нягтрал | 1MP, 2MP, 3MP, 5MP, 8MP, 10MP, 12MP, 16MP |
| Зургийн формат | JPG |
| Видеоны нягтрал | 1080P (maximum) |
| Видео формат | AVI |
| Дэлгэцийн хэмжээ | 2.4 Inch Rotatable Screen |
| Дижитал томруулах | 16X |
| Хөшиг | Цахим |
| Хадгалах | Supports up to 128GB standard memory card (not included) |
| Батерей | 1 x BL-5C Li Battery, 600mAh (built-in) |
| Хэлнүүд | 17 Хэл |
| Загварын дугаар | VELATEMOR7brac0d4pq-11 |
8. Баталгаат хугацаа ба дэмжлэг
8.1 Баталгаат хугацааны мэдээлэл
This VELATEMOR product is covered by a manufacturer warranty for 90 days from the date of purchase. This warranty covers manufacturing defects and workmanship. It does not cover damage caused by misuse, accidents, unauthorized modifications, or normal wear and tear.
8.2 Хэрэглэгчийн дэмжлэг
For technical assistance, warranty claims, or any questions regarding your VELATEMOR Digital Camera, please refer to the contact information provided with your purchase or visit the official VELATEMOR brand store on Amazon: VELATEMOR Store.