Caroma D1 (B0FSZZL7PR)
Caroma Electric Scooter D1 User Manual
Model: D1 (B0FSZZL7PR) | Brand: Caroma
1. Танилцуулга
Welcome to the Caroma Electric Scooter D1 user manual. This manual provides essential information for the safe operation, maintenance, and troubleshooting of your new electric scooter. Please read this manual thoroughly before using the scooter to ensure optimal performance and safety.

Figure 1: Caroma Electric Scooter D1 - General View (Animated)
2. Аюулгүй байдлын чухал анхааруулга
Эдгээр аюулгүй байдлын зааврыг дагаж мөрдөхгүй байх нь ноцтой гэмтэл эсвэл үхэлд хүргэж болзошгүй юм.
- Морь унахдаа хамгаалалтын малгай, хамгаалалтын хэрэгсэл (өвдөгний дэвсгэр, тохойн дэвсгэр) үргэлж өмс.
- Нойтон, аадар бороо, шалбааг дундуур бүү яв.
- Avoid riding on uneven surfaces, loose gravel, or slippery terrain.
- Унах бүрийн өмнө бүх боолт болон бэхэлгээг чангалсан эсэхийг шалгаарай.
- 300 фунт (136 кг) ачааны дээд хэмжээнээс хэтрүүлж болохгүй.
- Унахдаа хоёр гараа бариул дээр барина.
- Цахилгаан скутер ашиглахтай холбоотой орон нутгийн хууль тогтоомж, дүрэм журамтай танилцаарай.
- Хүүхдүүд скутерийг зөвхөн насанд хүрэгчдийн хяналтан дор жолоодох ёстой.
3. Тохиргоо ба угсралт
Your Caroma Electric Scooter D1 comes partially assembled. Follow these steps for final assembly and initial setup:
- Савлах: Бүх эд ангиудыг савлагаанаас болгоомжтой салга. Тээвэрлэлтийн явцад ямар нэгэн эвдрэл гарсан эсэхийг шалгана уу.
- Бариул суурилуулах: Attach the handlebar to the main stem. Ensure it is securely fastened with the provided bolts. The handlebar is designed to fold for transport; ensure it is locked in the upright position before riding.
- Суудлын тохируулга: Adjust the seat height to a comfortable riding position. Ensure the quick-release lever or bolts are securely tightened.
- Сагсны хавсралт: Secure the rear carry basket to the designated mounting points using the provided hardware.
- Дугуйны инфляци: Inflate the 14-inch fat tires to the recommended pressure (check tire sidewall for PSI). The tires are air-filled for better shock absorption.
- Тоормосны шалгалт: Test both front and rear disc brakes to ensure they are functioning correctly. Adjust brake tension if necessary.
- Анхны төлбөр: Fully charge the scooter before its first use. Refer to the "Charging" section for detailed instructions.
Видео 1: Дууслааview of the Caroma D1 Electric Scooter, demonstrating its features and design. This video is provided by the seller and offers a visual guide to the product.
4. Ашиглалтын заавар
To operate your Caroma Electric Scooter D1, follow these steps:
- Асаах: Insert the key into the ignition located near the battery compartment and turn it to the "ON" position. The battery level indicator on the handlebar will light up.
- Тохируулагчийн удирдлага: The scooter features a twist-grip throttle on the right handlebar. Gently twist the throttle towards you to accelerate.
- Тоормослох: Use the brake levers on both handlebars to slow down or stop. The scooter is equipped with dual mechanical disc brakes for effective stopping power. The rear tail light will illuminate brighter when brakes are applied.
- Гэрэл: Press the headlight button on the left handlebar to turn the front headlight and rear tail light on/off.
- Хонх: Use the bell on the left handlebar to alert pedestrians or other riders.
- Эвхэх механизм: To fold the handlebar for transport, locate the folding latch near the base of the handlebar stem. Disengage the latch and fold the handlebar down. Ensure it is securely latched when unfolded for riding.
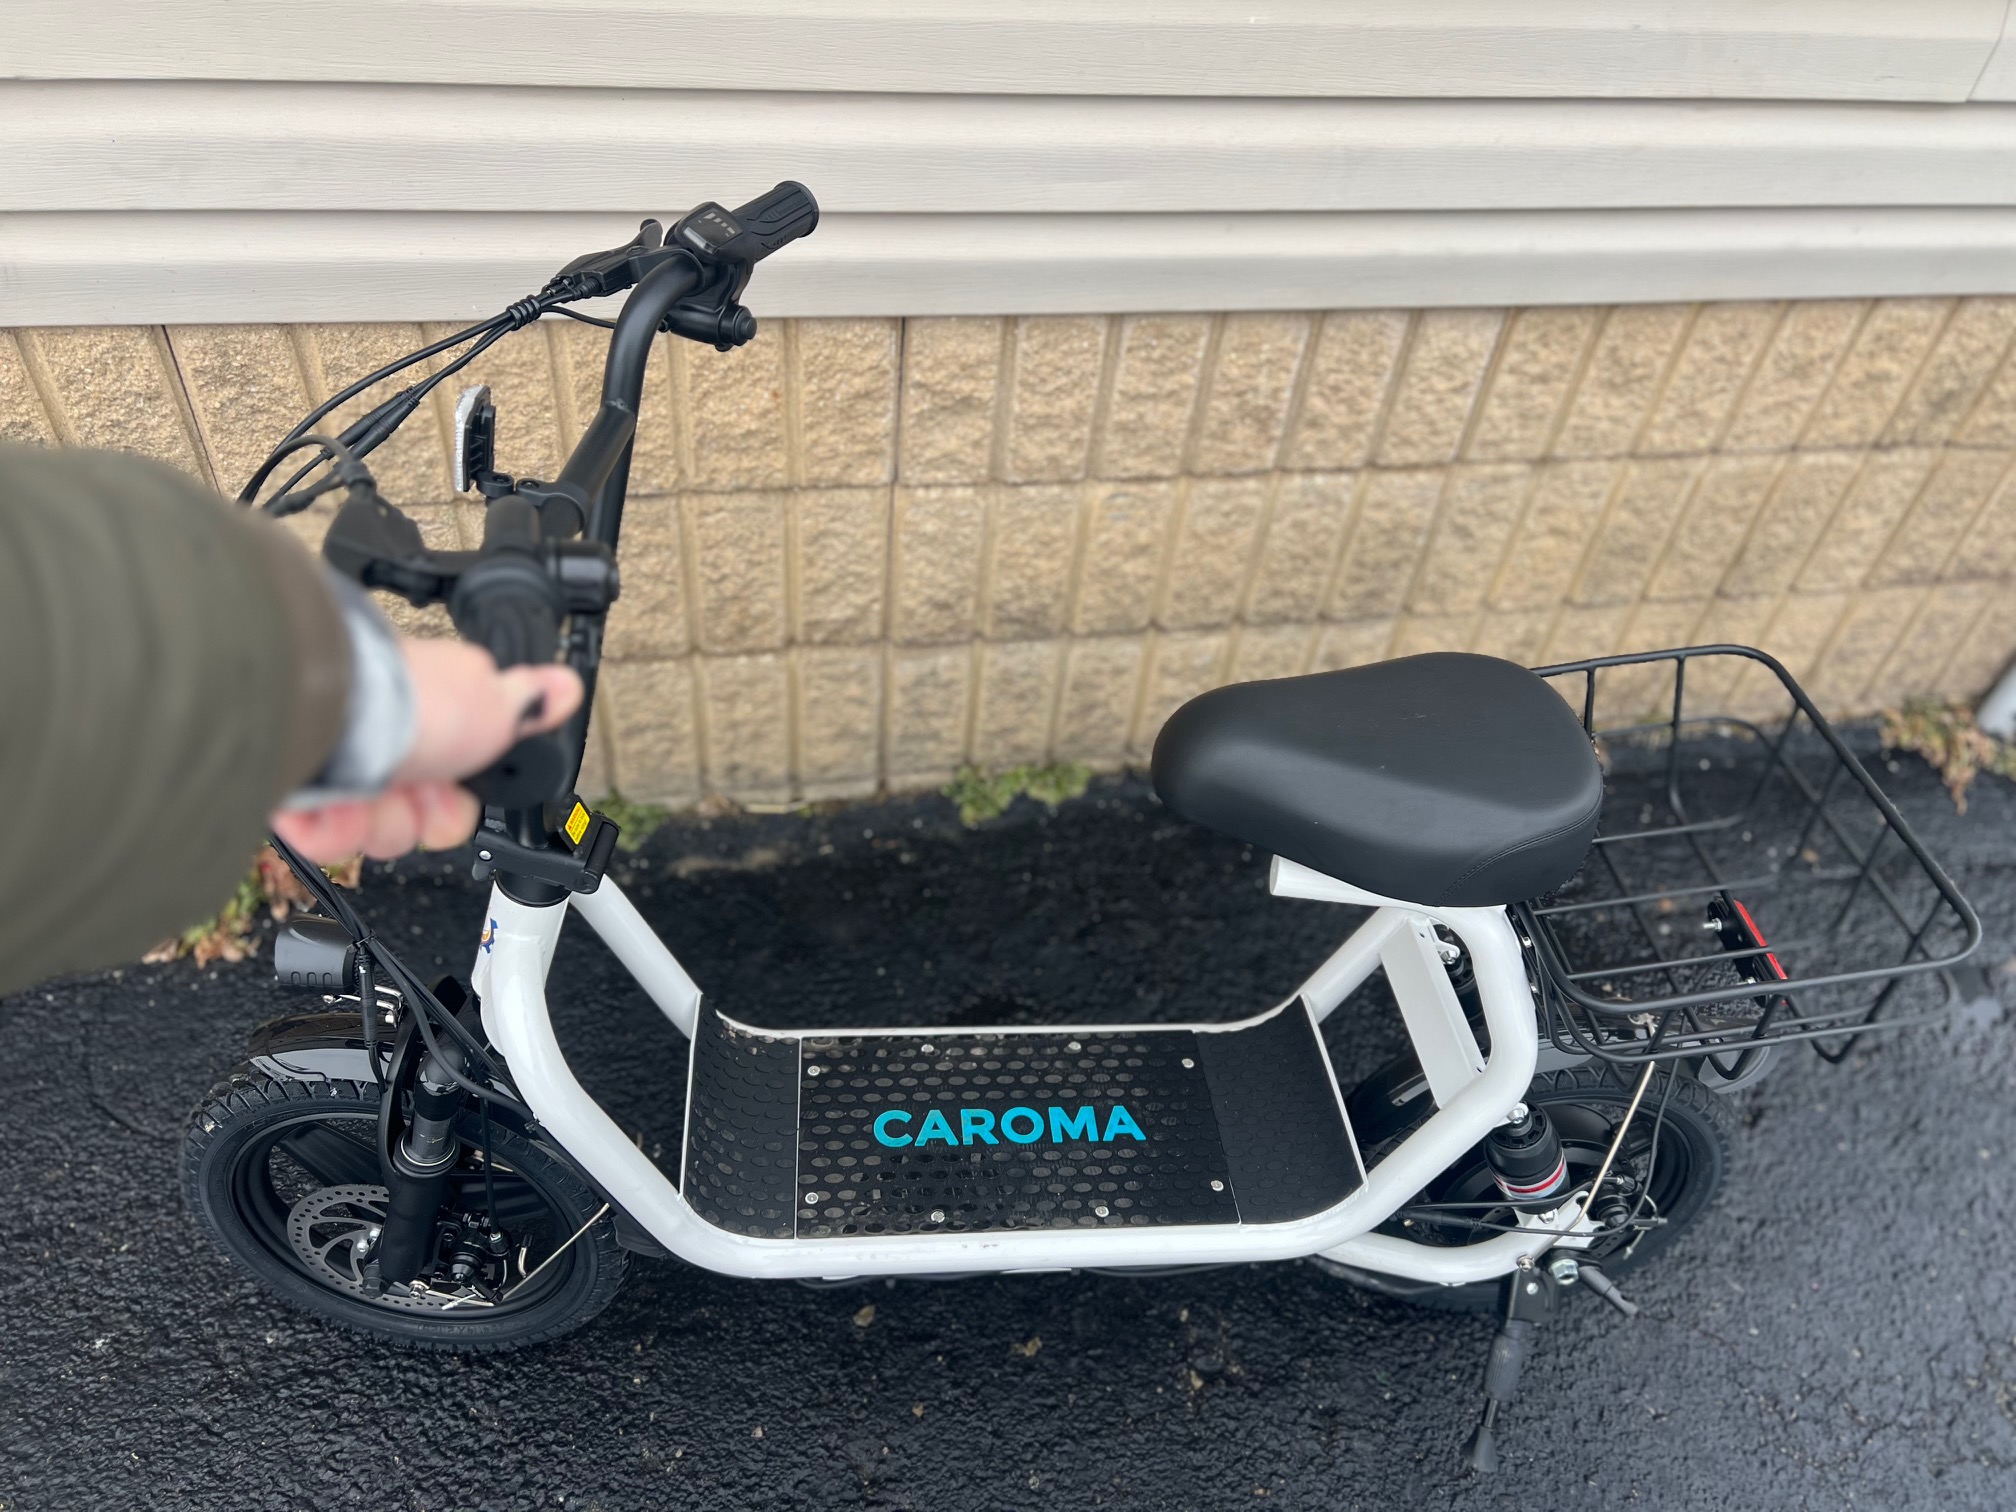
Figure 2: Handlebar Controls and Battery Indicator (Illustrative)
5. Батерейг цэнэглэж байна
To charge your Caroma Electric Scooter D1:
- Скутер унтарсан эсэхийг шалгаарай.
- Locate the charging port on the side of the battery compartment, near the ignition key.
- Цэнэглэгчийг цэнэглэх порт руу холбоод дараа нь цэнэглэгчийг стандарт ханын залгуурт залгаарай.
- Цэнэглэгч дээрх заагч гэрэл нь цэнэглэх үед улаанаар гэрэлтэж, бүрэн цэнэглэгдсэн үед ногоон өнгөтэй болно.
- Бүрэн цэнэглэхэд ойролцоогоор 7-8 цаг цэнэглэдэг.
- Скутертэй хамт ирсэн анхны цэнэглэгчийг үргэлж ашиглаарай.
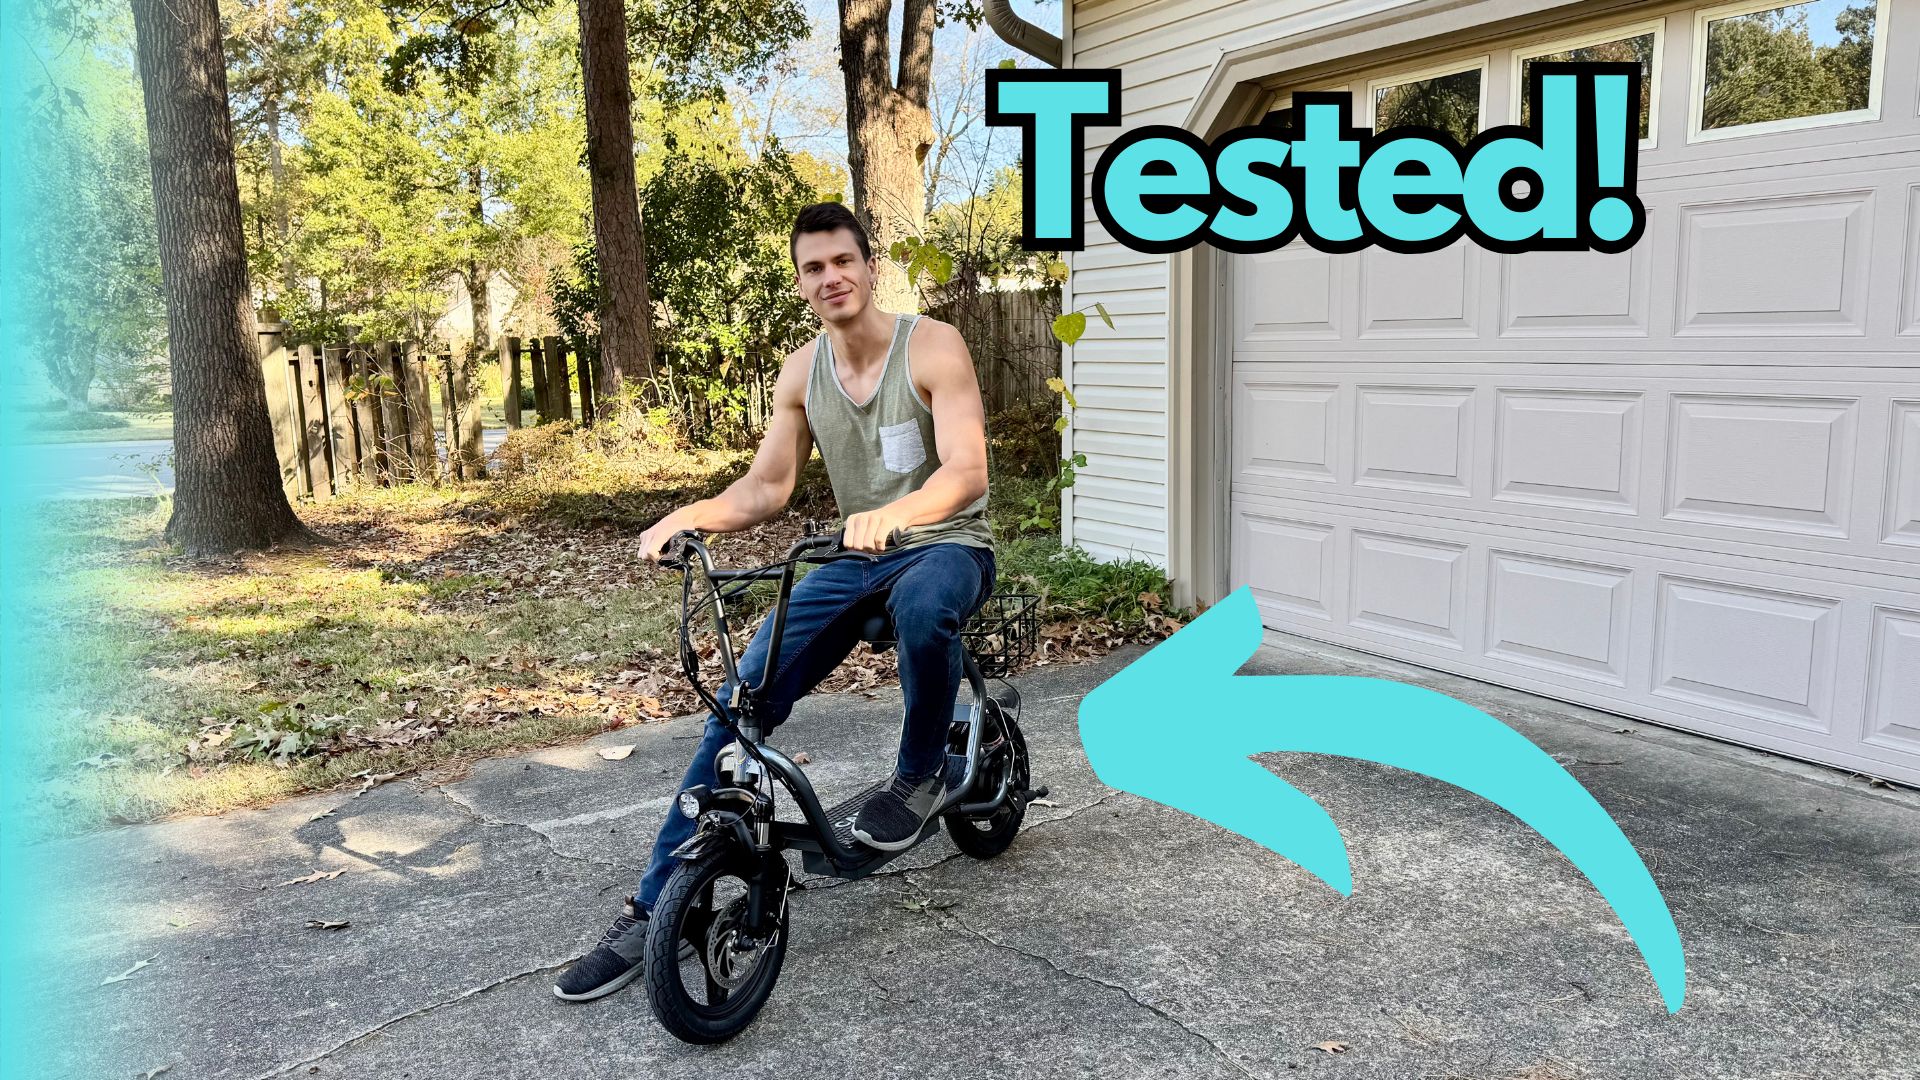
Figure 3: Charging Port and Ignition Key (Illustrative)
6. Засвар үйлчилгээ
- Цэвэрлэгээ: Скутерийг зар сурталчилгаагаар арчихamp даавуу. Өндөр даралттай ус бүү ашигла, скутерийг усанд дүрж болохгүй.
- Дугуй: Regularly check tire pressure and inflate as needed. Inspect tires for wear and tear.
- Тоормос: Periodically check brake pads and cables for wear. Adjust brake tension to ensure responsive braking.
- Батерейны арчилгаа: Store the scooter in a cool, dry place. If storing for extended periods, charge the battery to 50-70% and recharge every 2-3 months.
- Бэхэлгээ: Бүх эрэг, боолт, хурдан салгах механизмыг чанга, найдвартай эсэхийг үе үе шалгаж байгаарай.
7. Алдаа засах
| Асуудал | Боломжит шалтгаан | Шийдэл |
|---|---|---|
| Скутер асахгүй байна | Battery is low or dead; Ignition key not in ON position | Charge the battery; Turn the ignition key to ON |
| Мотор ажиллахгүй байна | Throttle issue; Loose connection | Check throttle for obstruction; Inspect all cable connections |
| Тоормос суларсан мэт санагдаж байна | Brake cable tension is low; Worn brake pads | Тоормосны кабелийн хурцадмал байдлыг тохируулах; Тоормосны дэвсгэрийг солих |
| Багасгасан хүрээ/хурд | Low tire pressure; Battery degradation; Heavy load | Inflate tires to recommended PSI; Consult support for battery check; Reduce load |
8. Техникийн үзүүлэлтүүд
| Онцлог | Дэлгэрэнгүй |
|---|---|
| Брэнд | Карома |
| Загвар | D1 (B0FSZZL7PR) |
| Моторын хүч | 800W (Rated) / 1200W (Peak) |
| Макс муж | 30 миль хүртэл |
| Хамгийн их хурд | 20 миль/цаг хүртэл |
| Дугуйн хэмжээ | 14-inch Fat Tires |
| Тоормосны систем | Хос механик дискэн тоормос |
| Түдгэлзүүлэх | Давхар түдгэлзүүлэлт |
| Хамгийн их ачаалал | 300 фунт (136 кг) |
| Онцлогууд | Foldable, Seat, Carry Basket, Headlight, Tail Light |
9. Баталгаат хугацаа ба дэмжлэг
For warranty information, technical support, or service inquiries, please refer to the warranty card included with your product or visit the official Caroma webсайт. Худалдан авалтын баримтаа худалдан авалтын баталгаа болгон хадгалаарай.
Caroma Store: Visit the Caroma Store on Amazon
Ask a question about this manual
Ask about setup, troubleshooting, compatibility, parts, safety, or missing instructions. Manuals+ will review the question and use this page’s manual context to help answer it.