1. Танилцуулга
This manual provides detailed instructions for the installation, operation, and maintenance of your AZZA Solano 1000R CSAZ-1000R Full Tower Computer Case. Please read this manual thoroughly before beginning installation to ensure proper setup and to maximize the performance and longevity of your system components.
2. Бүтээгдэхүүний онцлог
- Optimized Thermal Management: Features multiple fans for superior cooling, including a 230mm top fan, a 230mm side fan, two 140mm front fans, and a 120mm rear fan.
- Bottom-Mounted Power Supply: Designed for improved thermal separation and stability, allowing installation facing up or down.
- Кабелийн дэвшилтэт удирдлага: Pre-drilled motherboard tray and ample space behind for organized cable routing, enhancing airflow and aesthetics.
- Tool-Less Design: Thumb screws for easy installation of optical drives and hard disk drives.
- Тохиромжтой урд талын оролт/гаралт: USB and audio ports, along with an eSATA port, located on the top panel for easy access.
- Өргөн интерьер: Full tower design accommodates large components, including extended graphics cards and tall CPU coolers.
- Гоо сайхны дизайн: Black exterior with a vibrant red painted interior and red LED fans.
3. Багцын агуулга
Таны багцад бүх зүйл байгаа эсэхийг шалгана уу:
- AZZA Solano 1000R CSAZ-1000R Full Tower Case
- Дагалдах хэрэгслийн хайрцаг (эрэг, тулгуур, кабель зангиа гэх мэт агуулсан)
- Хэрэглэгчийн гарын авлага (энэ баримт бичиг)
4. Бүрэлдэхүүн хэсэг дууссанview
4.1 Гадаад Views
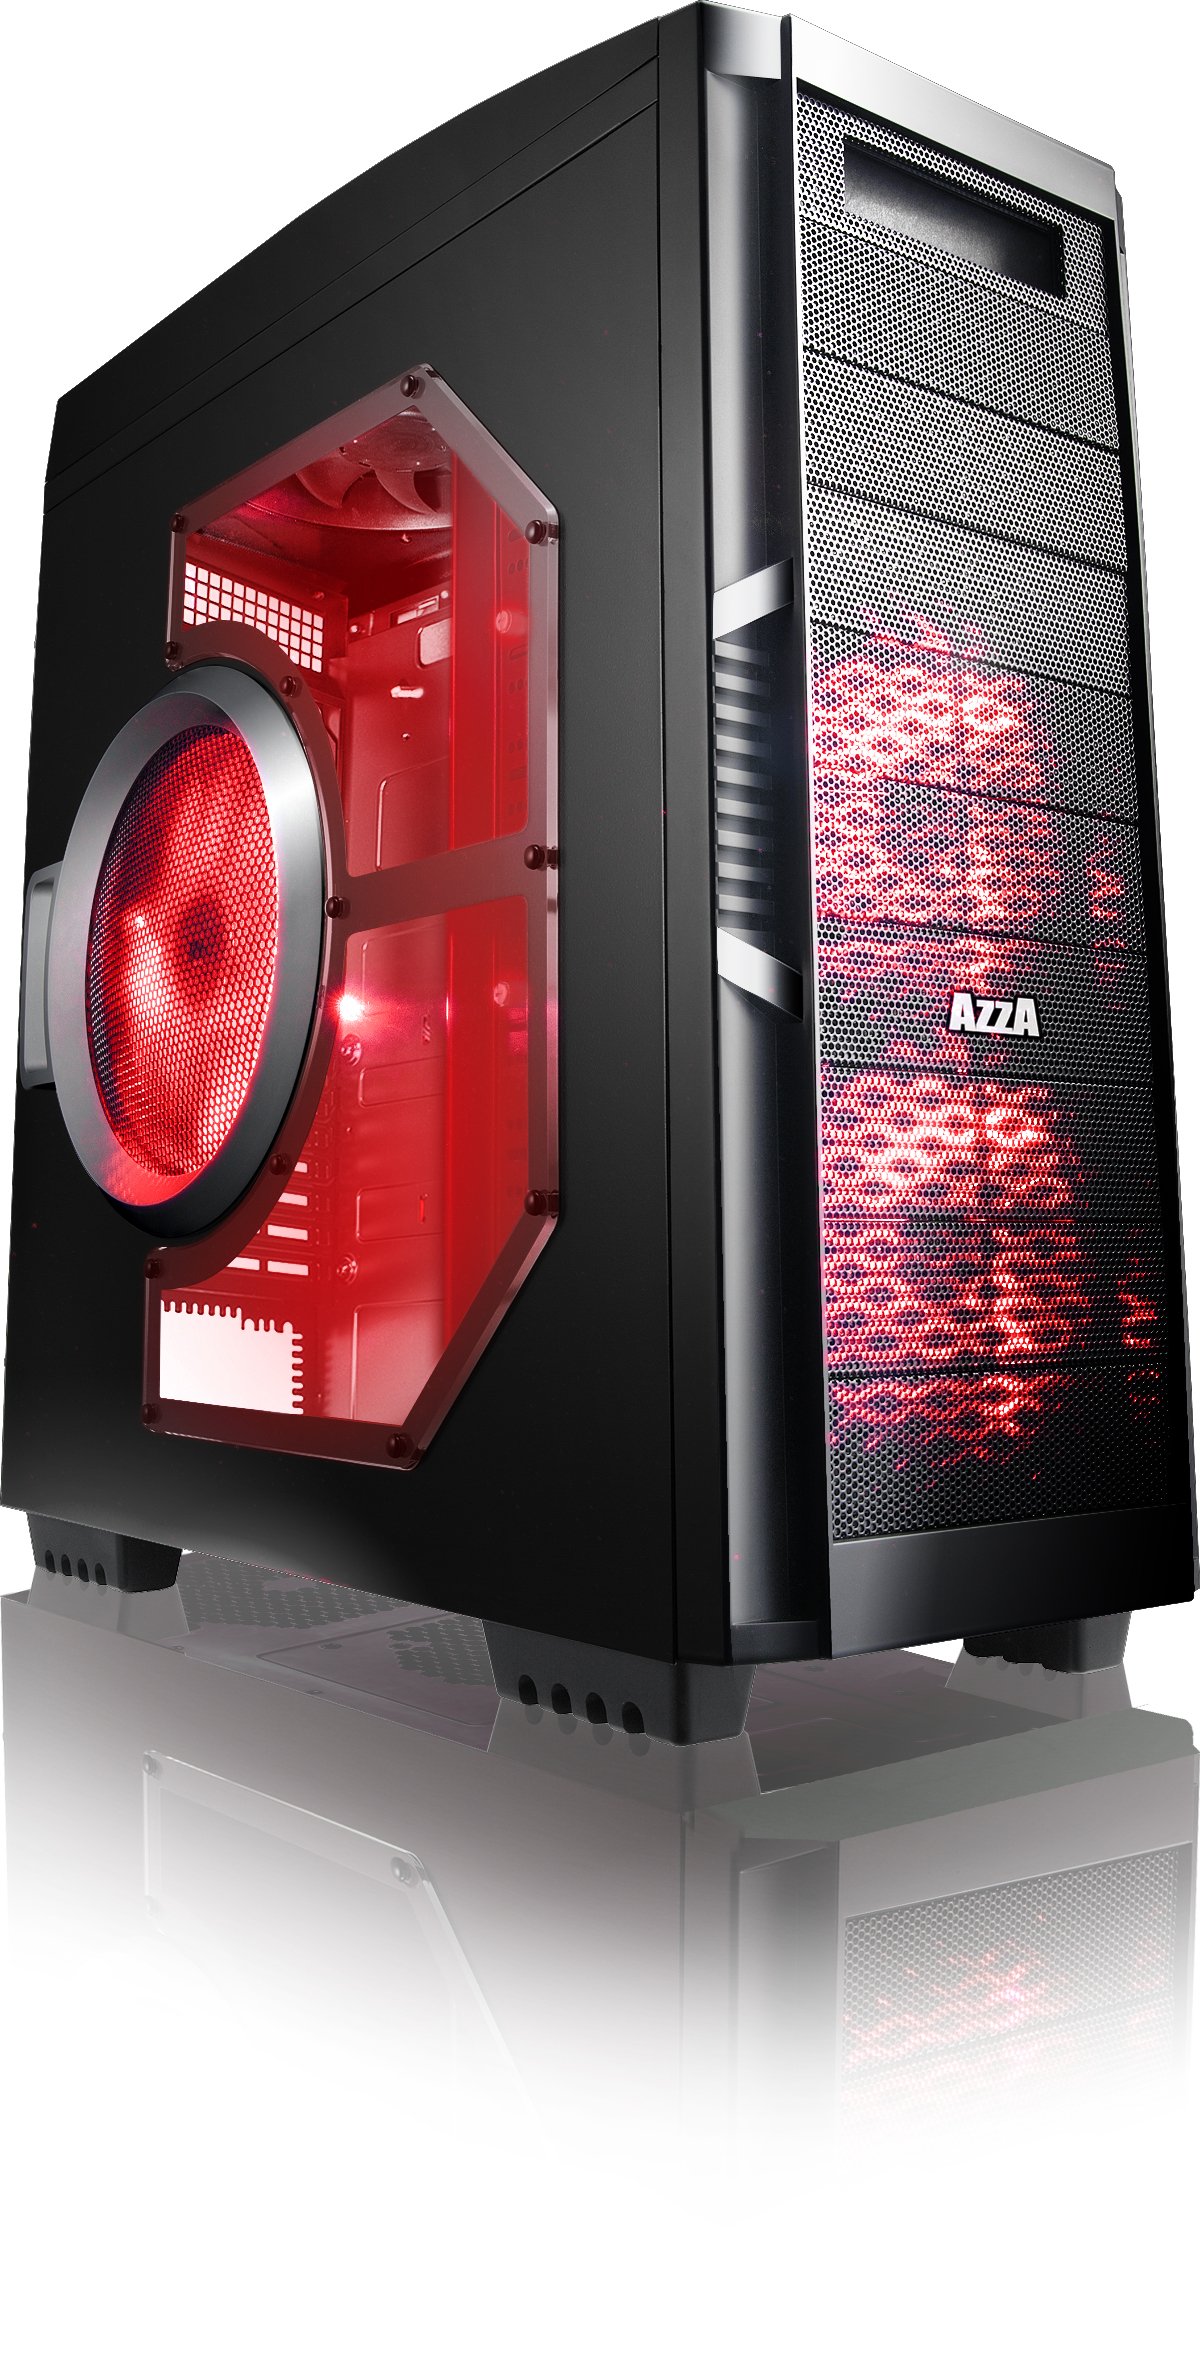
Зураг 4.1: Урд тал view of the AZZA Solano 1000R case, showcasing the red LED fans on the front and side panel.

Зураг 4.2: Урд view of the AZZA Solano 1000R case, highlighting the two 140mm red LED intake fans behind the mesh panel.

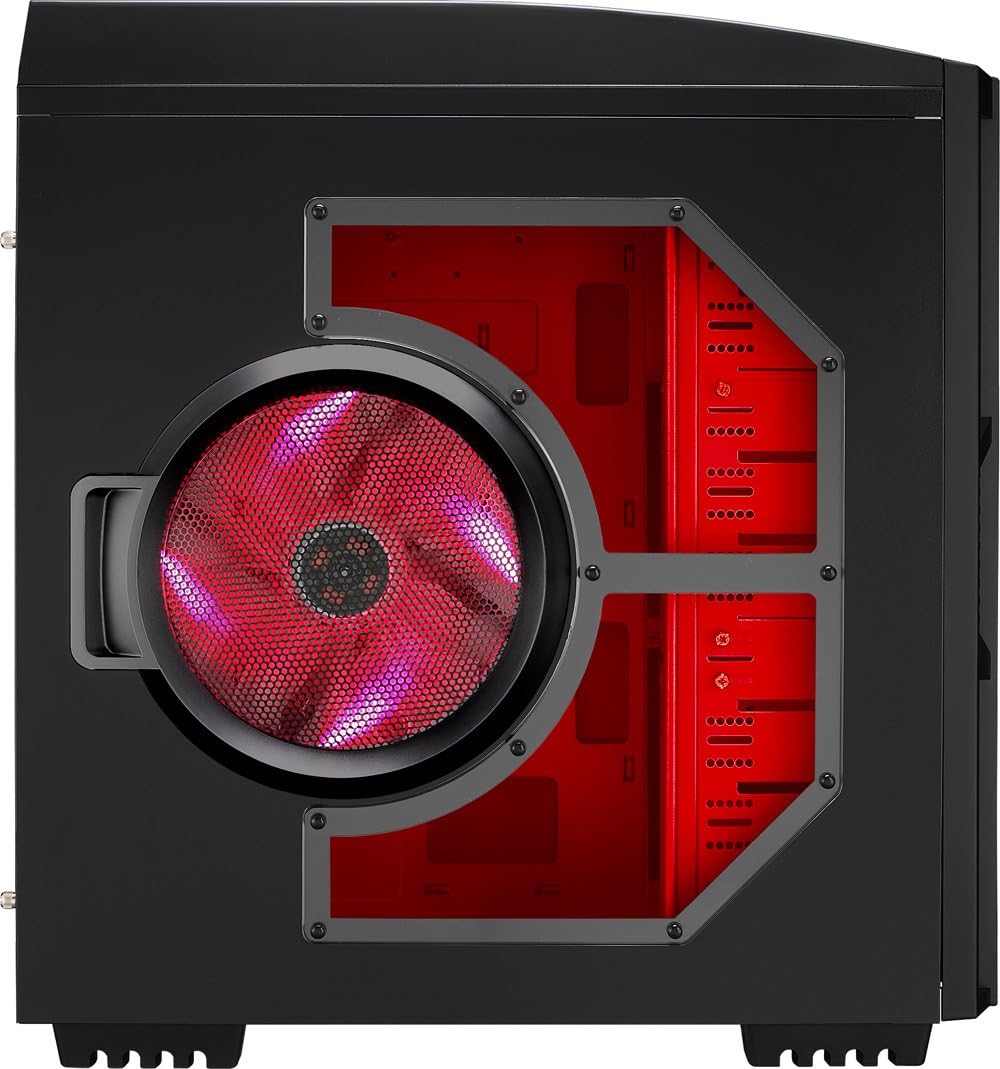
Зураг 4.3: Хажуу тал view of the AZZA Solano 1000R case, showing the large 230mm red LED side panel fan and the transparent window.

Зураг 4.4: Дээд урд талын өнцөг view of the AZZA Solano 1000R case, showing the top ventilation grille, front I/O panel with USB and audio ports, and power button.
Зураг 4.5: Ар тал view of the AZZA Solano 1000R case, displaying the red interior, rear exhaust fan, and expansion slots.
4.2 Дотоод Views

Зураг 4.6: Дотоод засал view of the AZZA Solano 1000R case with the left side panel removed, revealing the red painted motherboard tray, drive bays, and cable routing cutouts.

Figure 4.7: Angled interior view of the AZZA Solano 1000R case, focusing on the multiple 5.25" and 3.5" drive bays.

Figure 4.8: Angled interior view of the AZZA Solano 1000R case, showing the rear 120mm exhaust fan, expansion slots, and the extensive drive bay structure.

Зураг 4.9: Дотоод засал view of the AZZA Solano 1000R case with the right side panel removed, showing the space behind the motherboard tray for cable management.
5. Суулгах заавар
Суулгаж эхлэхээс өмнө ажлын байраа цэвэр, статикгүй эсэхийг шалгаарай. Эсрэг статик бугуйн оосор өмсөхийг зөвлөж байна.
5.1 Хэргийг бэлтгэх
- Хайрцгийг хавтгай, тогтвортой гадаргуу дээр байрлуул.
- Remove the side panels by unscrewing the thumb screws at the rear of the case and sliding the panels backward.
5.2 Эх хавтангийн суурилуулалт
- Эх хавтангийн хамт ирсэн I/O хамгаалалтыг гэрний ар талын нүхэнд суулгана уу.
- Align the motherboard with the pre-installed standoffs. If necessary, install additional standoffs according to your motherboard's form factor.
- Эх хавтанг тулгуур дээр болгоомжтой байрлуулж, I/O портууд бамбайтай зэрэгцэж байгаа эсэхийг шалгаарай.
- Эх хавтанг дагалдах хэрэгслийн хайрцгаас тохирох боолтоор бэхлэнэ үү.
5.3 Цахилгаан хангамжийн суурилуулалт
- Position the power supply unit (PSU) in the bottom-rear compartment of the case. You can orient it with the fan facing up or down, depending on your cooling preference and PSU design.
- Secure the PSU to the case using the screws provided with your power supply.
5.4 Хадгалах хөтч суурилуулах (HDD/SSD)
- For 3.5" HDDs, slide the drive into an available drive bay until it clicks into place. Use the provided thumb screws for additional security if desired.
- For 2.5" SSDs, an adapter bracket (not included) may be required to fit into the 3.5" bays. Secure the SSD to the adapter, then install the adapter into a 3.5" bay.
- Connect the SATA data and power cables to your installed drives.
5.5 Optical Drive Installation
- Remove the desired 5.25" front bay cover from the case.
- Slide the optical drive into the bay from the front until it aligns with the screw holes.
- Secure the optical drive using the provided thumb screws.
- Connect the SATA data and power cables to the optical drive.
5.6 Өргөтгөлийн карт суурилуулах
- Хайрцагны ар талд шаардлагатай тэлэлтийн үүрний тагийг ав.
- Insert your graphics card or other expansion card into the appropriate PCIe/PCI slot on your motherboard.
- Secure the card with the provided screw or tool-less latch mechanism.
5.7 Кабелийн менежмент
Utilize the cutouts and space behind the motherboard tray to route and organize your cables. This improves airflow and gives your build a cleaner appearance. Use cable ties from the accessory box to bundle cables.
5.8 Урд самбарын оролт/гаралтыг холбох
Connect the front panel cables (USB, Audio, Power Switch, Reset Switch, Power LED, HDD LED) to the corresponding headers on your motherboard. Refer to your motherboard manual for exact header locations.
6. Үйл ажиллагаа
6.1 Асаах/унтраах
Press the power button located on the top panel to turn your system on or off. A power LED will illuminate when the system is active.
6.2 Сэнсний удирдлага
The case features a fan speed control switch (L/M/H) at the rear, primarily for the top, side, and rear fans. Adjust this switch to balance cooling performance and noise levels according to your preference.
7. Засвар үйлчилгээ
7.1 Цэвэрлэгээ
Тогтмол цэвэрлэгээ нь агаарын оновчтой урсгалыг хадгалах, эд ангийн ашиглалтын хугацааг уртасгахад тусалдаг.
- Гадна: Гадна талын гадаргууг зөөлөн арчиж, damp даавуу. Зүлгүүрийн цэвэрлэгчээс зайлсхий.
- Тоосны шүүлтүүр: The case includes mesh filters at the bottom. Periodically remove and clean these filters to prevent dust buildup.
- Дотоод засал: Use compressed air to remove dust from inside the case, especially from fans and heatsinks. Ensure the system is powered off and unplugged before cleaning the interior.
8. Алдаа засах
- Систем асахгүй байна: Бүх цахилгааны кабель (24 зүүтэй ATX, 8 зүүтэй CPU, GPU тэжээл) найдвартай холбогдсон эсэхийг шалгана уу. Цахилгаан тэжээлийн унтраалга 'ON' байрлалд байгаа эсэхийг шалгана уу. Урд талын самбарын цахилгаан унтраалга эх хавтантай холбогдсон эсэхийг шалгана уу.
- Фэнүүд эргэхгүй байна: Check fan power connections to the motherboard or fan controller. Ensure the fan speed switch is not set to 'Off' or 'Low' if fans are not spinning at all.
- Side Panel Not Closing: If a large CPU cooler or tall components prevent the side panel from closing, especially due to the side fan, consider relocating the side fan to the exterior of the panel if possible, or ensure your cooler fits within the case's clearance specifications.
- Cable Management Difficulty: If the rear panel bulges due to thick cables, try rerouting cables more efficiently or using flatter cables where possible.
9. Техникийн үзүүлэлтүүд
| Онцлог | Дэлгэрэнгүй |
|---|---|
| Загварын дугаар | CSAZ-1000R |
| Кейсийн төрөл | Бүтэн цамхаг |
| Өнгө | Хар/Улаан |
| Бүтээгдэхүүний хэмжээ (L x W x H) | 19.7 x 8.1 x 21.5 инч (500 x 206 x 546 мм) |
| Зүйлийн жин | 24 фунт (10.89 кг) |
| Хөргөх арга | Агаар |
| Цахилгаан хангамжийн угсралтын төрөл | Доод бэхэлгээ |
| Нийт USB портууд | 2 (USB 2.0) + 1 (eSATA) |
| Hard Disk Form Factor Support | 3.5 инч |
| Фэнүүд багтсан | 2x 230mm (Top, Side), 2x 140mm (Front), 1x 120mm (Rear) |
10. Баталгаат хугацаа ба дэмжлэг
Баталгаат хугацаа болон техникийн дэмжлэг авахыг хүсвэл албан ёсны AZZA-аас лавлана уу webсайт эсвэл орон нутгийн жижиглэн худалдаалагчтай холбоо барина уу. Баталгаат нэхэмжлэл гаргахын тулд худалдан авалтаа нотлох баримтаа хадгалаарай.


