1. Бүтээгдэхүүн дууссанview
The Lutron Maestro MS-OPS6M2N-DV-WH is an advanced occupancy/vacancy sensor switch designed to automatically control lighting in a room. This device utilizes passive infrared (PIR) technology to detect human motion and presence, ensuring lights are only on when needed. It combines the functionality of a standard light switch with an integrated motion sensor, offering convenience and energy savings.
Гол онцлогууд:
- Passive infrared motion detection with Lutron XCT technology for fine motion sensing.
- 180-degree sensor field-of-view for comprehensive room coverage.
- Requires a neutral wire for installation.
- Occupancy version supports both auto-on/auto-off and manual-on/auto-off modes.
- Vacancy version is available to comply with CA Title 24 requirements.
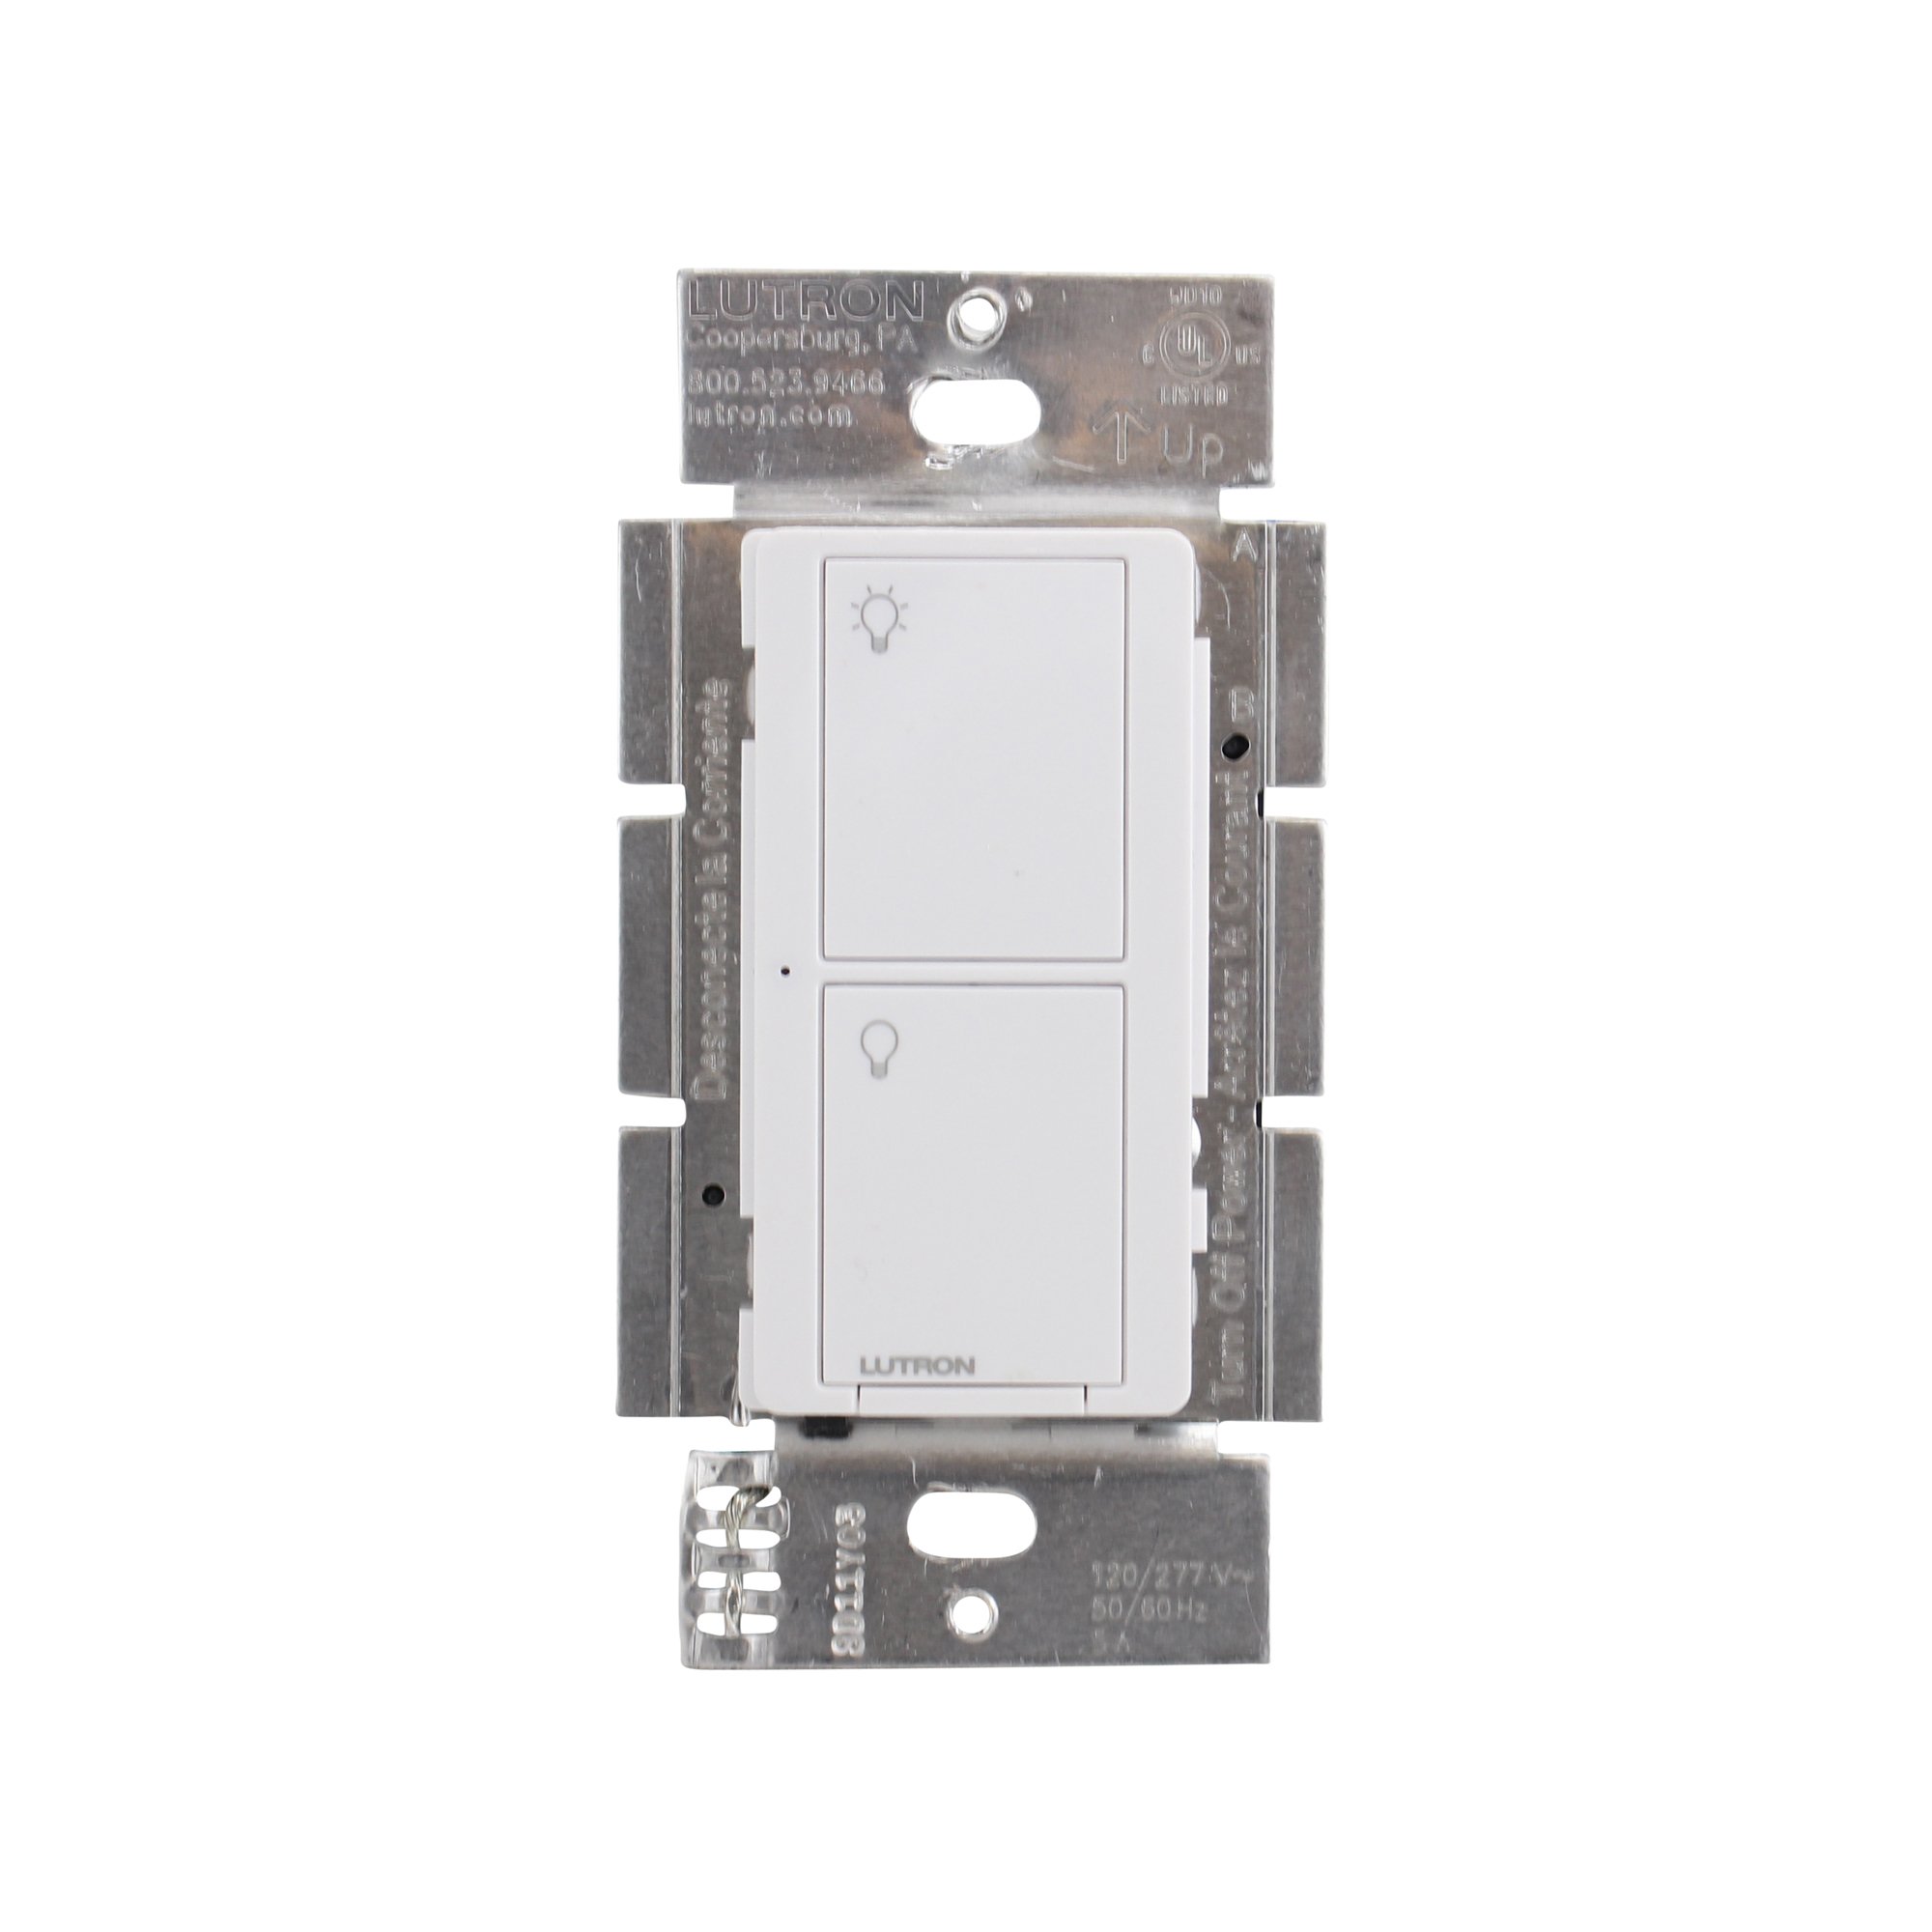
Зураг 1: Урд view of the Lutron Maestro MS-OPS6M2N-DV-WH sensor switch.
2. Тохиргоо ба суурилуулалт
Аюулгүй байдлын чухал мэдээлэл: Before beginning installation, turn off power at the circuit breaker or fuse box. Incorrect installation can lead to electrical shock or fire. If you are unsure about any part of these instructions, consult a qualified electrician.
Шаардлагатай хэрэгслүүд: Screwdriver (Phillips and flathead), wire strippers, electrical tape.
2.1 Утас тавих заавар
- Цахилгааныг унтраах: Locate the circuit breaker controlling the switch you are replacing and turn it OFF. Verify power is off using a voltage шалгагч.
- Одоо байгаа шилжүүлэгчийг устгах: Ханын хавтанг болгоомжтой авч, одоо байгаа унтраалгыг ханын хайрцагнаас тайлна уу. Хуучин унтраалгаас утсыг салга.
- Утас таних:
- Халуун (шугам) утас: Ихэвчлэн хар өнгөтэй, таслагчаас хүчийг авчирдаг.
- Ачаалах утас: Typically black, connects to the light fixture.
- Төвийг сахисан утас: Typically white, required for this switch.
- Газардуулгын утас: Ихэвчлэн нүцгэн зэс эсвэл ногоон өнгөтэй байдаг.
Note: If you are replacing a 3-way switch, you will also have traveler wires. This model supports 3-way circuits. Refer to the detailed wiring diagram for 3-way installations.
- Connect Wires to Maestro Switch:
- -г холбоно уу газардуулгын утас from the wall box to the green ground wire on the Maestro switch.
- -г холбоно уу төвийг сахисан утас from the wall box to the white neutral wire on the Maestro switch.
- -г холбоно уу hot (line) wire болон ачааллын утас from the wall box to the two black wires on the Maestro switch. If the light does not function correctly, swap these two black wires.
- For 3-way applications, connect the traveler wires as per the specific 3-way wiring diagram provided with the product packaging.
- Secure Switch: Carefully push the wired switch into the wall box, ensuring wires are not pinched. Screw the switch into place.
- Ханын хавтанг суурилуулах: Чимэглэлийн ханын хавтанг бэхлээрэй.
- Эрчим хүчийг сэргээх: Хэлхээ таслагч дээр цахилгааныг дахин асаана уу.

Зураг 2: Жишээ ньample wiring diagram for a single-pole installation. Consult the included manual for 3-way wiring.
3. Ашиглалтын заавар
The Maestro sensor switch offers flexible operation modes to suit various needs.
3.1 Үйл ажиллагааны горимууд
- Occupancy Mode (Auto-On/Auto-Off): In this mode, the lights automatically turn ON when motion is detected and automatically turn OFF after a set time delay when no motion is detected. This is ideal for high-traffic areas where hands-free operation is desired.
- Vacancy Mode (Manual-On/Auto-Off): In this mode, the lights must be manually turned ON by pressing the switch button. They will then automatically turn OFF after a set time delay when no motion is detected. This mode is often used to meet energy codes and provides more control over when lights are initially activated.
3.2 Тохиргоог тохируулах
The Maestro sensor switch typically has small buttons or dip switches behind the wall plate for adjusting settings such as:
- Цагийн саатал: How long the lights remain on after the last detected motion (e.g., 1, 5, 15, 30 minutes).
- Мэдрэмж: The level of motion required to trigger the sensor.
- Үйлдлийн горим: Switching between Occupancy (Auto-On) and Vacancy (Manual-On) modes.
Refer to the detailed instructions included with your product for specific steps on how to access and adjust these settings.
4. Засвар үйлчилгээ
The Lutron Maestro sensor switch requires minimal maintenance to ensure optimal performance.
- Цэвэрлэгээ: To clean the surface of the switch, use a soft, damp даавуу. Зүлгүүрийн цэвэрлэгч, уусгагч эсвэл хүчтэй химийн бодис бүү хэрэглэ, учир нь эдгээр нь өнгөлгөө эсвэл дотор эд ангиудыг гэмтээж болзошгүй.
- Мэдрэгчийн бөглөрөл: Ensure the sensor lens is not obstructed by furniture, curtains, or other objects that could block its field of view. A clear path to the sensor is crucial for accurate motion detection.
- Тоосжилт: Periodically wipe the sensor lens to prevent dust accumulation, which can reduce sensitivity.
5. Алдаа засах
If you encounter issues with your Maestro sensor switch, refer to the following common troubleshooting steps:
- Lights do not turn ON automatically (Occupancy Mode):
- Verify the sensor's field of view саад болохгүй.
- Check the sensitivity setting; it might be too low.
- Ensure the switch is in Occupancy (Auto-On) mode.
- Confirm power is supplied to the switch.
- Lights do not turn OFF:
- Мэдрэгчийн хүрээн дотор тасралтгүй хөдөлгөөн байхгүй эсэхийг шалгаарай.
- Check the time delay setting; it might be set too long.
- Verify the switch is correctly wired, especially the load wire.
- Lights flicker or behave erratically:
- Confirm that a neutral wire is properly connected. This switch requires a neutral wire for stable operation.
- Бүх утсан холболт найдвартай эсэхийг шалгаарай.
- If in a 3-way setup, ensure compatible companion switches are used and wired correctly.
- Switch is unresponsive:
- Turn off power at the circuit breaker for 15 seconds, then restore power. This can reset the switch.
- Check all wiring connections for looseness or incorrect placement.
If these steps do not resolve the issue, contact Lutron customer support for further assistance.
6. Техникийн үзүүлэлтүүд
| Онцлог | Дэлгэрэнгүй |
|---|---|
| Загварын дугаар | MS-OPS6M2N-DV-WH |
| Брэнд | Лутрон |
| Үйлдлийн горим | Автоматаар |
| Холбоо барих төрөл | Ер нь нээлттэй |
| Холбогч төрөл | Шураг терминалууд |
| Терминал | Шураг |
| Хэмжээ (L x W x H) | 2.2 x 2.2 x 4.5 инч |
| Хэлхээний төрөл | 3 чиглэлтэй |
| Хөдөлгүүрийн төрөл | Товчлуур |
| Холбоо барих материал | Зэс |
| Олон улсын хамгаалалтын зэрэглэл | IP54 |
| Хяналтын арга | Хүрэх |
| Холболтын протокол | Хэт улаан туяа |
| Өнгө | Цагаан |
| Зүйлийн жин | 3.52 унц |
| Төвийг сахисан утас шаардлагатай | Тиймээ |
7. Бүтээгдэхүүний видео
7.1 Lutron Maestro Sensor Switch Overview
Видео 1: Дууслааview of the Lutron Maestro sensor switch features and benefits. This video provides a general introduction to the product's capabilities.
7.2 Advanced Features and Configuration
Video 2: A detailed look into the advanced features and configuration options of the Lutron Maestro sensor switch, including setting adjustments.
8. Баталгаат хугацааны мэдээлэл
Lutron products typically come with a limited warranty covering defects in materials and workmanship. For specific warranty terms and conditions applicable to your MS-OPS6M2N-DV-WH sensor switch, please refer to the warranty card included in the product packaging or visit the official Lutron webсайт. Баталгаат нэхэмжлэл гаргахын тулд худалдан авалтаа нотлох баримтаа хадгалаарай.
9. Хэрэглэгчийн дэмжлэг
For technical assistance, troubleshooting, or product inquiries, please contact Lutron customer support. You can find contact information on the official Lutron webсайт эсвэл бүтээгдэхүүний баримт бичигт.
Онлайн нөөцүүд:
- Албан тушаалтанд зочилно уу Амазон дээрх Лутрон дэлгүүр дэлгэрэнгүй мэдээлэл, бүтээгдэхүүн.
- Refer to the comprehensive FAQs and support documents available on the Lutron corporate webсайт.


