Танилцуулга
This manual provides detailed instructions for the safe installation, operation, and maintenance of your Elk Home 66894/6 Laboratory 6-Light Chandelier. Please read all instructions carefully before beginning installation and retain this manual for future reference.
Аюулгүй байдлын мэдээлэл
АНХААРУУЛГА: Цахилгаанд цохиулах эрсдэлтэй. Суурилуулах эсвэл засвар үйлчилгээ хийхээс өмнө гал хамгаалагчийн хайрцаг эсвэл автомат таслуурын цахилгааныг салга. Суурилуулалтын үйл явцын талаар эргэлзэж байвал мэргэшсэн цахилгаанчинтай зөвлөлдөнө үү.
- Ensure the electrical supply to the fixture is disconnected before installation, maintenance, or bulb replacement.
- Бүх цахилгааны холболтууд нь орон нутгийн болон үндэсний цахилгааны кодын дагуу байх ёстой.
- Хамгийн их ватаас хэтрэхгүйtagчийдэнгийн хувьд тодорхойлсон e.
- Энэхүү бэхэлгээ нь зөвхөн дотор ашиглах зориулалттай.
- Шилэн эд ангиудыг эвдрэхээс сэргийлж болгоомжтой харьц.
Багцын агуулга
Суулгахаасаа өмнө бүх бүрэлдэхүүн хэсгүүд байгаа эсэхийг шалгаарай.
- Chandelier fixture body
- Glass shades (6 pieces)
- Суурилуулах тоног төхөөрөмжийн иж бүрдэл
- Зааварчилгааны гарын авлага
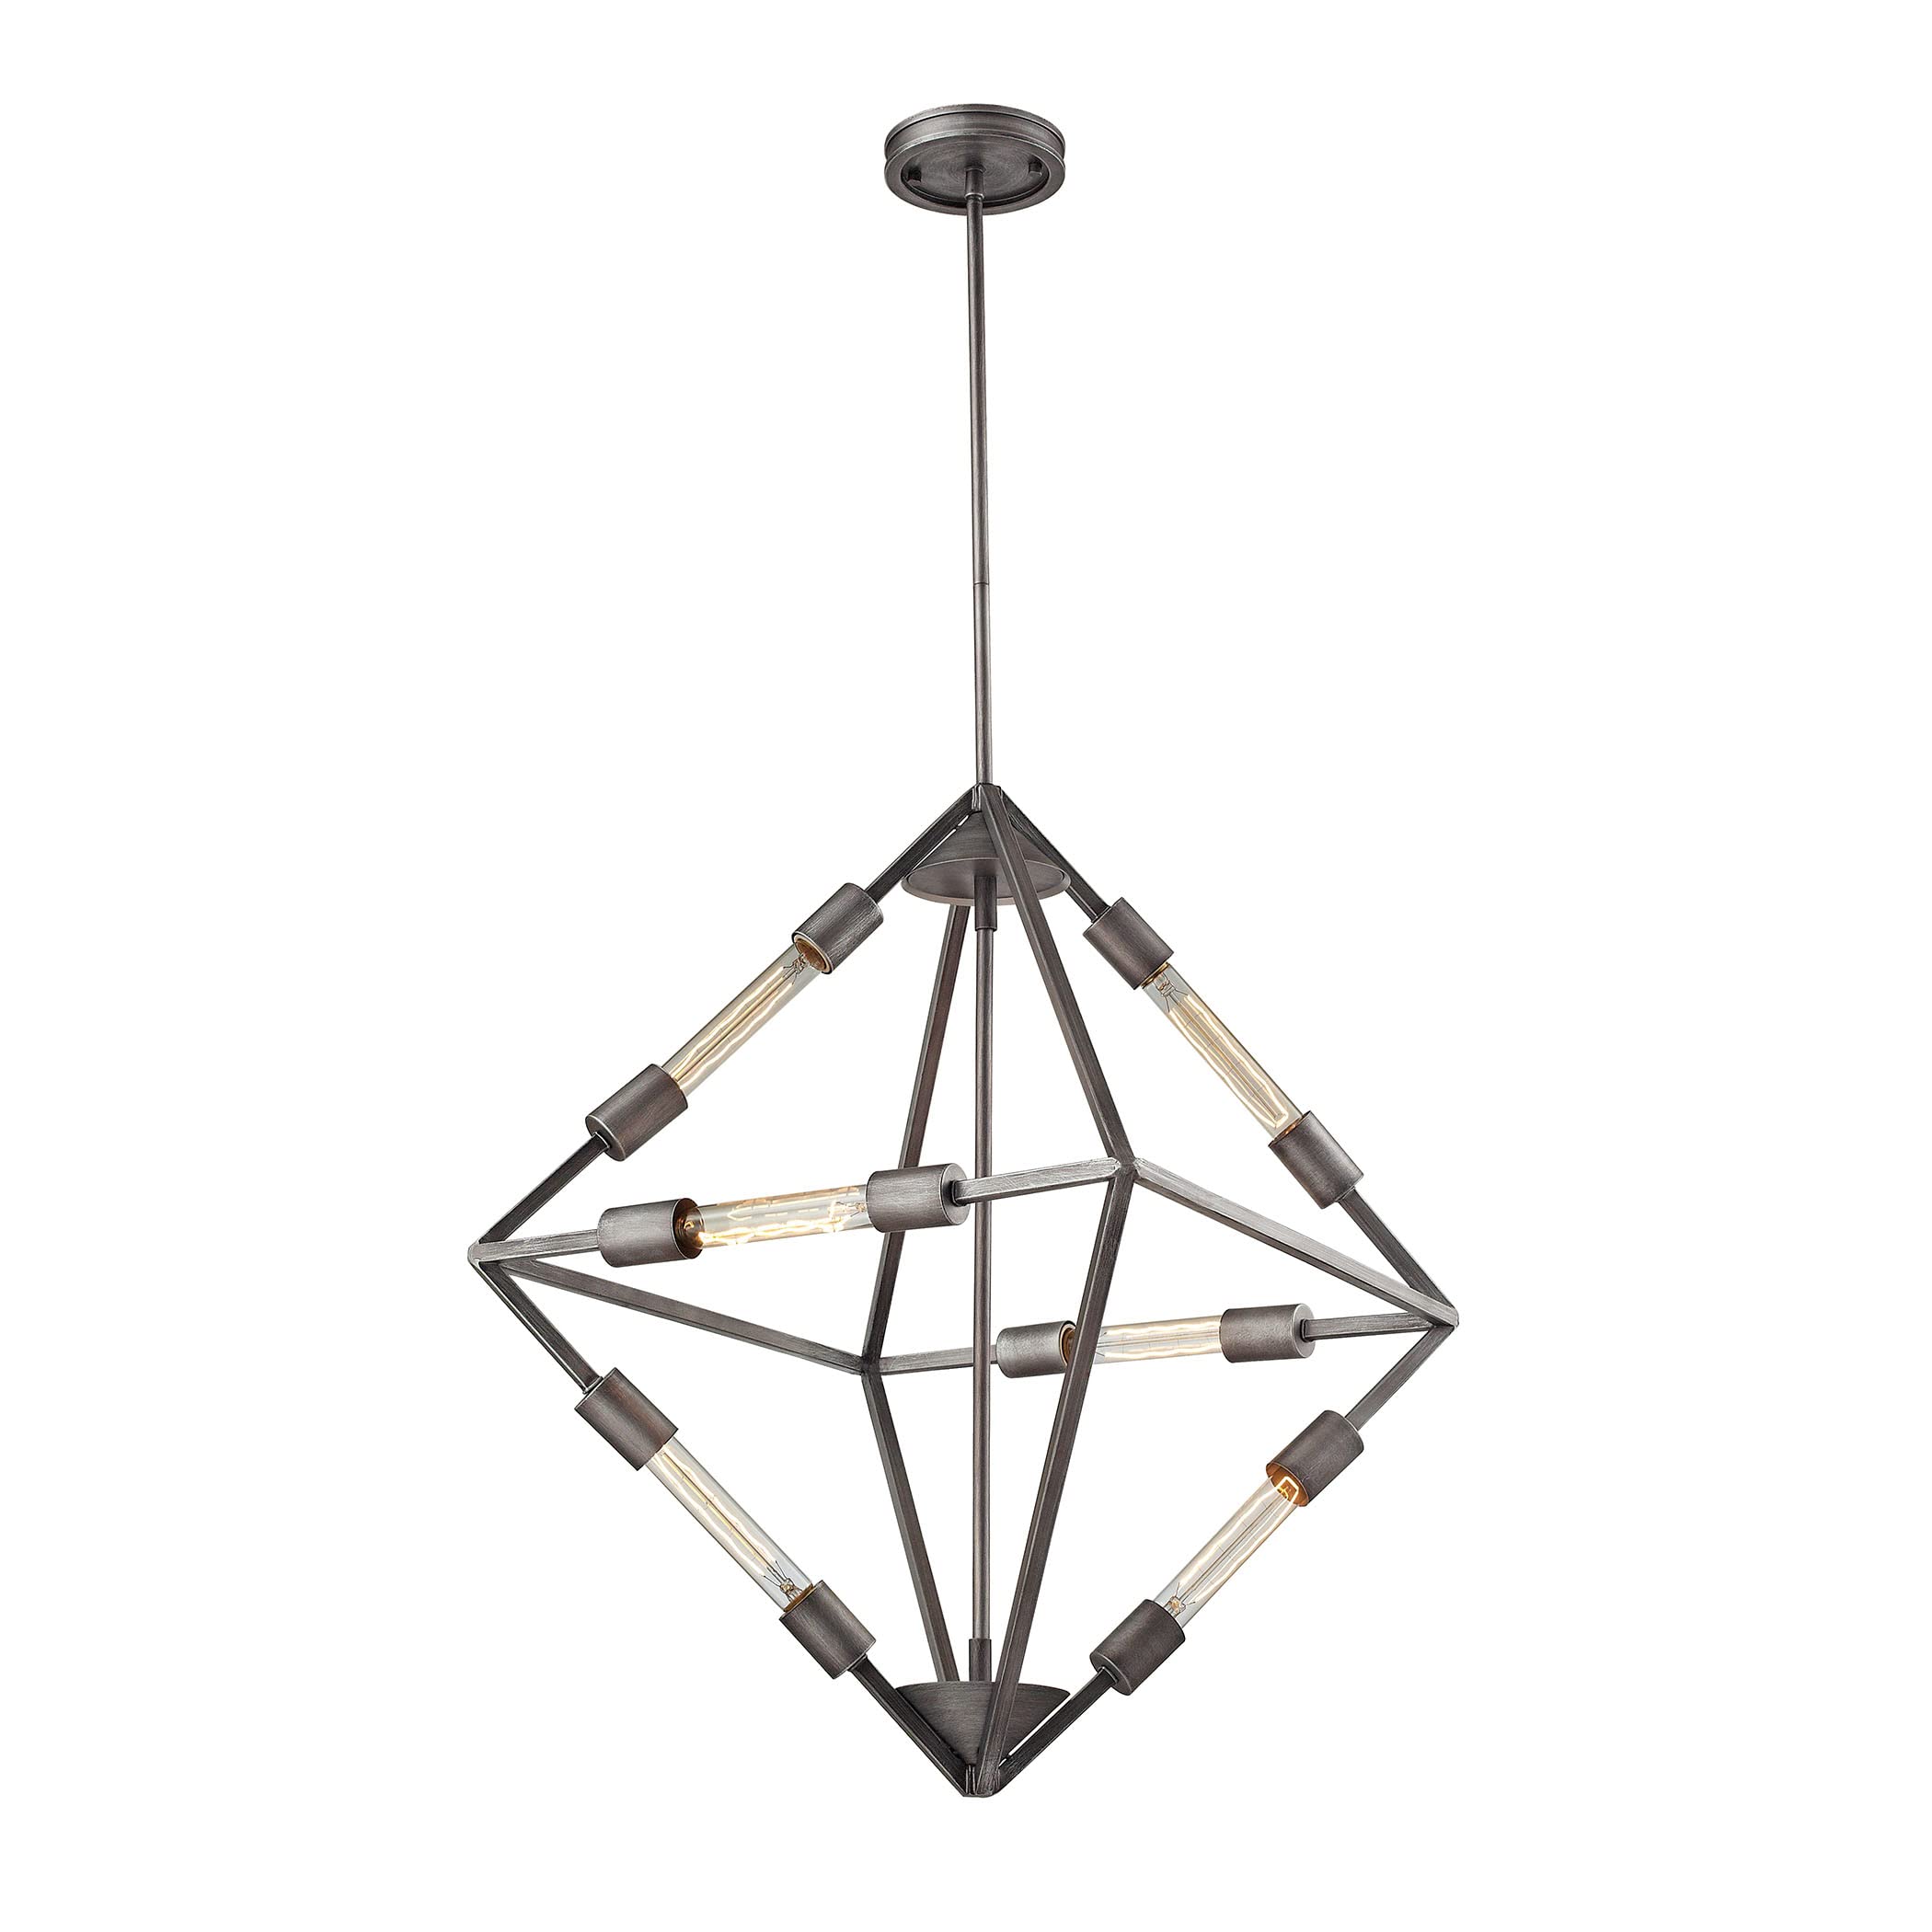
Image: The Elk Home 66894/6 Laboratory 6-Light Chandelier in Weathered Zinc finish, showcasing its six light sources and overall design.
Тохиргоо ба суурилуулалт
- Суулгахад бэлтгэх:
- Turn off the main power supply at the circuit breaker or fuse box.
- Ensure the mounting surface is structurally sound to support the weight of the fixture.
- Шаардлагатай багаж хэрэгслийг цуглуул: халив, утас тайлагч, цахилгаан соронзон хальс, хамгаалалтын шил.
- Тоног төхөөрөмжийг суурилуулах:
- Өгөгдсөн эрэг ашиглан холболтын хайрцагт бэхэлгээний бэхэлгээг холбоно.
- Adjust the chain length to your desired hanging height. Secure the chain to the canopy and the fixture loop.
- Carefully lift the fixture and thread the wires through the center hole of the mounting bracket.
- Утасны холболтууд:
- Connect the fixture's black wire to the house's black (live) wire using a wire connector.
- Connect the fixture's white wire to the house's white (neutral) wire using a wire connector.
- Бэхэлгээний газардуулгын утсыг байшингийн газардуулгын утас (нүцгэн зэс эсвэл ногоон) болон бэхэлгээний бэхэлгээний газардуулгын эрэгтэй холбоно уу.
- Шаардлагатай бол бүх холболтууд найдвартай, цахилгаан соронзон хальсаар тусгаарлагдсан эсэхийг шалгаарай.
- Бүрхүүл бэхлэх:
- Бүх утсыг уулзвар хайрцагт нямбай хий.
- Push the canopy up against the ceiling, covering the junction box and mounting bracket.
- Secure the canopy with the provided screws or decorative nuts.
- Installing Bulbs and Shades:
- Screw in six E26 base bulbs (not included) into the sockets. Do not exceed 60 watts per bulb.
- Carefully attach the glass shades to each light socket according to the fixture design.
- Эцсийн алхам:
- Хэлхээ таслагч эсвэл гал хамгаалагчийн хайрцагт хүчийг сэргээнэ.
- Зөв ажиллаж байгаа эсэхийг шалгахын тулд угсралтын төхөөрөмжийг туршина уу.
Ашиглалтын заавар
The Elk Home 66894/6 Chandelier is a hardwired fixture operated by a standard wall switch (not included). Simply toggle the wall switch to turn the light fixture on or off. If a dimmer switch is installed, ensure it is compatible with the type of bulbs used.
Засвар үйлчилгээ
- Цэвэрлэгээ: Always disconnect power before cleaning. Wipe the fixture with a soft, dry cloth. Do not use abrasive cleaners or solvents, as they may damage the finish. Clean glass shades with a mild glass cleaner and a soft cloth.
- Булцуу солих: Disconnect power before replacing bulbs. Allow bulbs to cool completely before touching. Replace with E26 base bulbs, not exceeding 60 watts per bulb.
Алдааг олж засварлах
| Асуудал | Боломжит шалтгаан | Шийдэл |
|---|---|---|
| Гэрэл асдаггүй. |
|
|
| Гэрэл анивчдаг. |
|
|
Үзүүлэлтүүд
- Загварын дугаар: 66894/6
- Хэмжээ: 20"L x 20"W x 28"H
- Материал: Metal (Weathered Zinc finish), Glass shades
- Гэрлийн тоо: 6
- Булцууны суурь: E26
- Макс Ватtagнэг чийдэнгийн e: 60 ватт
- Ботьtage: 120 вольт
- Суурилуулалтын төрөл: Hardwired, Ceiling Mounted
- Дотор/гадаа ашиглах: Зөвхөн дотор ашиглах
- Барааны жин: 8 фунт
Баталгаат хугацаа
This Elk Home fixture comes with a 1 жилийн хязгаарлагдмал баталгаат хугацаа from the date of purchase. This warranty covers defects in materials and workmanship under normal use. It does not cover damage resulting from improper installation, accidents, misuse, abuse, or unauthorized modifications. For warranty claims, please contact Elk Home customer support.
Хэрэглэгчийн дэмжлэг
For technical assistance, missing parts, or warranty inquiries, please visit the official Elk Home website or contact their customer service department. Please have your model number (66894/6) and proof of purchase ready when contacting support.