1. Танилцуулга
This manual provides detailed instructions for the installation, operation, and maintenance of the GeoVision GV-MFD2501-6F 2MP Mini Fixed Dome IP Security Camera. Please read this manual thoroughly before using the product to ensure proper setup and functionality. Keep this manual for future reference.
1.1 Бүтээгдэхүүн дууссанview
The GV-MFD2501-6F is a compact 2-megapixel mini fixed dome IP camera designed for various surveillance applications. It features a 2.3mm lens, super low lux capabilities, and supports network connectivity for remote monitoring.
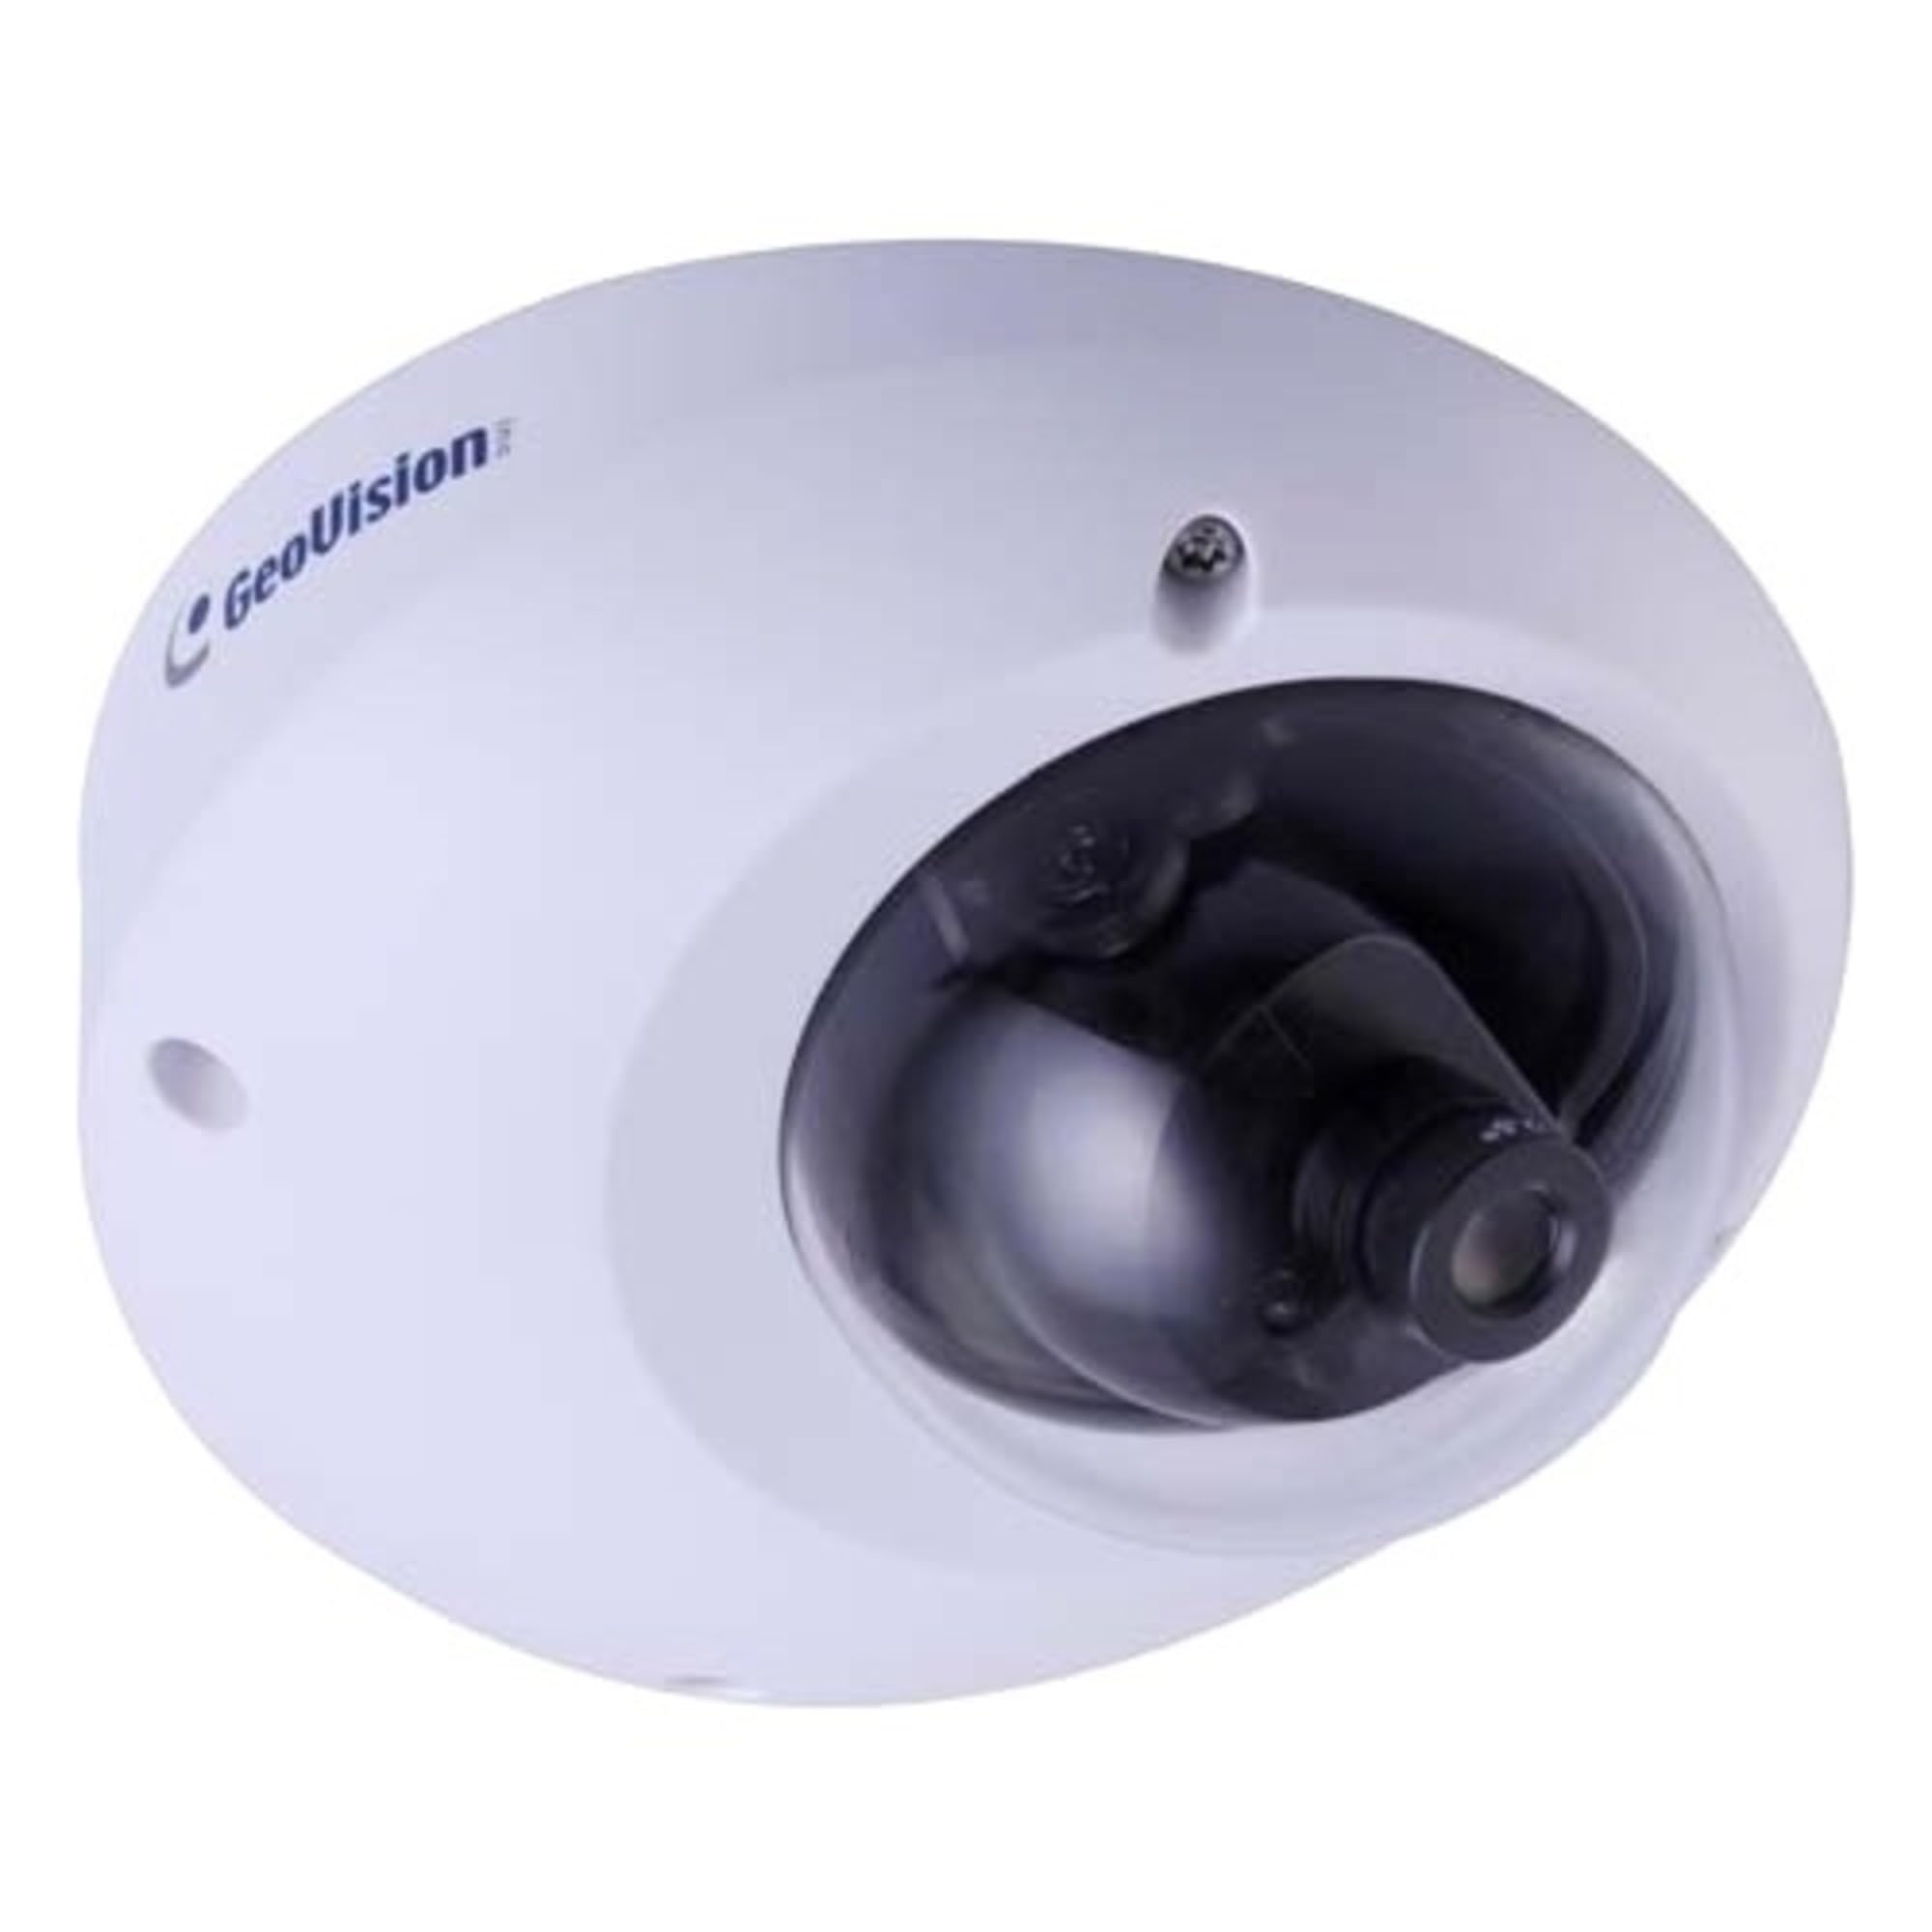
Figure 1.1: GeoVision GV-MFD2501-6F Mini Fixed Dome IP Security Camera. This image shows the compact design of the camera, highlighting its dome shape and lens.
1.2 Багцын агуулга
Verify that all items are present in the package. If any items are missing or damaged, contact your dealer immediately.
- GV-MFD2501-6F IP Camera
- Суулгах шураг хэрэгсэл
- Суулгах гарын авлага
- Програм хангамжийн CD (эсвэл татаж авах холбоос)
- Усны хамгаалалттай холбогч (хэрэв байгаа бол)
2. Аюулгүй байдлын мэдээлэл
WARNING: To prevent fire or shock hazard, do not expose this unit to rain or moisture.
- Зөвхөн энэ төхөөрөмжид заасан тэжээлийн адаптерийг ашиглана уу.
- Do not open the camera housing. Refer all servicing to qualified personnel.
- Avoid placing the camera in direct sunlight, near heat sources, or in areas with high humidity or dust.
- Камерын эргэн тойронд агааржуулалт сайтай байх ёстой.
- Цэвэрлэх, засвар үйлчилгээ хийхээс өмнө цахилгааныг салга.
3. Тохиргоо
3.1 Физик суурилуулалт
The GV-MFD2501-6F is designed for indoor use. Choose a suitable mounting location that provides the desired field of view and is within reach of network and power cables.
- Суулгах гадаргууг бэлтгэх: Өрөмдлөгийн нүхийг тэмдэглэхийн тулд өгөгдсөн бэхэлгээний загварыг (хэрэв багтсан бол) ашиглана уу.
- Өрөмдлөгийн цооног: Холбох эрэгний нүхийг өрөмдөнө.
- Камерыг хамгаалах: Өгөгдсөн боолтыг ашиглан камерын суурийг бэхэлгээний гадаргуу дээр бэхлэнэ үү.
- Өнцөг тохируулах: Loosen the adjustment screws to position the camera lens for the desired viewing angle, then tighten the screws to secure it.
Figure 3.1: Illustrative diagram of camera mounting. This image would typically show the steps for securing the camera to a ceiling or wall, including screw placement and cable routing.
3.2 Утас ба холболтууд
Connect the camera to your network and power source.
- Ethernet кабель: Connect an Ethernet cable from your network switch or router to the camera's RJ-45 port. If using Power over Ethernet (PoE), this single cable provides both power and data.
- Power Adapter (if not using PoE): If PoE is not available, connect a compatible 12V DC power adapter (not included) to the camera's power input port.
Figure 3.2: Diagram showing camera wiring connections. This image would illustrate how to connect the Ethernet cable and, if necessary, the power adapter to the camera's ports.
3.3 Сүлжээний анхны тохиргоо
After physical installation and connection, configure the camera for network access.
- Асаах: Камерыг цахилгаанд холбоно уу. Камер өөрийгөө шалгах болно.
- Камерыг нээх: Use the GeoVision GV-IP Device Utility (available on the GeoVision website) to discover the camera on your local network. The utility will display the camera's IP address.
- Хандалт Web Интерфэйс: Нээлттэй a web хөтөч (жишээ нь, Chrome, Firefox) руу ороод хаягийн мөрөнд камерын IP хаягийг оруулна уу.
- Нэвтрэх: Enter the default username (e.g., "admin") and password (e.g., "admin" or "1234"). You will be prompted to change the password upon first login for security.
- Сүлжээний тохиргоо: Navigate to the network settings to configure IP address (DHCP or Static), subnet mask, gateway, and DNS settings as required by your network environment.
4. Ашиглалтын заавар
Once configured, the camera can be accessed and managed through its web interface or compatible GeoVision VMS software.
4.1 Амьд View
-аас web интерфэйс, "Шууд" руу очно уу View" section to see the real-time video feed from the camera. You can adjust video stream settings such as resolution, frame rate, and quality here.
4.2 Бичлэгийн тохиргоо
Configure recording schedules, motion detection recording, and continuous recording options. Recordings can be stored on a network-attached storage (NAS), local storage (if supported), or a GeoVision NVR/VMS.
4.3 Хөдөлгөөн илрүүлэх
Set up motion detection zones and sensitivity levels. When motion is detected, the camera can trigger recording, send email alerts, or activate other alarm outputs.
4.4 Алсын зайнаас хандах
To access the camera remotely, ensure your network router is configured for port forwarding (if not using a VPN or cloud service). Refer to your router's manual for port forwarding instructions. GeoVision also offers mobile applications for remote viewing.
5. Засвар үйлчилгээ
5.1 Камерыг цэвэрлэх
Зургийн чанарыг оновчтой байлгахын тулд камерын линз болон гэрийг тогтмол цэвэрлэж байгаарай. Зөөлөн, хуурай даавуу ашиглаарай. Зөөлөн бохирдсон тохиолдолд бага зэрэг арчина.amp cloth with mild detergent can be used, followed by a dry cloth. Do not use abrasive cleaners or solvents.
5.2 Програм хангамжийн шинэчлэлтүүд
Periodically check the GeoVision webпрограм хангамжийн шинэчлэлтийн сайт. Програм хангамжийн шинэчлэлтүүд нь шинэ боломжууд, гүйцэтгэлийн сайжруулалт, аюулгүй байдлын сайжруулалтыг хангах боломжтой. Програм хангамжийн шинэчлэлтийн багцад өгсөн зааврыг анхааралтай дагаж мөрдөөрэй.
5.3 Нууц үгийн менежмент
Regularly change your camera's password to a strong, unique password to prevent unauthorized access.
6. Алдаа засах
| Асуудал | Боломжит шалтгаан | Шийдэл |
|---|---|---|
| Камерт цахилгаан байхгүй | Power adapter unplugged or faulty; PoE not active. | Check power connections. Ensure PoE switch/injector is active. Test with a known good power source. |
| Видео хангамж байхгүй | Network cable disconnected; incorrect IP address; firewall blocking access. | Verify Ethernet cable connection. Use GV-IP Device Utility to find camera. Check network settings and firewall rules. |
| Нэвтэрч чадахгүй байна | Incorrect username/password. | Ensure correct credentials. If forgotten, refer to the GeoVision website for password reset procedures (may require physical access). |
| Зургийн чанар муу байна | Dirty lens; improper focus; low light conditions; incorrect video settings. | Clean the lens. Adjust focus if applicable. Ensure adequate lighting. Check resolution, frame rate, and compression settings. |
7. Техникийн үзүүлэлтүүд
The following are key specifications for the GeoVision GV-MFD2501-6F camera:
- Загвар: 84-MFD2501-6F1U
- Шийдвэр: 2 мегапиксел
- Линз: 2.3mm тогтмол линз
- Холболт: Утасгүй Note: While "Wireless" is listed in specifications, this IP camera primarily uses wired Ethernet for reliable data transmission and PoE. Wireless functionality may refer to specific optional modules or control methods.
- Эрчим хүч: PoE (Ethernet дээрх цахилгаан) эсвэл 12V DC (адаптер ороогүй болно)
- Хэмжээ: Ойролцоогоор 21 x 18.6 x 9.3 см (Илгээмжийн хэмжээ)
- Жин: Ойролцоогоор 487 гр (Илгээмжийн жин)
- Ашиглалтын температур: (Information not provided, typical range is -10°C to 50°C)
- Үйлдвэрлэгч: GeoVision
8. Баталгаат хугацаа ба дэмжлэг
8.1 Баталгаат хугацааны мэдээлэл
GeoVision products typically come with a limited warranty. For specific warranty terms and conditions, please refer to the warranty card included with your product or visit the official GeoVision webсайт. Баталгаат нэхэмжлэл гаргахын тулд худалдан авалтаа нотлох баримтаа хадгалаарай.
8.2 Техникийн дэмжлэг
For technical assistance, product inquiries, or troubleshooting beyond this manual, please contact GeoVision customer support or your authorized GeoVision dealer. Visit the official GeoVision webсайт (www.geovision.com.tw) for support resources, FAQs, and contact information.


