1. Танилцуулга
The Midiplus X4 mini is a compact and versatile 49-key velocity-sensitive MIDI keyboard controller designed for music production and performance. It features a USB connection for power and data, eliminating the need for external power supplies or drivers. This manual provides detailed instructions to help you set up, operate, and maintain your X4 mini controller.
2. Аюулгүй байдлын мэдээлэл
- Төхөөрөмжийг бороо, чийг, хэт өндөр температурт бүү гарга.
- Төхөөрөмжийг дулааны эх үүсвэрийн ойролцоо эсвэл нарны шууд тусгалд байрлуулахаас зайлсхий.
- c-г нээж болохгүйasing or attempt to modify the unit. Refer all servicing to qualified personnel.
- Холболтын хувьд зөвхөн дагалдаж ирсэн USB кабелийг ашиглана уу.
- Хүүхдийн гар хүрэхгүй газар хадгална.
3. Багцын агуулга
Доор жагсаасан бүх зүйл таны багцад байгаа эсэхийг шалгана уу.
- Midiplus X4 mini MIDI Keyboard Controller
- USB кабель
- Хэрэглэгчийн гарын авлага (энэ баримт бичиг)
4. Бүтээгдэхүүн дууссанview
Familiarize yourself with the various components of your Midiplus X4 mini controller.

Зураг 4.1: Урд view of the Midiplus X4 mini, showing the 49 mini keys, pitch and modulation touch strips, octave/transpose buttons, four assignable knobs, and function buttons.
4.1 Урд самбарын удирдлага
- Хурд мэдрэмтгий 49 мини түлхүүр: Standard piano-style keys, scaled down for portability.
- Pitch Bend Touch Strip: Provides real-time control over pitch modulation.
- Modulation Touch Strip: Provides real-time control over various modulation parameters.
- Octave/Transpose Buttons: Adjust the keyboard's octave range or transpose the pitch.
- Assignable Knobs (T1-T4): Four rotary knobs that can be assigned to control various MIDI Continuous Controller (CC) parameters.
- Функцийн товчлуурууд: Used for various settings and advanced functions.

Зураг 4.2: Detail of the pitch and modulation touch strips, along with the Octave/Transpose buttons on the left side of the keyboard.
4.2 Арын самбарын холболтууд
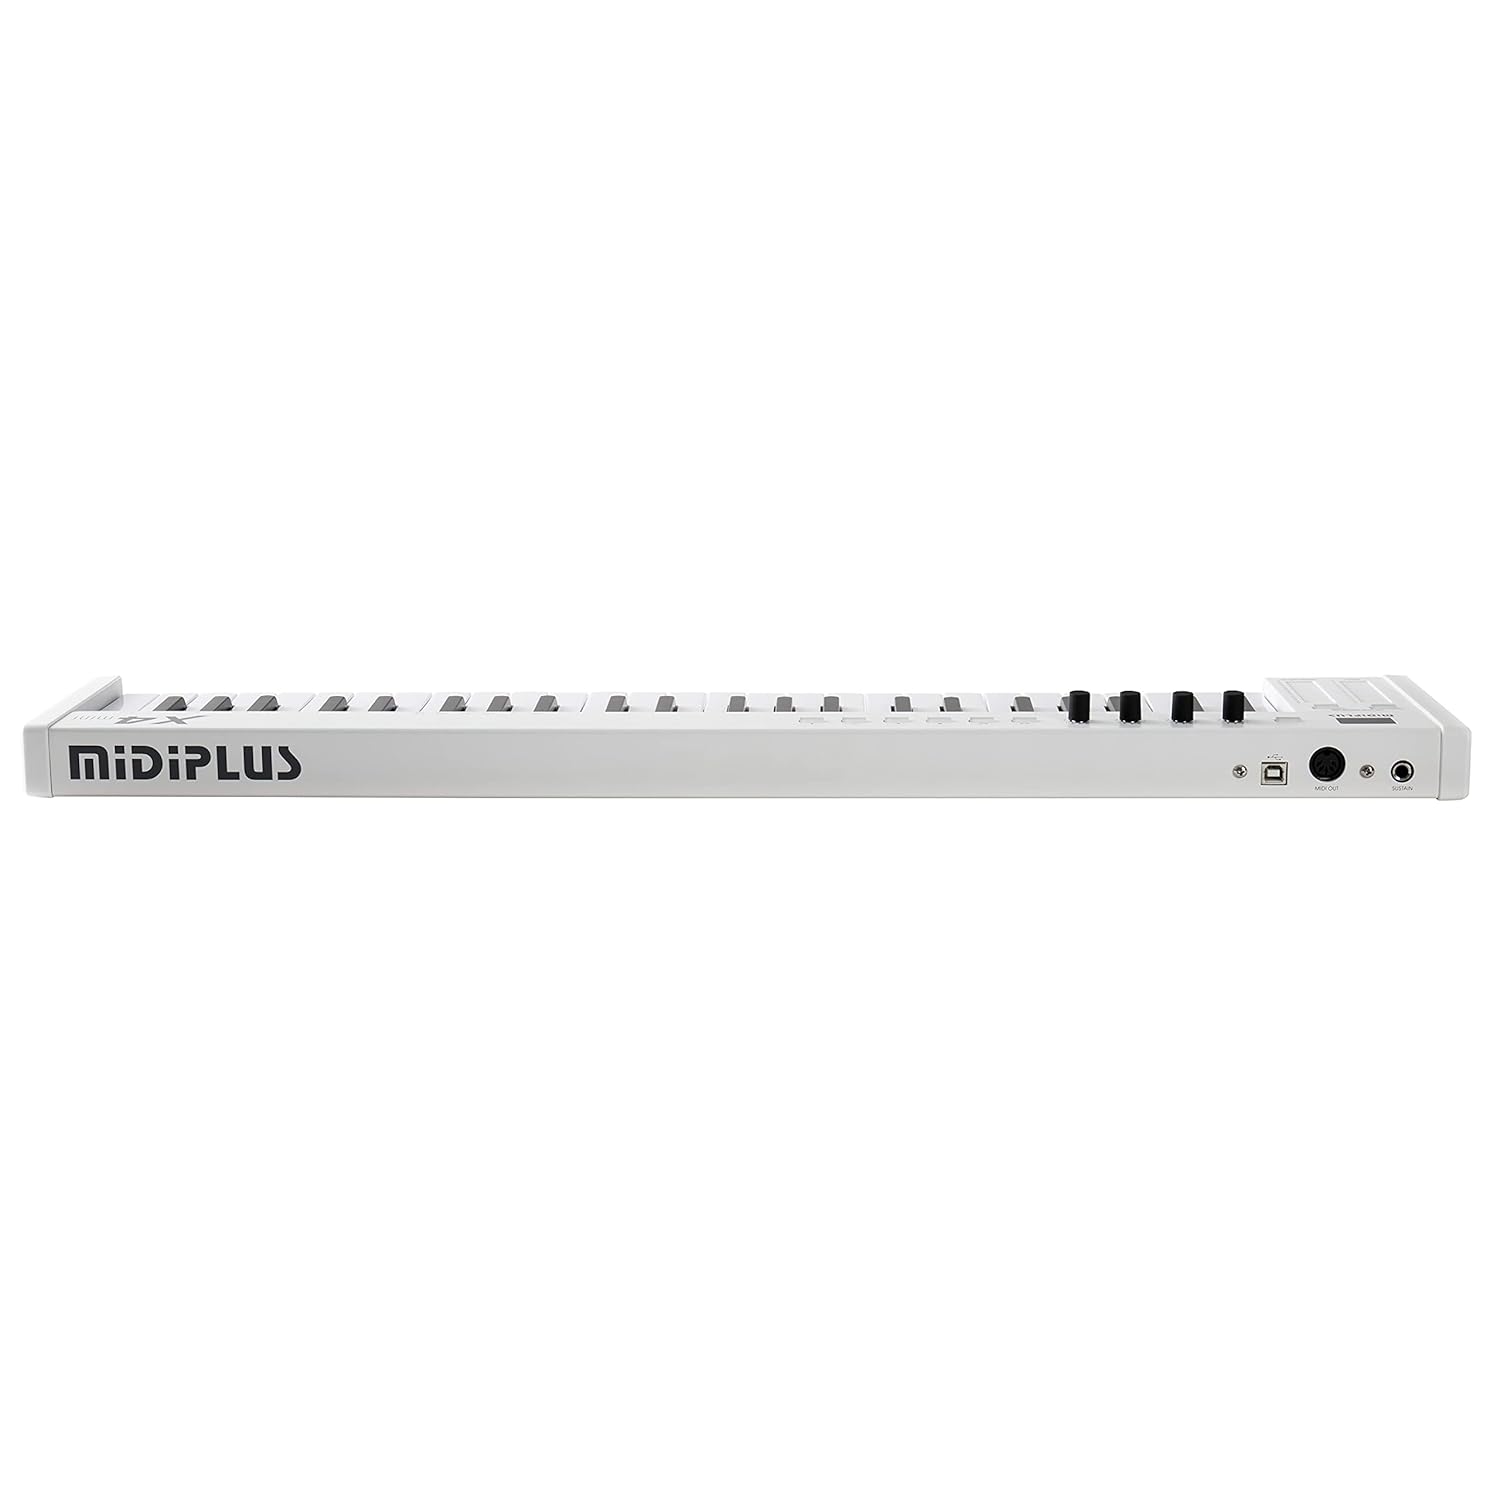
Зураг 4.3: Rear panel connections including USB, MIDI Out, and Sustain pedal input.
- USB порт: Connects to your computer for power and MIDI data transmission.
- MIDI гаралтын порт: Standard 5-pin DIN MIDI output for connecting to external MIDI hardware.
- Дөрөө оролтыг тогтвортой байлгах: 1/4-inch jack for connecting an optional sustain pedal (not included).
5. Тохиргоо
5.1 Компьютерт холбогдох
- Locate the USB port on the rear panel of your X4 mini controller.
- Connect one end of the provided USB cable to the X4 mini's USB port.
- USB кабелийн нөгөө үзүүрийг компьютер дээрээ байгаа USB порт руу холбоно уу.
- The X4 mini is a class-compliant device, meaning no special drivers are required for Windows (7/10) or Mac operating systems. Your computer should automatically recognize the device.
- Open your Digital Audio Workstation (DAW) software (e.g., Ableton Live, Logic Pro, GarageBand, FL Studio, Cubase) and select the Midiplus X4 mini as your MIDI input device in the software's preferences or settings.
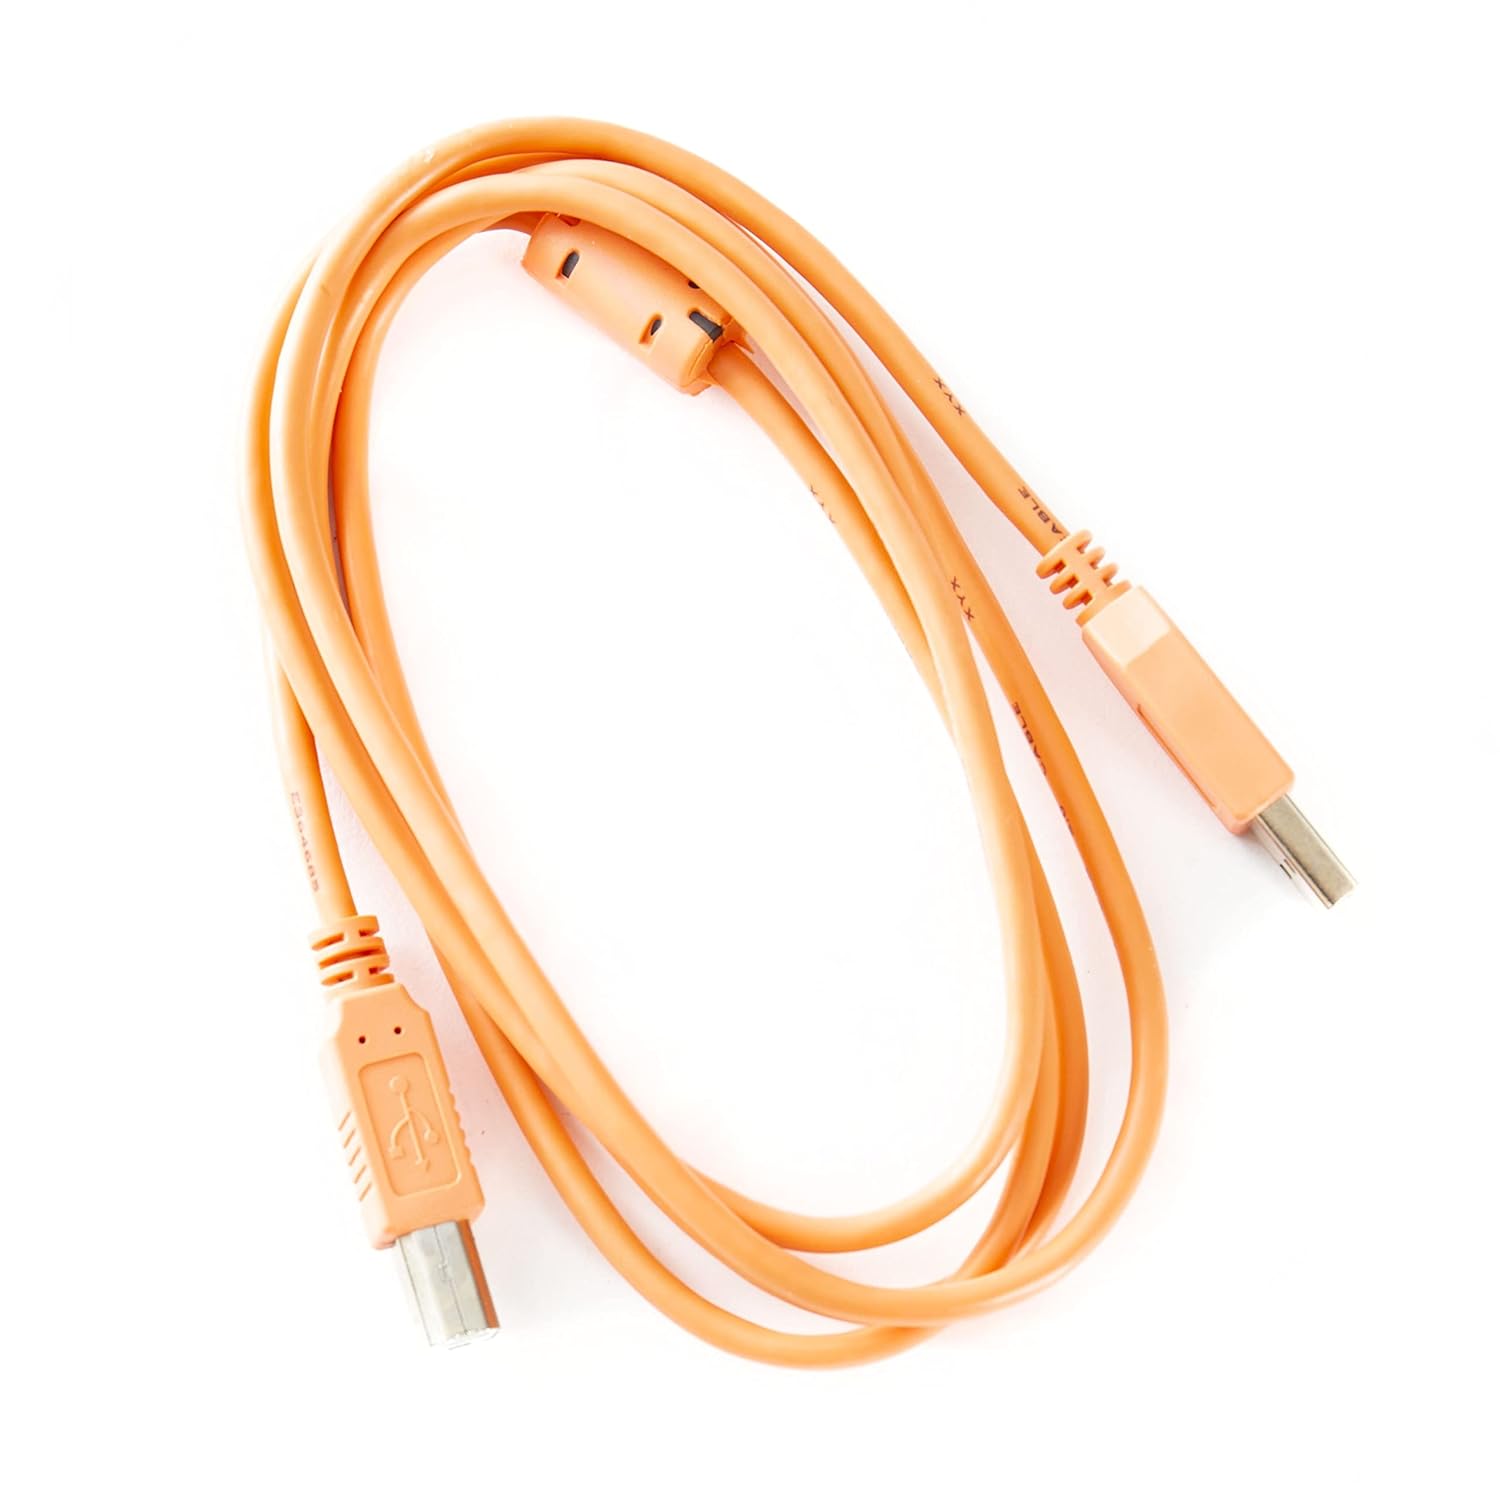
Зураг 5.1: The USB cable used for connecting the X4 mini to a computer.
5.2 Connecting to External MIDI Hardware
If you are connecting to an external synthesizer or sound module with a 5-pin DIN MIDI input:
- Connect a standard 5-pin MIDI cable (not included) from the X4 mini's MIDI OUT port to the MIDI IN port of your external hardware.
- Ensure your external hardware is powered on and configured to receive MIDI data on the appropriate channel.
6. Ашиглалтын заавар
6.1 Playing the Keyboard
The 49 mini keys are velocity-sensitive, meaning the volume or intensity of a note can vary based on how hard you press the key. Experiment with different playing dynamics to achieve expressive performances.
6.2 Octave and Transpose Functions
- Октавын товчлуурууд: Use the dedicated Octave Up and Octave Down buttons (located near the pitch/mod strips) to shift the keyboard's range up or down in full octaves.
- Хөрвүүлэх функц: The Octave buttons can also function as Transpose buttons when combined with the SHIFT key. Press and hold the SHIFT button, then use the Octave Up/Down buttons to transpose the keyboard by semitones.
6.3 Тогтвортой гулзайлт ба модуляц
- Pitch Touch Strip: Ноотны өнгөөр дээш эсвэл доош нугалахын тулд хуруугаа энэ туузны дагуу гулсуулна уу. Суллахад өнгө нь төв рүүгээ буцаж ирнэ.
- Modulation Touch Strip: Slide your finger along this strip to apply modulation effects, such as vibrato or tremolo, to your sound. The specific effect depends on your software or hardware instrument's settings.
6.4 Assignable Knobs (T1-T4)
The four rotary knobs (T1-T4) send MIDI Continuous Controller (CC) messages. By default, these may control common parameters like volume or pan in your DAW. You can reassign these knobs to control specific parameters within your software instruments or effects.
- Consult your DAW or software instrument's manual for instructions on how to MIDI-learn or assign CC messages to parameters.
- The X4 mini also allows for on-the-fly reassignment of the CC messages sent by these knobs. Refer to the "Advanced Features" section for details.
7. Нарийвчилсан шинж чанарууд
7.1 Reassigning MIDI CC Messages for Knobs
The Midiplus X4 mini allows you to customize the MIDI CC messages sent by the T1-T4 knobs. This enables you to control a wider range of parameters in your software or hardware.
- -г удаан дар SHIFT товч.
- While holding SHIFT, press one of the function buttons (often labeled with CC numbers or functions) corresponding to the knob you wish to reassign.
- Use the keyboard keys to input the desired MIDI CC number. The specific keys for number input will be indicated on the keyboard itself or in a quick reference guide.
- дээр дарна уу ENTER or SHIFT button again to confirm the assignment.
Note: The exact procedure for CC reassignment may vary slightly. Refer to the markings on your specific unit for precise key combinations.
7.2 Changing MIDI Channels
To change the MIDI channel on which the X4 mini transmits data:
- -г удаан дар SHIFT товч.
- While holding SHIFT, press the dedicated MIDI Channel button (if available) or a specific key designated for MIDI channel selection.
- Use the keyboard keys to input the desired MIDI channel number (1-16).
- дээр дарна уу ENTER or SHIFT button again to confirm the new MIDI channel.
8. Засвар үйлчилгээ
- Цэвэрлэгээ: Хянагчийн гадаргууг зөөлөн, хуурай даавуугаар арчина. Зөрүүд бохирдлыг бага зэрэг арчина.amp даавуу хэрэглэж болно, дараа нь хуурай даавуугаар арчина. Зүлгүүрийн цэвэрлэгч эсвэл уусгагчаас зайлсхий.
- Хадгалах: When not in use, store the X4 mini in a clean, dry environment away from direct sunlight and extreme temperatures.
- Тээвэр: If transporting the unit, use a protective case to prevent damage to the keys and controls.
9. Алдаа засах
| Асуудал | Боломжит шалтгаан | Шийдэл |
|---|---|---|
| No sound from software instrument. |
|
|
| Computer does not recognize the X4 mini. |
|
|
| Keys are not responding or velocity is inconsistent. |
|
|
10. Техникийн үзүүлэлтүүд
- Түлхүүрүүд: 49 velocity-sensitive mini keys
- Хяналтууд: Pitch bend touch strip, Modulation touch strip, Octave Up/Down buttons, Transpose function, 4 assignable rotary knobs (T1-T4), Function buttons.
- Холболтууд: USB (Type B), MIDI OUT (5-pin DIN), Sustain Pedal Input (1/4-inch jack)
- Эрчим хүч: USB автобусаар ажилладаг
- Тохиромжтой байдал: Windows 7/10, macOS (Class-compliant, no drivers required)
- Хэмжээ: 27.68 x 2.01 x 5.39 инч (70.3 x 5.1 x 13.7 см)
- Жин: 5.45 фунт (2.47 кг)
- Дагалдах хэрэгсэлд багтсан: USB кабель
11. Баталгаат хугацаа ба дэмжлэг
Midiplus products are designed for reliability and performance. For warranty information and technical support, please refer to the official Midiplus webсайтаас авах эсвэл орон нутгийн дистрибьютертэйгээ холбогдоно уу. Баталгаат хугацааны нэхэмжлэл гаргахын тулд худалдан авалтын баримтаа хадгална уу.
For further assistance, you may visit the Midiplus Store on Amazon: Midiplus Store
12. Бүтээгдэхүүний албан ёсны видеонууд
Өгөгдсөн мэдээлэлд энэ бүтээгдэхүүний талаар худалдагчийн албан ёсны бүтээгдэхүүний видео олдсонгүй.


