1. Танилцуулга
Welcome to the instruction manual for your new Razor Dirt Quad 24V Electric 4-Wheeler ATV. This electric four-wheeler is designed for young explorers, offering a blend of durability, performance, and intuitive control. It features a 350-watt high-torque motor, capable of speeds up to 8 mph (13 km/h), and a 24V rechargeable battery system for extended adventures. Please read this manual thoroughly before assembly and operation to ensure safe and optimal use of your product.
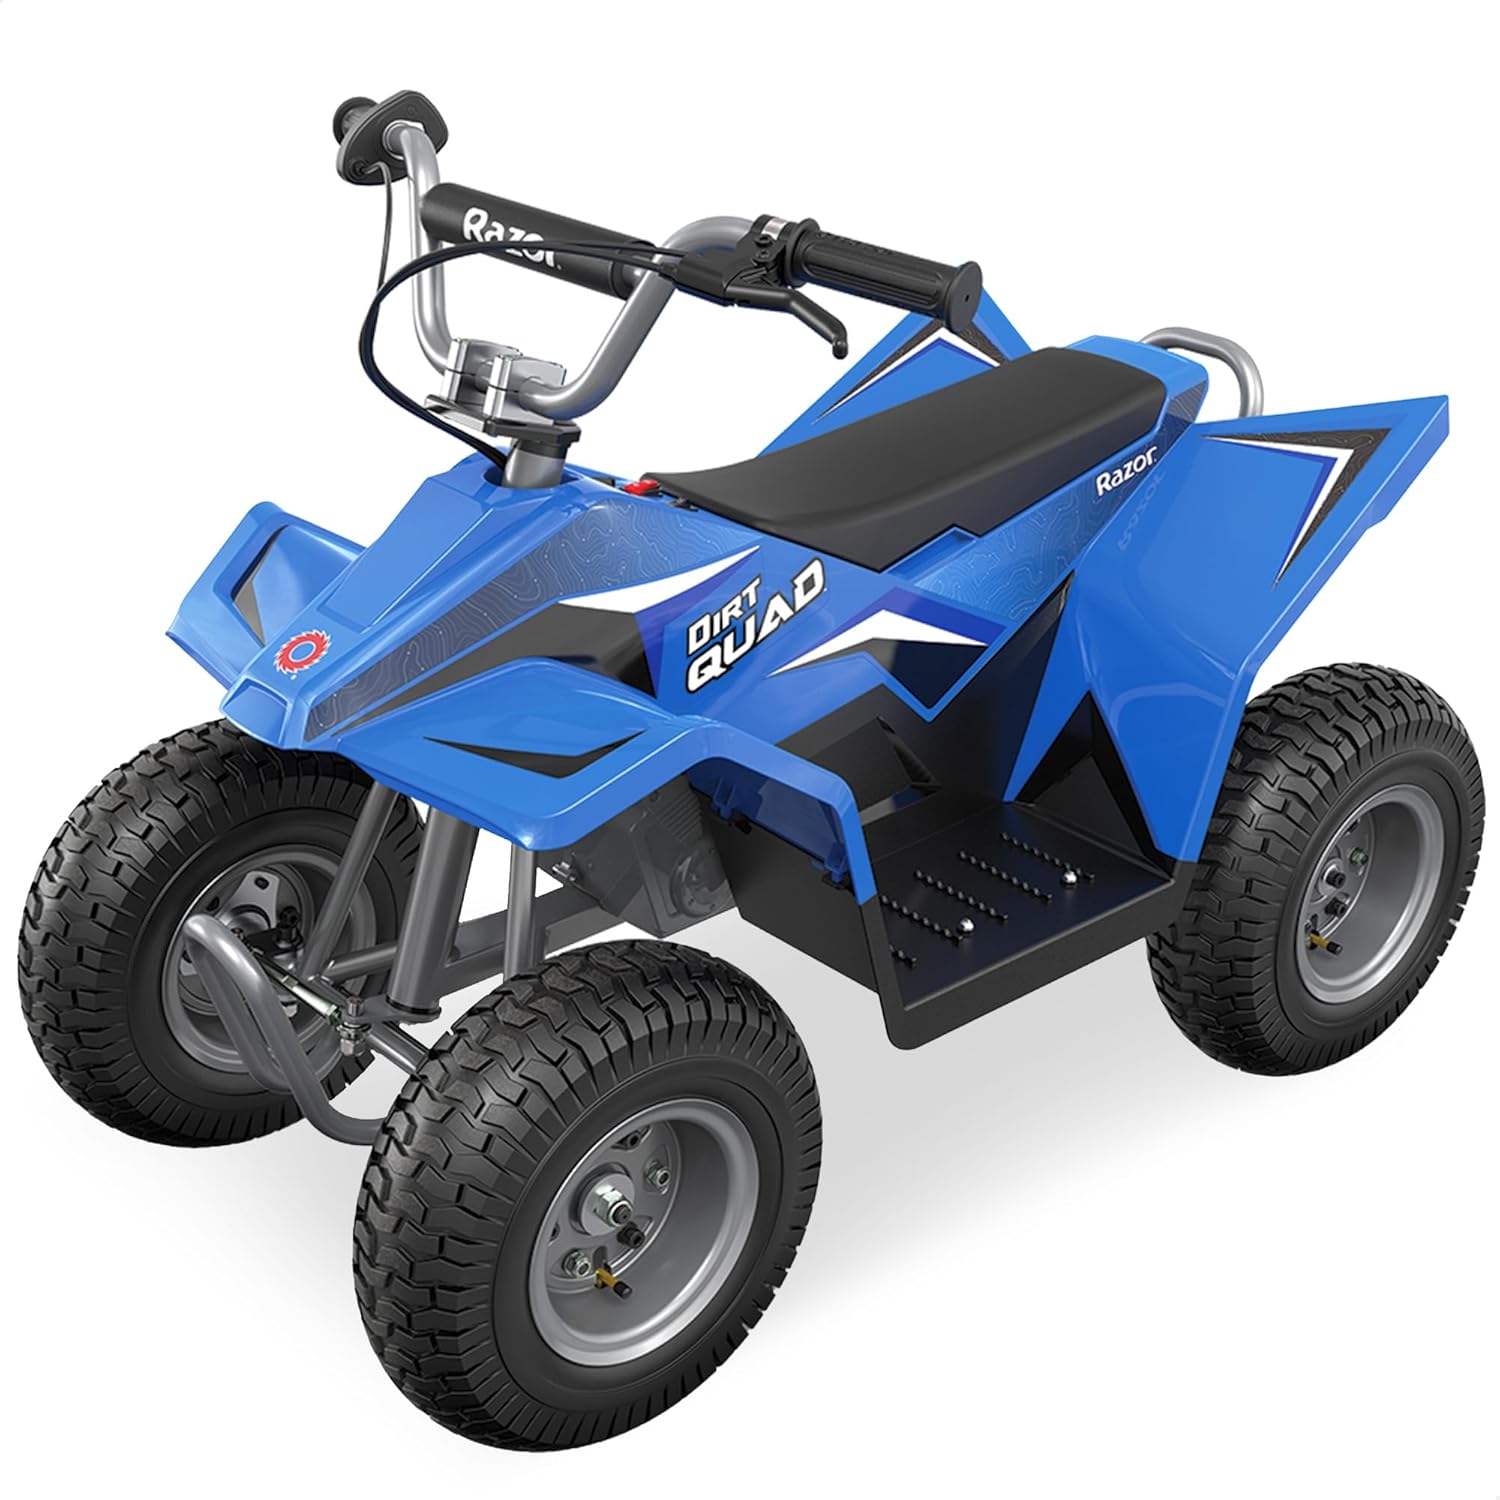
Image 1: The Razor Dirt Quad 24V Electric 4-Wheeler ATV, showcasing its robust design and knobby tires.
2. Аюулгүй байдлын мэдээлэл
The Razor Dirt Quad is designed for riders aged 8 and up, with a maximum weight capacity of 120 pounds. Always ensure the rider wears appropriate safety gear, including a helmet, elbow pads, and knee pads. Adult supervision is required during operation. Operate the vehicle on smooth, flat surfaces, avoiding rough terrain, steep inclines, or public roads. Keep hands and feet away from moving parts. Always apply the hand-operated rear disc brake to stop the vehicle safely.
The vehicle is equipped with a twist-grip throttle for variable speed control and a forward/reverse drive switch. A high/low 2-speed option is available for different riding conditions. For younger or less experienced riders, the parent remote control can be used to override steering and speed for added safety.
3. Багцын агуулга
Upon unpacking, ensure all components are present and undamaged. The package typically includes:
- Main vehicle body (partially assembled)
- 4 x 12-inch pneumatic knobby tires
- Steering handlebar assembly
- Adjustable seat with 4-point harness
- Front and rear bumper bars
- 4 x Spring shock absorbers
- 24V rechargeable battery system (pre-installed)
- Зай цэнэглэгч
- Parent remote control
- Assembly tools (wrenches, screws)
- Зааварчилгааны гарын авлага
4. Тохиргоо ба угсралт
Assembly is required before first use. Follow the steps below carefully. For visual guidance, refer to the embedded videos.
4.1 Хайрцагнаас задлах, анхны үзлэг
Carefully remove all components from the packaging. Inspect for any damage or missing parts. Keep packaging materials until assembly is complete.
4.2 Attaching Wheels and Axles
Attach the wheels to the axles, ensuring all washers and nuts are securely fastened. The vehicle features individual motors for each wheel, providing 4-wheel drive capability.
Video 1: Detailed installation guide for the Hikiddo 24V 4WD Kids 4 Wheeler, demonstrating wheel and axle assembly.
4.3 Installing Shock Absorbers
Mount the spring shock absorbers to the designated points on the vehicle frame. These provide a smoother ride over minor bumps.
4.4 Connecting Battery and Electronics
Connect the battery terminals as instructed. Ensure all electrical connectors for the motors and control panel are securely plugged in.
4.5 Attaching Handlebars and Seat
Secure the handlebars to the steering column. Install the adjustable seat, ensuring the 4-point harness is correctly positioned.
Video 2: A complete guide on how to assemble the Hikiddo 24V 4WD Kids ATV, covering all major assembly steps.

Зураг 2: Урд view of the Razor Dirt Quad, showing the handlebars and the adjustable seat.
5. Ашиглалтын заавар
5.1 Асаах/унтраах
Locate the main power switch, usually near the seat or control panel. Flip the switch to the 'On' position to activate the vehicle. Turn off when not in use.
5.2 Хурд ба чиглэлийн хяналт
Use the twist-grip throttle on the right handlebar to control acceleration. A forward/reverse switch allows changing direction. Select between high and low speeds using the dedicated switch on the control panel.

Image 3: Close-up of the control panel, showing the forward/reverse switch and speed settings.
5.3 Тоормослох
The vehicle is equipped with a hand-operated rear disc brake. Squeeze the brake lever on the left handlebar to engage the brake and bring the vehicle to a stop.
5.4 Parent Remote Control
For younger riders, the parent remote control can be used to steer and control the speed of the vehicle. This feature overrides manual controls, providing an extra layer of safety and assistance.
6. Засвар үйлчилгээ
6.1 Батерейг цэнэглэх
Charge the 24V battery fully before first use and after every 3-5 hours of operation. Connect the charger to the charging port on the vehicle and plug it into a standard wall outlet. Do not overcharge the battery.
6.2 Ерөнхий арчилгаа
Regularly inspect the vehicle for loose parts, worn tires, or damaged components. Clean the vehicle with a damp cloth; do not use harsh chemicals or abrasive materials. Store the Dirt Quad in a dry, protected area. The rear grab handle allows for vertical storage to save space.
7. Алдаа засах
- Тээврийн хэрэгсэл асахгүй байна: Check if the main power switch is in the 'On' position. Ensure the battery is fully charged and all electrical connections are secure.
- Хүчдэл алдагдах/хурд удаашрах: Батерей бага байж магадгүй. Батерейг бүрэн цэнэглэ.
- Тоормос үр дүнтэй ажиллахгүй байна: Inspect the rear disc brake for any obstructions or wear. Adjust the brake cable tension if necessary.
- Ер бусын дуу чимээ: Stop the vehicle immediately and inspect for any loose parts or foreign objects caught in the wheels or motor.
8. Техникийн үзүүлэлтүүд
| Онцлог | Дэлгэрэнгүй |
|---|---|
| Брэнд нэр | сахлын машин |
| Загварын дугаар | 25143042 |
| Хэмжээ (LxWxH) | 43 x 24 x 31.5 инч |
| Барааны багцын хэмжээ (Урт x Өргөн x Өндөр) | 39 x 26 x 25 инч |
| Багцын жин | 104 фунт |
| Өнгө | Цэнхэр |
| Материал | Хайлш ган |
| Мотор | 350-watt high-torque |
| Хурд | 8 миль цаг хүртэл (13 км/цаг) |
| Батерей | 24V цэнэглэдэг |
| Ажиллах цаг | Up to 80 minutes (Low-Speed Mode) |
| Дугуй | 12-inch pneumatic knobby tires |
| Тоормос | Hand-operated rear disc brake |
| Санал болгож буй нас | 8+ жил |
| Морогчийн хамгийн их жин | 120 фунт |
9. Баталгаат хугацаа ба дэмжлэг
For warranty information, please refer to the documentation included in your product packaging or visit the official Razor website. For technical support, replacement parts, or any inquiries, please contact Razor customer service. Keep your purchase receipt for warranty claims.


