1. Бүтээгдэхүүн дууссанview
This document provides instructions for the azur Portable Navigation PNX-D819 Car Mount Stand Tray. This product is designed to provide a stable mounting surface for your azur PNX-D819 portable navigation system within a vehicle. It includes a pre-applied 3M adhesive sheet for secure installation.
Чухал тэмдэглэл: This product is the stand tray only. The azur PNX-D819 portable navigation system and its main stand body are sold separately and are not included with this tray.
2. Багцын агуулга
- Stand Tray × 1
Сав баглаа боодлыг онгойлгохдоо бүх зүйлс байгаа бөгөөд сайн нөхцөлд байгаа эсэхийг шалгана уу.
3. Important Safety Information and Precautions
Please read and understand all safety information before installation and use. Failure to do so may result in injury or damage.
- Суурилуулах байршил: Always mount the stand tray in a position that does not obstruct the driver's view, interfere with driving operations, or impede the deployment of safety devices such as airbags.
- Surface Strength: Before applying the adhesive, ensure that the chosen mounting surface within your vehicle is sufficiently strong and stable to support the weight of the navigation system and the tray.
- Наалдамхай хэрэглээ: The 3M adhesive is designed for strong bonding. Ensure the surface is clean and dry before application for optimal adhesion. Once applied, repositioning may reduce adhesive effectiveness.
- Хэт их температур: Avoid exposing the product to extreme temperatures for prolonged periods, as this may affect the adhesive's performance.
4. Тохиргоо ба суурилуулалт
Follow these steps to properly install your azur Car Mount Stand Tray:
- Суулгах байршлыг сонгоно уу: Select a flat, clean, and smooth surface on your vehicle's dashboard or console that meets the safety guidelines outlined in Section 3.
- Гадаргууг цэвэрлэх: Thoroughly clean the chosen mounting area with an alcohol wipe or a clean cloth dampened with a mild cleaner. Allow the surface to dry completely before proceeding. Any dust, grease, or moisture will compromise the adhesive bond.
- Тавиурыг бэлтгэ: The stand tray has a circular 3M adhesive sheet on its underside.
- Apply the Tray: Carefully peel off the protective backing from the 3M adhesive sheet on the bottom of the tray. Align the tray with your desired mounting spot and press it firmly onto the surface for at least 30 seconds. Apply consistent pressure across the entire surface of the tray to ensure maximum contact.
- Allow Adhesive to Cure: For optimal adhesion, it is recommended to wait at least 24 hours before attaching your navigation stand to the tray or placing any significant weight on it. This allows the adhesive to fully cure.
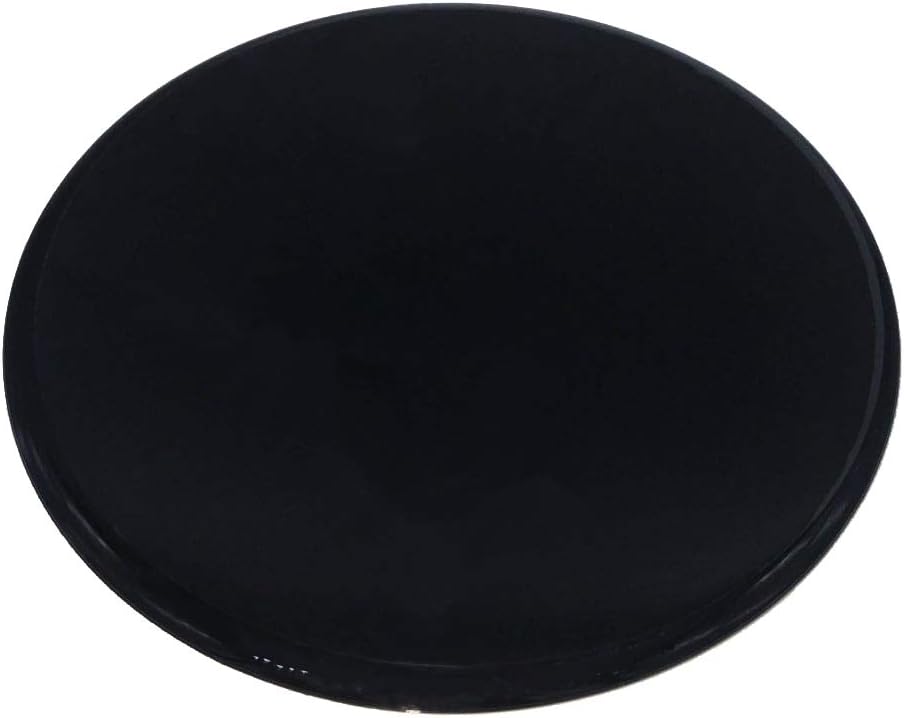
Зураг 1: Дээд талд view of the azur car mount stand tray. This is the surface where your navigation stand will attach.

Зураг 2: Доод талд view of the azur car mount stand tray, revealing the 3M PE Foam adhesive sheet. This side adheres to your vehicle's surface.
5. Ашиглалтын заавар
Once the azur Car Mount Stand Tray is securely installed and the adhesive has cured, it provides a stable base for your azur PNX-D819 portable navigation system's suction cup or adhesive mount. Simply attach your navigation system's mount to the tray as per the navigation system's own instructions.
6. Засвар үйлчилгээ
To ensure the longevity and appearance of your stand tray:
- Clean the tray with a soft, dry, or slightly damp даавуу.
- Do not use abrasive cleaners, solvents, or harsh chemicals, as these may damage the surface or the adhesive.
- Periodically check the adhesion of the tray to the mounting surface.
7. Алдаа засах
- Tray not adhering properly:
- Ensure the mounting surface was thoroughly cleaned and dry before application.
- Verify that sufficient and consistent pressure was applied during installation.
- Allow the adhesive the recommended curing time (24 hours) before applying weight.
- The surface may be unsuitable (e.g., textured, porous). Try a different, smooth, flat surface.
- Navigation system mount not sticking to the tray:
- Clean the surface of the tray and the suction cup/adhesive of your navigation mount.
- Refer to the instruction manual for your azur PNX-D819 navigation system for proper mounting procedures.
8. Техникийн үзүүлэлтүүд
| Брэнд | azur |
| Загварын дугаар | PNXD819_STNDTRAY |
| Тохиромжтой навигацийн систем | azur PNX-D819 |
| Наалдамхай төрөл | 3M PE Foam Adhesive |
| ASIN | B088WSCV62 |
| Эхний боломжтой огноо | 20 оны тавдугаар сарын 2020 |
9. Баталгаат хугацаа ба дэмжлэг
This product is covered by a warranty for initial defects. In the event of an initial defect, a new product replacement will be provided.
For further assistance or inquiries, please contact the retailer or manufacturer directly. Please have your product model number (PNXD819_STNDTRAY) and purchase information ready when contacting support.