Танилцуулга
This manual provides detailed instructions for the setup, operation, and maintenance of your Gioteck SC3 Wireless Pro Controller. Designed for use with Nintendo Switch, PC, and mobile devices, this controller features programmable back buttons, customizable RGB lighting, and changeable magnetic thumb sticks for an enhanced gaming experience.
1. Тохиргоо
1.1 Багцын агуулга
- Gioteck SC3 Wireless Pro Controller
- USB цэнэглэгч кабель
- Additional Magnetic Thumb Sticks (if included)
- Хэрэглэгчийн гарын авлага (энэ баримт бичиг)
1.2 Хянагчийг цэнэглэх
Before initial use, fully charge the controller. Connect the supplied USB charging cable to the controller's charging port and the other end to a USB power source (e.g., Nintendo Switch dock, PC USB port, or USB wall adapter).
- LED үзүүлэлт нь цэнэглэх төлөвийг харуулах болно.
- Бүрэн цэнэглэхэд ихэвчлэн 2-3 цаг зарцуулдаг.
Зураг: Доод талд view of the Gioteck SC3 controller, highlighting the USB-C charging port located between the two textured grips.
1.3 Nintendo Switch-тэй хослуулах
- Nintendo Switch HOME цэснээс сонгоно уу Хянагч нар, дараа нь Бариул/Захиалга өөрчлөх.
- On the SC3 controller, press and hold the Хослуулах товч (usually a small button on the top or back) for a few seconds until the LED indicators begin to flash rapidly.
- Once the controller is recognized by the Switch, the player LED(s) on the controller will illuminate solid, indicating successful pairing.
- дээр дарна уу Товч баталгаажуулах.
Note: For subsequent uses, the controller should automatically reconnect to the last paired Switch console when powered on.
1.4 Connecting to PC/Mobile (Bluetooth)
- Ensure Bluetooth is enabled on your PC or mobile device.
- On the SC3 controller, press and hold the Хослуулах товч for a few seconds until the LED indicators flash rapidly.
- On your PC/mobile device, navigate to Bluetooth settings and search for new devices.
- Select "Gioteck SC3" or similar from the list of available devices to pair.
- The controller's LED will become solid upon successful connection.
1.5 Installing Magnetic Thumb Sticks
The SC3 controller features changeable magnetic thumb sticks. To replace them:
- Gently pull the existing thumb stick straight up to remove it.
- Align the desired magnetic thumb stick with the base and gently push it down until it snaps into place.

Зураг: Урд view of the Gioteck SC3 controller, showcasing the magnetic thumb sticks and button layout.
2. Ашиглалтын заавар
2.1 Товчлуурын байршил
The SC3 controller features a traditional button layout. Refer to the image below for button identification.

Зураг: өнцөгт урд view of the Gioteck SC3 controller, displaying the full button layout including face buttons, D-pad, analog sticks, and shoulder buttons.
- Зүүн/Баруун аналог саваа: Хөдөлгөөн болон камерыг хянах зориулалттай.
- D-Pad: Чиглэлийн оролт.
- A/B/X/Y товчлуурууд: Үйлдлийн товчлуурууд.
- L/R/ZL/ZR Buttons: Мөр болон гох товчлуурууд.
- +/- Товчлуур: Start/Select equivalents.
- Нүүр хуудас товч: Returns to the console's home menu.
- Capture товчлуур: Takes screenshots.
2.2 Програмчлагдах буцах товчлуурууд
The SC3 controller includes programmable back buttons (M1, M2, M3, M4) for custom assignments.

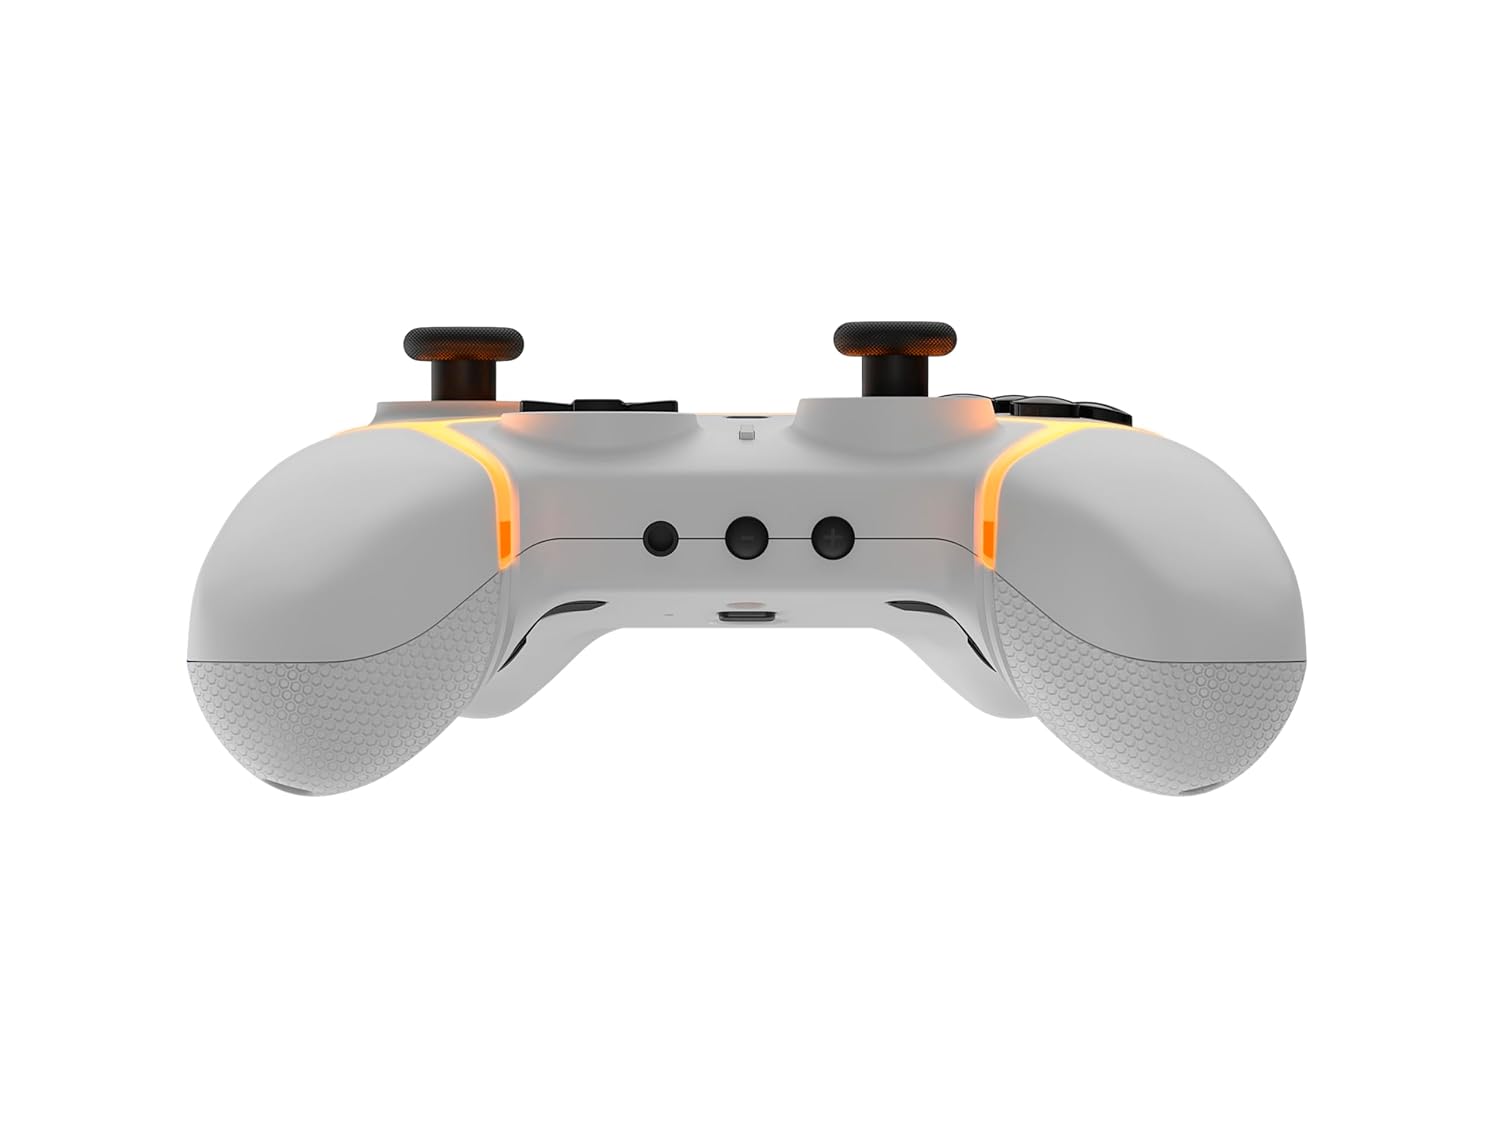
Зураг: Ар талд view of the Gioteck SC3 controller, clearly showing the four programmable back buttons (M1, M2, M3, M4) and textured grips.
Програмчлалын алхамууд:
- -г удаан дар Програмын товчлуур (refer to diagram if available, usually a small button on the back) until the LED indicator flashes.
- дээр дарна уу Буцах товчлуур (M1, M2, M3, or M4) you wish to program. The LED will flash slowly.
- дээр дарна уу Оруулах товч (e.g., A, B, X, Y, L, R, ZL, ZR, D-pad direction) you want to assign to the back button.
- дээр дарна уу Програмын товчлуур again to save the assignment. The LED will stop flashing.
- Repeat for other back buttons as desired.
To clear a programmed button, follow steps 1-2, then press the Program Button again without pressing an input button.
2.3 RGB гэрэлтүүлгийн тохируулга
The controller features customizable RGB lighting. Specific instructions for changing colors or effects are typically found in the product's quick start guide or by pressing a dedicated button combination (e.g., Function + R3).
Consult the quick start guide included with your controller for precise button combinations to adjust RGB lighting.
2.4 Motion Controls
The SC3 controller supports motion controls, allowing for immersive gameplay in compatible Nintendo Switch titles. No special setup is usually required; motion controls activate automatically when supported by the game.
2.5 Audio Headset Jack
A 3.5mm audio headset jack is located on the controller for connecting compatible headsets. It includes dedicated mute and volume control buttons.
- Дууны хэмжээг нэмэгдүүлэх/доошруулах: Аудио гаралтыг тохируулна уу.
- Дууг хаах товч: Mute/unmute microphone input.

Зураг: дээд view of the Gioteck SC3 controller, highlighting the 3.5mm audio jack, volume controls, and mute button.
3. Засвар үйлчилгээ
3.1 Цэвэрлэгээ
Удирдлагаа цэвэрлэхийн тулд зөөлөн, хуурай даавуу ашиглана уу. Зөрүүд шороонд бага зэрэг dampДаавууг усаар норгоно. Хүчтэй химийн бодис, зүлгүүрийн цэвэрлэгч эсвэл уусгагч хэрэглэхээс зайлсхий, учир нь эдгээр нь хянагчийн өнгөлгөө болон дотор эд ангиудыг гэмтээж болзошгүй.
- Do not immerse the controller in water or any other liquid.
- Ensure all ports are dry before charging or connecting devices.
3.2 Хадгалалт
Хянагчийг сэрүүн, хуурай газар, нарны шууд тусгал болон хэт өндөр температураас хол хадгална уу. Гэмтэхээс сэргийлж, хянагч дээр хүнд зүйл тавихаас зайлсхий.
3.3 Батерейны арчилгаа
The controller contains a rechargeable battery. To prolong battery life:
- Байнга зайгаа бүрэн цэнэглэхээс зайлсхий.
- Charge the controller regularly, even if not in use for extended periods (e.g., once every 3-6 months).
- Do not expose the controller to temperatures above 60°C (140°F).
4. Алдаа засах
4.1 Хянагч холбогдоогүй/холбогдохгүй байна
- Батерейг шалгах: Хянагч хангалттай цэнэглэгдсэн эсэхийг шалгаарай.
- Дахин холбох: Follow the pairing instructions in Section 1.3 or 1.4.
- хөндлөнгийн оролцоо: Move closer to the console/device and away from potential sources of wireless interference (e.g., Wi-Fi routers, other Bluetooth devices).
- Хянагчийг дахин тохируулах: Locate a small reset button (often a pinhole) on the back of the controller. Use a paperclip to press and hold it for a few seconds. Then attempt to re-pair.
- Update Console/Device Software: Ensure your Nintendo Switch, PC, or mobile device's operating system is up to date.
4.2 Buttons/Sticks Not Responding
- Дахин синк хийх: Хянагчийг салгаад дахин холбоно уу.
- Цэвэр: Товчлуур эсвэл савааны эргэн тойронд ямар ч хог хаягдал хуримтлагдаагүй эсэхийг шалгаарай.
- Test in another game/menu: Determine if the issue is specific to a game or system-wide.
- Хянагчийг дахин тохируулах: Perform a hard reset as described above.
4.3 Motion Controls Not Working
- Тоглоомын нийцтэй байдал: Verify that the game you are playing supports motion controls.
- Дахин тохируулах: On Nintendo Switch, you can recalibrate motion controls in the system settings.
- Хянагчийг дахин тохируулах: Хатуу дахин тохируулна уу.
5. Техникийн үзүүлэлтүүд
| Загвар: | Gioteck SC3 Wireless Pro Controller |
| Тохиромжтой байдал: | Nintendo Switch (Original, Lite, OLED), PC, Mobile Devices |
| Холболт: | Bluetooth утасгүй |
| Хэмжээ (ойролцоогоор): | 2.87 x 5.35 x 6.34 инч (7.29 x 13.59 x 16.1 см) |
| Жин (ойролцоогоор): | 10.6 унц (300 грамм) |
| Аудио Жак: | 3.5mm with mute and volume controls |
| Онцлог шинж чанарууд: | Programmable back buttons, Magnetic thumb sticks, RGB lighting, Motion controls |
6. Баталгаат хугацааны мэдээлэл
The Gioteck SC3 Wireless Pro Controller comes with a manufacturer's warranty. For specific details regarding warranty coverage, duration, and claims process, please refer to the warranty card included with your product or visit the official Gioteck webсайт.
Баталгаат хугацаанд худалдаж авсан баримтаа хадгална уу.
7. Хэрэглэгчийн дэмжлэг
If you encounter any issues or have questions not covered in this manual, please contact Gioteck customer support. Contact information can typically be found on the product packaging or the official Gioteck webсайт.
Gioteck албан ёсны Webсайт: www.gioteck.com