Танилцуулга
This manual provides comprehensive instructions for the installation, operation, and maintenance of your Natec Cabassu G2 Midi Tower PC Case. Please read this manual thoroughly before beginning installation to ensure proper setup and optimal performance.
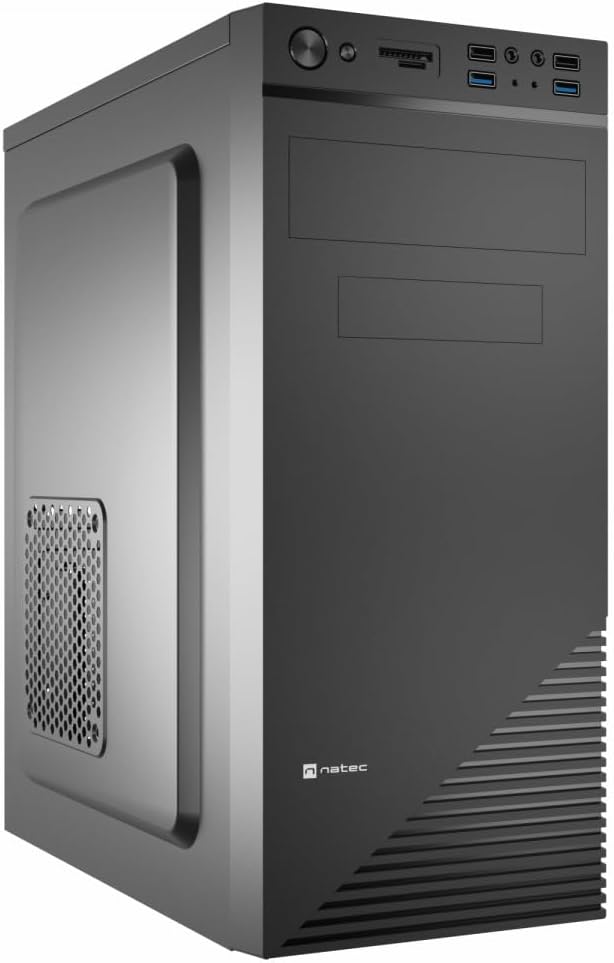
Figure 1: Natec Cabassu G2 Midi Tower PC Case. This image shows the front and left side of the black PC case, highlighting its sleek design and front panel layout.
Аюулгүй байдлын мэдээлэл
- Аливаа эд ангиудыг суулгах эсвэл салгахаасаа өмнө цахилгаан тэжээлийг ханын залгуураас үргэлж салга.
- Статик цахилгаанаас болж гэмтэхээс сэргийлж эд ангиудыг болгоомжтой харьц.
- Хайрцгийг ус, чийг болон хэт өндөр температураас хол байлга.
- Хэт халалтаас урьдчилан сэргийлэхийн тулд зохих агааржуулалтыг хангах.
- Do not attempt to open the power supply unit.
Багцын агуулга
Бүх зүйл багцад байгаа эсэхийг шалгана уу:
- Natec Cabassu G2 Midi Tower PC Case
- Дагалдах хэрэгсэл (эрэг, тулгуур, кабель зангиа)
- Хэрэглэгчийн гарын авлага (энэ баримт бичиг)
Тохиргоо болон бүрэлдэхүүн хэсгийн суурилуулалт
1. Кейс бэлтгэх
- Хайрцгийг хавтгай, тогтвортой гадаргуу дээр байрлуул.
- Арын хэсэгт байгаа эрхий хурууны боолтыг тайлж, хавтангуудыг арагш гулсуулж хажуугийн хавтангуудыг салга.

Зураг 2: Дотоод засал view of the Natec Cabassu G2 case with the side panel removed, illustrating the internal layout for component installation.
2. Эх хавтанг суурилуулах
- Оролт/гаралтын бамбайг хайрцагны арын нүхэнд суулгана.
- Align the motherboard with the pre-installed standoffs. The Cabassu G2 supports Mini ITX, Micro ATX, and ATX motherboards.
- Эх хавтанг нийлүүлсэн эрэг ашиглан бэхлээрэй.
3. Цахилгаан хангамжийн суурилуулалт
- The power supply mounts at the bottom of the case.
- Slide the power supply into its designated bay from the rear of the case.
- Secure it with screws from the rear.
4. Хадгалах диск суурилуулах
- 2.5" Drives (SSDs/HDDs): The case features 3 x 2.5" drive bays. Mount drives using the provided screws in the designated locations.
- 3.5" Drives (HDDs): The case also supports 3.5" drives.
5. Өргөтгөх карт суурилуулах
- Remove the necessary expansion slot covers from the rear of the case (7 expansion slots available).
- Эх хавтангийн PCIe үүрэнд график карт эсвэл бусад өргөтгөлийн картуудыг оруулна уу.
- Картуудыг боолтоор бэхлээрэй.

Зураг 3: Ар талд view of the Natec Cabassu G2 case, detailing the I/O shield cutout, power supply opening, and seven expansion slots.
6. Кабелийн менежмент
Route cables behind the motherboard tray where possible to improve airflow and aesthetics. Use the included cable ties to secure bundles.
7. Урд талын самбарын кабелийг холбох
Connect the front panel cables (USB 2.0, USB 3.0, audio, power switch, reset switch, HDD LED, power LED) to the corresponding headers on your motherboard. Refer to your motherboard manual for exact pin assignments.

Figure 4: Close-up of the Natec Cabassu G2 front panel, showing 2x USB 2.0 ports, 2x USB 3.0 ports, audio jacks, and power/reset buttons.
Ашиглалтын заавар
Асаах/унтраах
- Асаах: Урд самбар дээр байрлах цахилгаан товчийг дарна уу.
- Унтраах: Initiate shutdown through your operating system. For a forced shutdown, press and hold the power button for several seconds.
- Дахин тохируулах Press the reset button on the front panel to restart the system.
Using Front Panel Ports
Урд самбар нь дараахь зүйлсэд хялбархан нэвтрэх боломжийг олгодог.
- 2 x USB 2.0 порт
- 2 x USB 3.0 порт
- Audio input (microphone) and output (headphone) jacks
Connect compatible devices to these ports as needed.
Засвар үйлчилгээ
Цэвэрлэгээ
- Гэрийн гадна талыг зөөлөн, d аргаар тогтмол цэвэрлэж байгаарайamp даавуу. Зүлгүүрийн цэвэрлэгчээс зайлсхий.
- Use compressed air to remove dust from fan filters and internal components. Ensure the system is powered off and unplugged before cleaning.
Тоос шүүлтүүр
The case may include removable dust filters. Periodically remove and clean these filters to maintain optimal airflow and cooling performance.
Алдааг олж засварлах
| Асуудал | Боломжит шалтгаан | Шийдэл |
|---|---|---|
| Систем асахгүй байна. | Power cables not connected properly. Faulty power supply. | Check all power connections (motherboard, CPU, GPU, power supply to wall). Ensure power supply switch is ON. |
| Front panel USB ports not working. | Front panel USB cables not connected to motherboard. | Verify that the USB 2.0 and USB 3.0 headers are correctly connected to the motherboard. |
| Excessive fan noise. | Dust accumulation. Loose fan. | Clean dust from fans and filters. Ensure all fans are securely mounted. |
Үзүүлэлтүүд
| Онцлог | Дэлгэрэнгүй |
|---|---|
| Загварын нэр | Cabassu G2 |
| Загварын дугаар | S5624687 |
| Кейсийн төрөл | Миди цамхаг |
| Хэмжээ (LxWxH) | 19.69 x 19.69 x 11.02 инч (50 x 50 x 28 см) |
| Жин | 7.04 фунт (3.19 кг) |
| Материал | Акрилонитрил Бутадиен Стирол (ABS), Хайлшин Ган |
| Эх хавтангийн нийцтэй байдал | Мини ITX, Микро ATX, ATX |
| 2.5 инчийн жолооны булан | 3 |
| Өргөтгөх үүрүүд | 7 |
| Урд I / O портууд | 2 x USB 2.0, 2 x USB 3.0, Аудио оролт/гаралт |
| Фэнүүдийн дэмжлэг | 120mm (rear, pre-installed if applicable) |
| Хөргөх арга | Агаар |
| Цахилгаан хангамжийн угсралт | Доод бэхэлгээ |
Баталгаат хугацааны мэдээлэл
Natec products are covered by a manufacturer's warranty. Specific warranty terms and conditions may vary by region and retailer. Please refer to the warranty card included with your product or visit the official Natec website for detailed information regarding warranty coverage and claims.
Дэмжлэг
For technical assistance, troubleshooting, or further inquiries, please visit the official Natec support webсайт руу орж үзэх эсвэл тэдний харилцагчийн үйлчилгээний хэлтэстэй холбогдоно уу. Холбоо барих мэдээллийг ихэвчлэн бүтээгдэхүүний сав баглаа боодол эсвэл албан ёсны брэндээс олж болно. webсайт.
Webсайт: www.natec-zone.com (Жишээ ньample холбоос, бодит холбоос өөр байж болно)


