1. Танилцуулга
The Unitek S1306A Dual-Bay SATA Clone Drive Station is designed for efficient data management, allowing you to connect and clone 2.5-inch and 3.5-inch SATA I, II, or III hard disk drives (HDDs) and solid-state drives (SSDs). This device supports standalone cloning without a computer connection and also functions as a dual-bay external drive enclosure when connected to a PC via its USB 3.2 Gen1 port, offering data transfer speeds up to 5 Gbps. It is a plug-and-play device, requiring no additional driver installation for basic operation.
2. Багцын агуулга
- Unitek S1306A Dual-Bay SATA Clone Drive Station
- USB-B-аас USB-A кабель
- Цахилгаан хувиргагч (ДС 12V)
- Зааварчилгааны гарын авлага
3. Бүтээгдэхүүн дууссанview
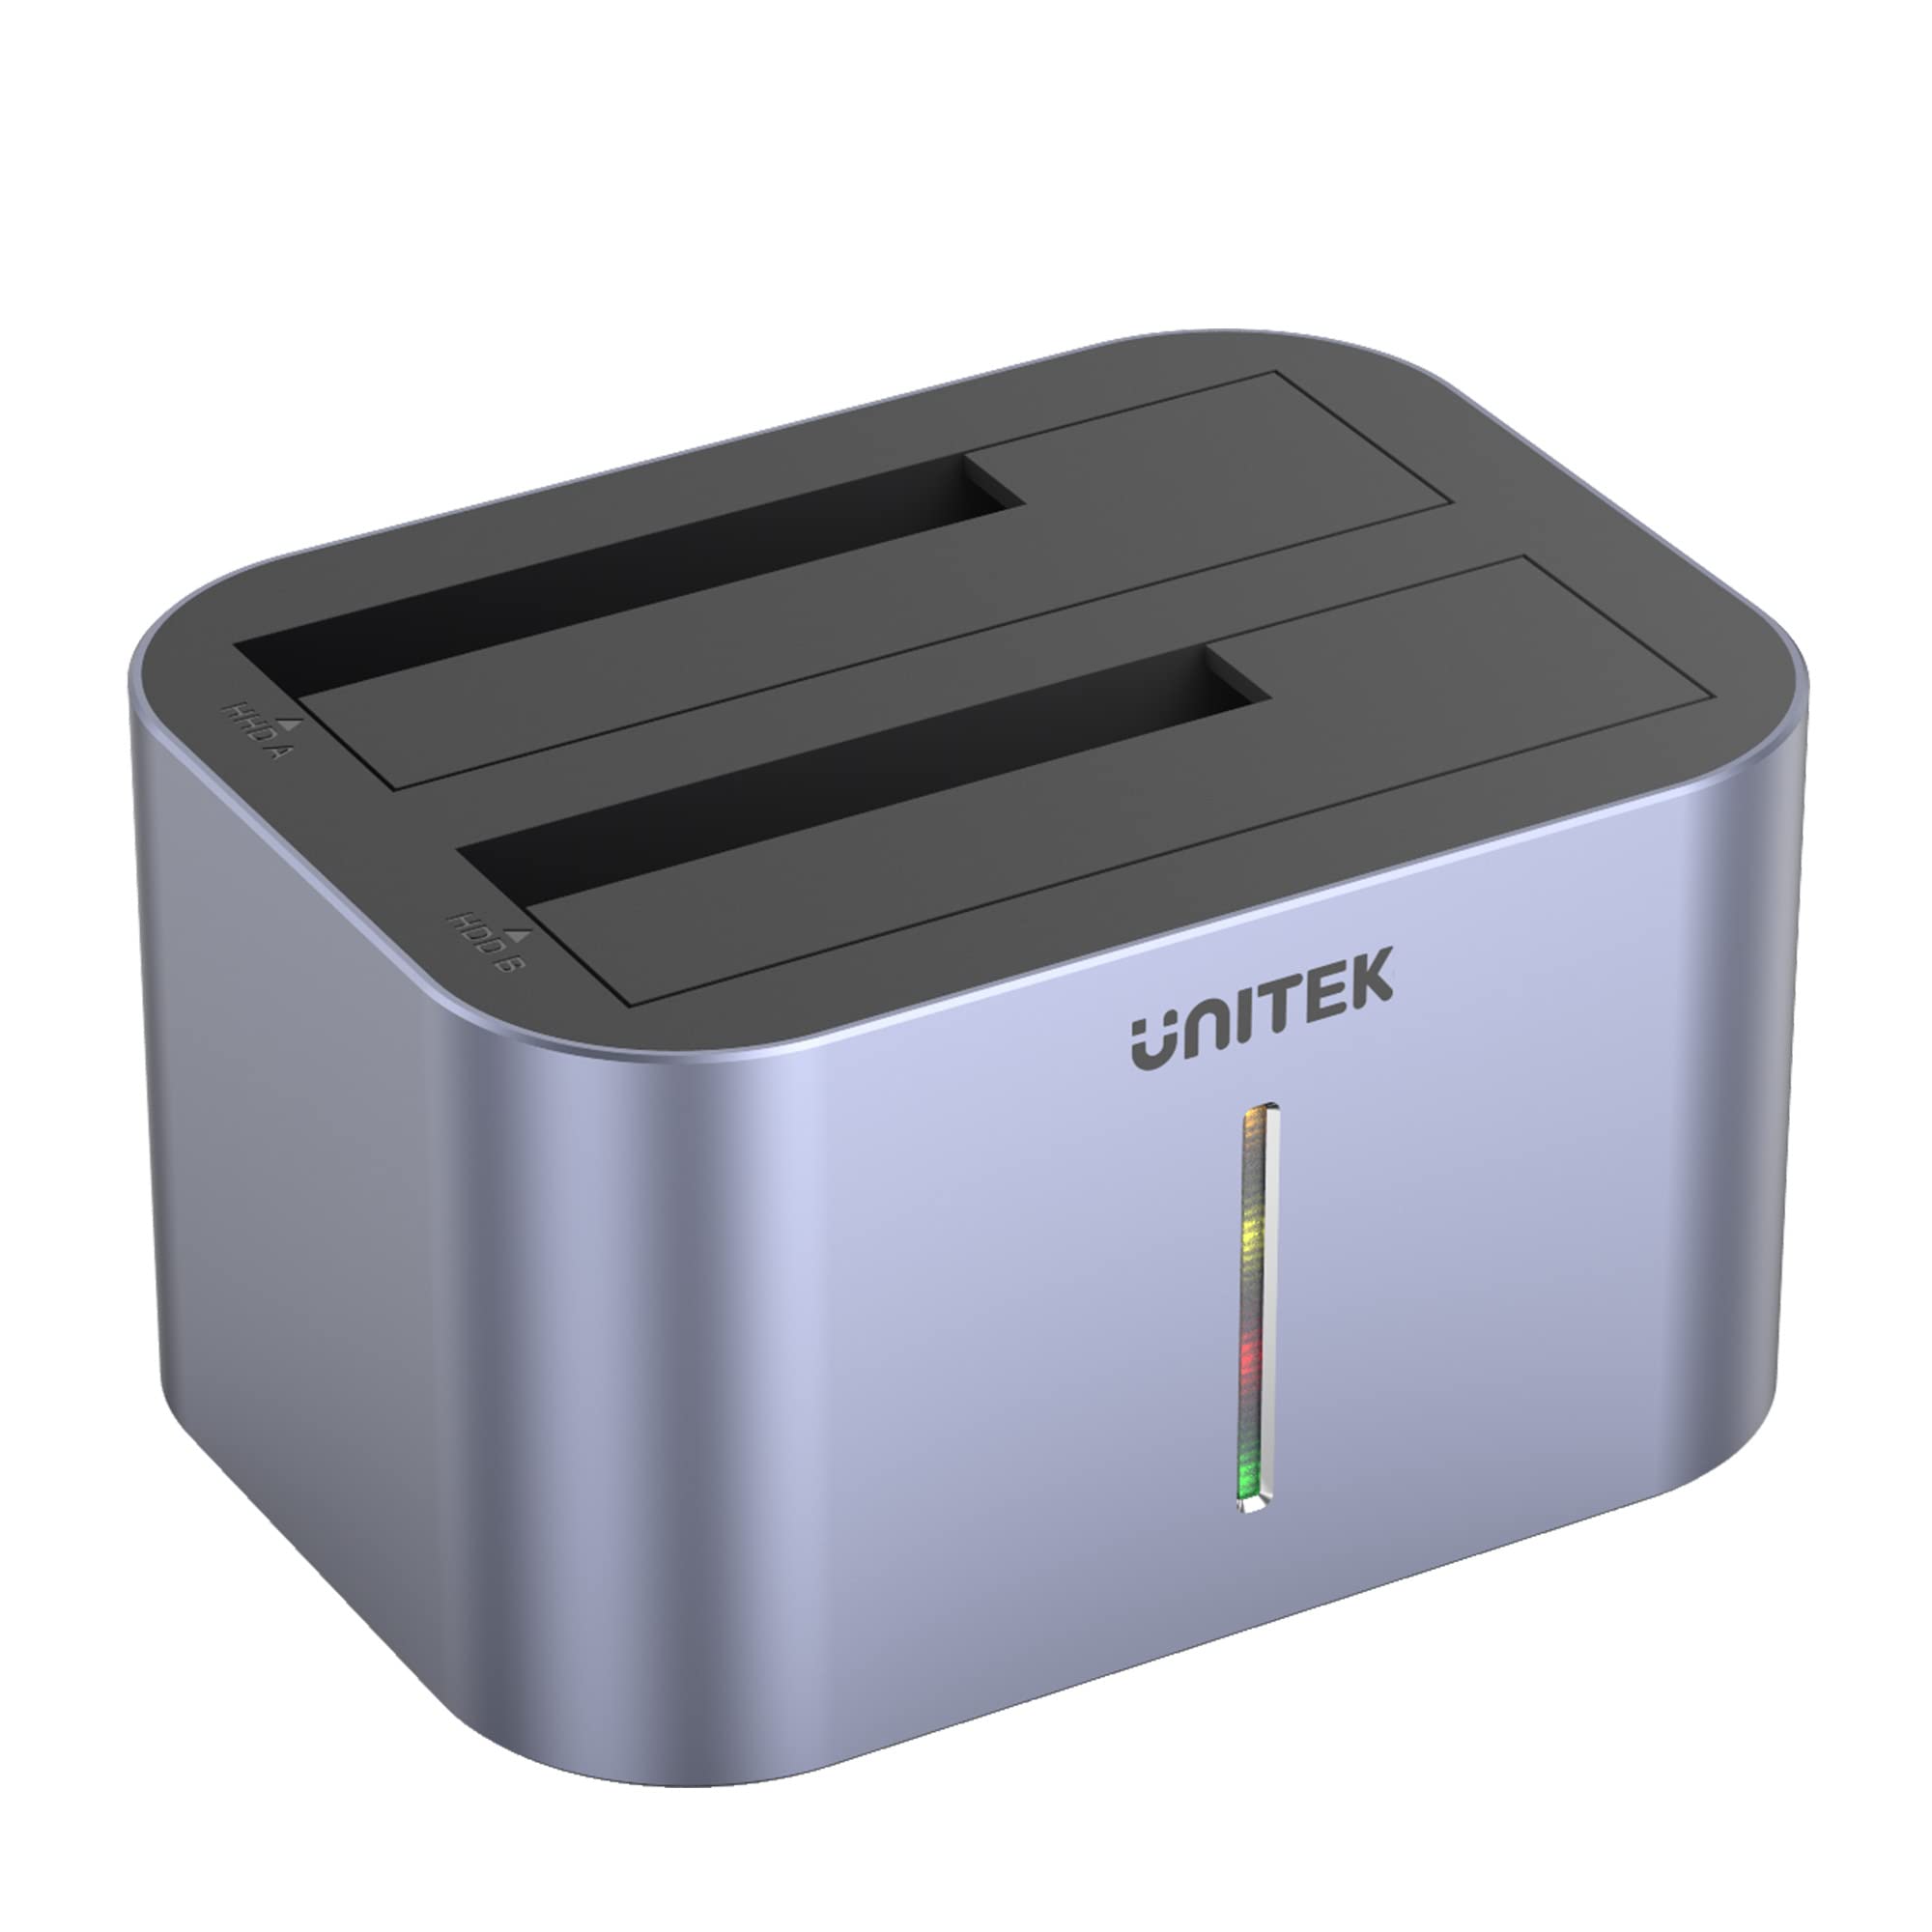
Зураг 3.1: Урд view of the Unitek S1306A Dual-Bay SATA Clone Drive Station, showing the two drive bays and the LED indicator strip.

Зураг 3.2: Ар талд view of the Unitek S1306A, highlighting the USB 3.2 Gen1 port, DC 12V power input, ON/OFF switch, and Clone button.
- Drive Bays (HDD A & HDD B): Two slots for inserting 2.5-inch or 3.5-inch SATA HDDs/SSDs. HDD A is the source drive slot for cloning, and HDD B is the target drive slot.
- LED үзүүлэлт: A vertical LED strip on the front panel that indicates power status and cloning progress.
- USB 3.2 Gen1 порт: Connects the station to a computer for data transfer.
- DC 12V цахилгаан оролт: Дагалдах тэжээлийн адаптерт холбогдоно.
- ON/OFF унтраалга: Төхөөрөмжийг асаах эсвэл унтраах.
- Clone Button: Initiates the standalone cloning process.
4. Тохиргоо
4.1 Inserting Drives
- Төхөөрөмж унтарсан эсэхийг шалгана уу.
- Align your 2.5-inch or 3.5-inch SATA HDD/SSD with the SATA connector inside the drive bay.
- Gently push the drive down until it is firmly seated. For cloning, the source drive goes into HDD A and the target drive into HDD B.

Figure 4.1: Illustration of inserting both 3.5-inch and 2.5-inch SATA drives into the respective bays of the cloning station.
4.2 Эрчим хүчний холболт
- Connect the included power adapter to the DC 12V input port on the rear of the station.
- Цахилгаан адаптерийг ханын залгуурт холбоно уу.
4.3 PC холболт (заавал биш)
If you intend to use the station as an external drive enclosure with a computer:
- Connect the USB-B end of the provided USB cable to the USB 3.2 Gen1 port on the station.
- Кабелийн USB-A төгсгөлийг компьютер дээрээ байгаа USB порт руу холбоно уу.
5. Үйлдлийн горимууд
5.1 PC Connection Mode (Data Transfer)
In this mode, the station acts as an external dual-bay drive enclosure, allowing your computer to access the inserted drives.
- Ensure drives are inserted (refer to Section 4.1).
- Connect the station to your computer using the USB cable (refer to Section 4.3).
- Flip the ON/OFF switch to the 'ON' position. The LED indicator will illuminate.
- Your computer's operating system will detect the drives. They will appear as removable storage devices.
- You can now access, read, and write data to the drives. The device supports hot-swapping, meaning you can remove and insert drives while the station is connected and powered on, provided the operating system is not actively accessing the drive.
5.2 Standalone Clone Mode (Without PC)
This mode allows you to duplicate a source drive to a target drive without needing a computer connection.
Анхаарах зүйл:
- The target drive (HDD B) must have a capacity equal to or greater than the source drive (HDD A). If the target drive is smaller, the cloning process will fail.
- All data on the target drive will be overwritten during the cloning process. Ensure you have backed up any important data from the target drive before proceeding.
- Do not connect the USB cable to a computer during standalone cloning.
- Ensure the station is powered off and disconnected from any computer.
- Insert the source drive into the HDD A үүр.
- Insert the target drive into the HDD B үүр.
- Flip the ON/OFF switch to the 'ON' position.
- -г удаан дар Clone товч for approximately 3-5 seconds until the LED indicator begins to flash, indicating the start of the cloning process.
- The LED indicator will show the progress of the cloning (e.g., 25%, 50%, 75%, 100%).
- Once all LEDs are solid, the cloning process is complete.
- Flip the ON/OFF switch to 'OFF' and safely remove the drives.
6. Засвар үйлчилгээ
- Зөөлөн, хуурай даавуугаар арчиж төхөөрөмжийг цэвэр байлга.
- Avoid exposing the device to liquids, excessive dust, or extreme temperatures.
- Төхөөрөмжийг ашиглаагүй үед сэрүүн, хуурай газар хадгална.
- Ашиглалтын явцад төхөөрөмжийн эргэн тойронд агааржуулалт сайтай байх ёстой.
7. Алдаа засах
7.1 Төхөөрөмжийг компьютер танихгүй байна
- Цахилгаан адаптер найдвартай холбогдсон бөгөөд төхөөрөмж асаалттай байгаа эсэхийг шалгаарай.
- Verify the USB cable is properly connected to both the station and the computer.
- Компьютер дээрээ өөр USB порт руу холбогдож үзнэ үү.
- Ensure the drives are correctly seated in their bays.
- Check if the drives are initialized and formatted in your computer's Disk Management (Windows) or Disk Utility (macOS).
7.2 Standalone Cloning Fails or Does Not Start
- Confirm that the target drive (HDD B) has a capacity equal to or greater than the source drive (HDD A).
- Ensure the USB cable is disconnected from the computer. Standalone cloning requires no PC connection.
- Verify both drives are securely inserted.
- Press and hold the Clone button for the required 3-5 seconds until the LED indicator responds.
- Check the health of both source and target drives. A faulty drive may prevent cloning.
7.3 Өгөгдөл дамжуулах хурд удаан
- Ensure the station is connected to a USB 3.0 (or higher) port on your computer. Connecting to a USB 2.0 port will result in slower speeds.
- The actual transfer speed depends on the performance of the drives used.
8. Техникийн үзүүлэлтүүд
| Онцлог | Дэлгэрэнгүй |
|---|---|
| Загвар | S1306A |
| Дэмжигдсэн драйвууд | 2.5-inch / 3.5-inch SATA I/II/III HDD/SSD |
| Драйвын хамгийн их багтаамж | Нэг булан бүрт 8 ТБ хүртэл (нийт 16 ТБ) |
| Интерфэйс | USB 3.2 Gen1 (USB 3.0 compatible) |
| Өгөгдөл дамжуулах хурд | 5 Gbps хүртэл |
| Эрчим хүчний хангамж | DC 12V цахилгаан хувиргагч |
| Функцүүд | Standalone Cloning, External Drive Enclosure |
| Хэмжээ | 50 x 50 x 28 см |
| Жин | 760 гр |
9. Аюулгүй байдлын мэдээлэл
- Do not disassemble or attempt to repair the device. This may void the warranty and pose safety risks.
- Use only the provided power adapter. Using an incorrect adapter may damage the device or cause fire.
- Төхөөрөмжийг ус, гал, өндөр температураас хол байлга.
- Төхөөрөмжийг унагах эсвэл хүчтэй нөлөөнд оруулахаас зайлсхий.
- Аянга цахилгаантай борооны үеэр эсвэл удаан хугацаагаар ашиглаагүй үед цахилгаан адаптерийг салга.
10. Баталгаат хугацаа ба дэмжлэг
Unitek products are designed for reliability and performance. For warranty information, technical support, or customer service inquiries, please refer to the warranty card included with your product or visit the official Unitek website. Please have your product model number (S1306A) and purchase details ready when contacting support.


