1. Танилцуулга
This manual provides detailed instructions for the setup, operation, maintenance, and troubleshooting of your Steelplay Adventure Controller for Nintendo Switch. Please read this manual thoroughly before using the product to ensure optimal performance and longevity.
2. Багцын агуулга
- Steelplay Adventure Controller
- USB цэнэглэгч кабель
- Хэрэглэгчийн гарын авлага (энэ баримт бичиг)
3. Хянагчийн зохион байгуулалт
Familiarize yourself with the buttons and features of your Steelplay Adventure Controller.

Зураг 1: Урд view of the Steelplay Adventure Controller. This image displays the controller's ergonomic design, featuring a teal main body, brown grips, and yellow accents on the analog sticks, D-pad, and face buttons. The layout includes two clickable analog sticks, a directional pad, A/B/X/Y action buttons, Home, Capture, Plus, Minus, and Turbo buttons.
- Зүүн аналог зөөгч: Хөдөлгөөн болон камерыг хянах зориулалттай.
- Баруун аналог зөөгч: For camera control or specific in-game actions.
- D-Pad: Чиглэлийн оролт.
- A/B/X/Y товчлуурууд: Үйлдлийн товчлуурууд.
- Зүүн/Ор товчлуурууд: Мөрний товчлуурууд.
- ZL/ZR товчлуурууд: Триггер товчлуурууд.
- HOME товчлуур: Nintendo Switch-н НҮҮР ХУУДАС цэс рүү буцна.
- БҮТЭЭЛИЙН ТОГЛОЛТ: Дэлгэцийн зураг эсвэл видео клип авдаг.
- + (Нэмэх) Товч: Эхлэх/түр зогсоох товчлуур.
- - (Хасах) Товч: Сонгох товч.
- TURBO товч: For setting rapid-fire functionality (refer to operating section).
- LED үзүүлэлтүүд: Display connection status, player number, and charging status.
4. Тохиргоо ба холболт
4.1 Анхны цэнэглэлт
Before first use, fully charge the controller. Connect the USB charging cable to the controller's charging port and the other end to a USB power source (e.g., Nintendo Switch dock, USB wall adapter, computer USB port). The LED indicators will show charging status and turn off or change color when fully charged.
4.2 Nintendo Switch-тэй хослуулах
- On your Nintendo Switch HOME Menu, select "Controllers".
- "Бариул/Дарааллыг өөрчлөх"-ийг сонгоно уу.
- On the Steelplay Adventure Controller, press and hold the HOME товчлуур болон Y товч simultaneously for a few seconds until the LED indicators start flashing rapidly. This indicates the controller is in pairing mode.
- The Nintendo Switch will detect the controller. Once detected, the LED indicators on the controller will stop flashing and remain solid, indicating a successful connection.
- Press the L+R buttons on the controller as prompted by the Switch screen to finalize the connection.
Once paired, the controller will automatically connect to your Nintendo Switch when powered on and within range.
5. Хянагчийг ажиллуулах
5.1 Үндсэн удирдлага
The Steelplay Adventure Controller functions similarly to official Nintendo Switch Pro Controllers. Use the analog sticks for movement, D-pad for directional input, and A/B/X/Y buttons for in-game actions. The L/R and ZL/ZR buttons provide additional input options.
5.2 Хөдөлгөөний удирдлага
The controller supports motion control functionality, allowing for immersive gameplay in compatible titles. Ensure your Nintendo Switch system software is up to date for optimal motion control performance.
5.3 TURBO функц
The TURBO function allows a button to be pressed repeatedly as long as it is held down, providing a rapid-fire effect.
- TURBO-г идэвхжүүлэхийн тулд: -г удаан дар TURBO товчлуур, then press the desired action button (e.g., A, B, X, Y, L, R, ZL, ZR). The button will now have TURBO functionality.
- TURBO-г идэвхгүй болгохын тулд: -г удаан дар TURBO товчлуур again, then press the same action button. The TURBO function for that button will be turned off.
6. Засвар үйлчилгээ
6.1 Цэвэрлэгээ
Удирдлагаа цэвэрлэхийн тулд зөөлөн, хуурай даавуу ашиглана уу. Зөрүүд шороонд бага зэрэг dampen the cloth with water and gently wipe the surface. Do not use harsh chemicals, solvents, or abrasive cleaners, as these can damage the controller's finish and internal components.
6.2 Хадгалалт
Store the controller in a cool, dry place away from direct sunlight, extreme temperatures, and high humidity. Avoid placing heavy objects on the controller to prevent damage to the buttons or casing.
6.3 Батерейны арчилгаа
The controller contains a built-in Lithium-ion battery. To prolong battery life, avoid fully discharging the battery frequently. If storing the controller for an extended period, charge it to approximately 50% capacity every few months.
7. Алдаа засах
| Асуудал | Боломжит шалтгаан | Шийдэл |
|---|---|---|
| Хянагч нь Switch руу холбогдоогүй байна. |
|
|
| Input lag or unresponsive buttons. |
|
|
| Хянагч цэнэглэгдэхгүй байна. |
|
|
8. Техникийн үзүүлэлтүүд
| Онцлог | Дэлгэрэнгүй |
|---|---|
| Брэнд | Ган тоглох |
| Загварын дугаар | 3760352735322 |
| Холболт | Bluetooth (Утасгүй) |
| Тохиромжтой төхөөрөмжүүд | Nintendo Switch |
| Өнгө | Multicolore (Teal, Brown, Yellow) |
| Онцлог шинж чанарууд | Wireless, Motion Control, TURBO Function |
| Жин | 185 грамм |
| Хэмжээ (L x W x H) | 16 x 11.5 x 6.3 сантиметр |
| Зайны төрөл | 1 Lithium-ion (built-in) |
9. Баталгаат хугацаа ба дэмжлэг
The product packaging indicates a 5-year warranty. For specific warranty terms, conditions, and support inquiries, please refer to the official Steelplay webсайт эсвэл харилцагчийн үйлчилгээтэй шууд холбогдоно уу. Баталгаат нэхэмжлэл гаргахын тулд худалдан авалтаа нотлох баримтаа хадгалаарай.
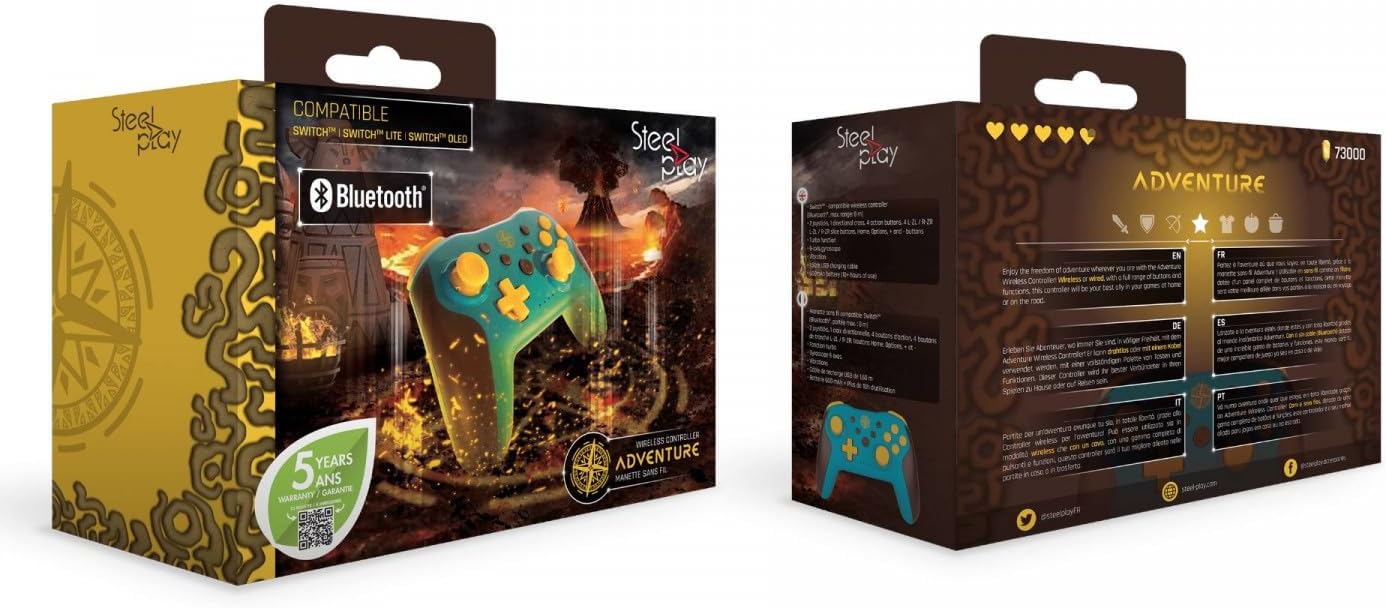
Зураг 2: Packaging of the Steelplay Adventure Controller. The box prominently features the controller's design, compatibility with various Nintendo Switch models, Bluetooth logo, and a "5 years warranty" seal. The reverse side provides product information in multiple languages.