Танилцуулга
This manual provides comprehensive instructions for the installation, operation, and maintenance of your AVer TR333V2 4K PTZ Camera. Please read this manual thoroughly before using the product to ensure proper setup and optimal performance. Keep this manual for future reference.
Тохиргоо
1. Савлах, шалгах
Сав баглаа боодолоос бүх эд ангиудыг болгоомжтой авч хаяна уу. Сав баглаа боодлын жагсаалтад жагсаасан бүх зүйл байгаа бөгөөд гэмтээгүй эсэхийг шалгана уу. Хэрэв ямар нэгэн зүйл алга болсон эсвэл гэмтсэн бол дилертэйгээ яаралтай холбоо барина уу.
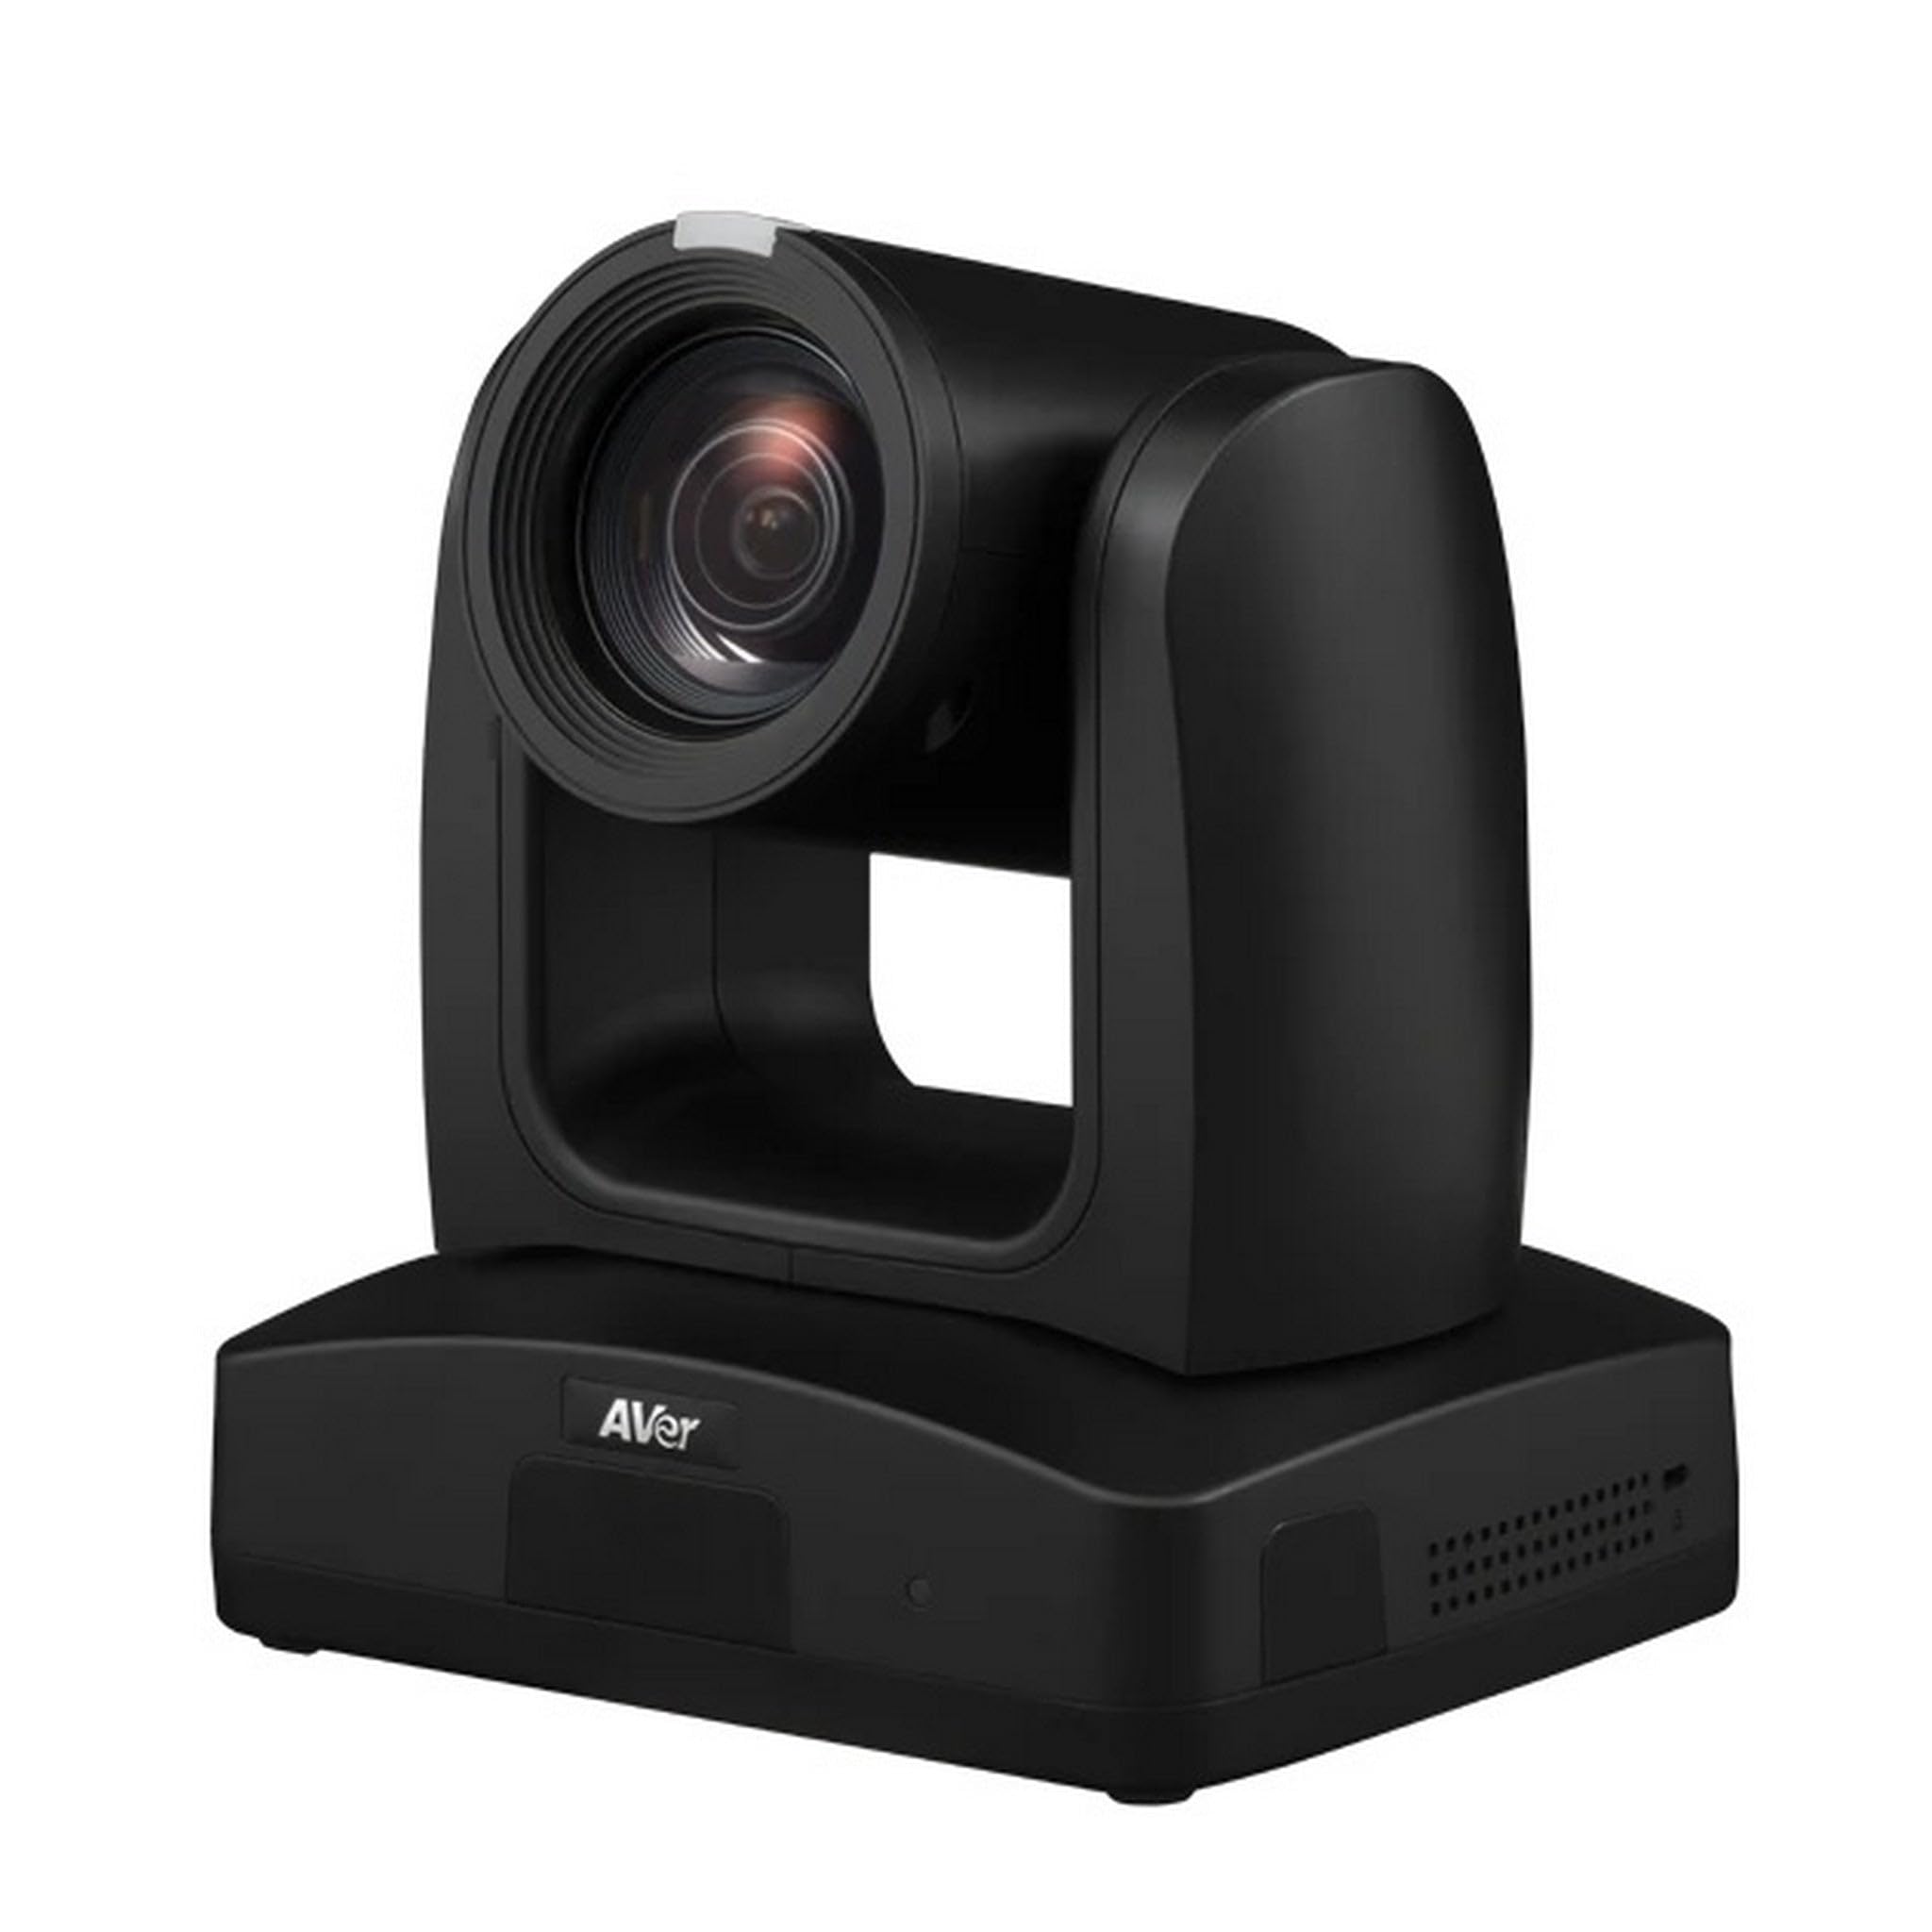
Figure 1: AVer TR333V2 4K PTZ Camera. This image shows the front view of the camera, highlighting its lens and general form factor.
2. Физик суурилуулалт
The TR333V2 camera can be installed in various configurations, including desktop, wall-mount, or ceiling-mount. Ensure the mounting surface is stable and can support the camera's weight. Use appropriate mounting hardware (not included unless specified by your dealer).
- Ширээний байршил: Place the camera on a flat, stable surface. Ensure adequate ventilation around the unit.
- Хананд/таазны бэхэлгээ: Securely attach the camera to a wall or ceiling using a compatible mounting bracket. Follow the bracket's specific installation instructions. Ensure the camera is level and oriented correctly for your desired field of view.
3. Холбох кабель
Connect the necessary cables to the camera's rear panel. Refer to the port labels for correct connections.
- Эрчим хүч: Connect the provided power adapter to the DC IN port and then to a power outlet.
- Видео гаралт: Connect an HDMI, SDI, or IP cable to your display or streaming device. The camera supports 4K resolution output.
- USB: Connect a USB cable to the USB port for direct connection to a computer for video and control.
- Сүлжээ (LAN): Connect an Ethernet cable to the LAN port for IP streaming and network control.
- Аудио оролт: Connect external microphones or audio sources to the audio input ports if required.
4. Анхдагч асаалт
After all connections are secure, plug the power adapter into an electrical outlet. The camera will perform a self-test, and the indicator light will illuminate. Allow a few moments for the camera to initialize.
Камер ажиллуулах
1. Үндсэн удирдлага
The TR333V2 can be controlled via a remote control, web interface, or third-party control systems. Basic functions include:
- Пан/Хазайлгах/Томруулах (PTZ): Adjust the camera's horizontal (pan), vertical (tilt), and optical zoom (30x) to frame your subject.
- Фокус: The camera features auto-focus. Manual focus adjustment may be available via the web interface for specific scenarios.
- Урьдчилан тохируулсан зүйлс: Save and recall specific camera positions (pan, tilt, zoom, focus) for quick scene changes.
2. Auto-Tracking Features
The TR333V2 incorporates advanced AI technology for automatic tracking. This feature allows the camera to follow a presenter or subject without manual intervention.
- Илтгэгчийг хянах: The camera identifies and follows a designated speaker within the defined tracking area.
- Бүсийг хянах: Define specific zones within the camera's field of view. The camera will track subjects moving within these predefined zones.
- Тохиргоо: Auto-tracking settings, including tracking sensitivity and exclusion zones, are configured via the camera's web интерфейс. -д хандана уу web interface manual for detailed setup.
3. Шууд дамжуулалт ба бичлэг
The camera supports 4K live streaming and can output video simultaneously via USB and IP.
- IP дамжуулалт: Configure streaming protocols (e.g., RTMP, RTSP) via the web interface to stream directly to platforms or media servers.
- USB гаралт: Connect the camera to a computer via USB for use with video conferencing software or recording applications.
4. Web Интерфейсийн хандалт
To access advanced settings and features, open a web browser and enter the camera's IP address. The default IP address can usually be found in the quick start guide or obtained using AVer's IP Finder utility. Log in with the default username and password (refer to your quick start guide for credentials).
Засвар үйлчилгээ
1. Цэвэрлэгээ
Regularly clean the camera lens and body to ensure optimal performance and image quality.
- Линз: Use a soft, lint-free cloth specifically designed for optical lenses. If necessary, use a small amount of lens cleaning solution. Avoid abrasive materials or harsh chemicals.
- Их бие: Wipe the camera body with a soft, dry cloth. Do not use liquid cleaners directly on the camera.
2. Програм хангамжийн шинэчлэлтүүд
AVer-ийг үе үе шалгаж байгаарай website for firmware updates. Firmware updates can improve performance, add new features, and resolve known issues. Follow the instructions provided with the firmware update package carefully.
3. Хадгалах
If storing the camera for an extended period, disconnect all cables, power off the unit, and store it in a dry, dust-free environment at a moderate temperature. Use the original packaging if available.
Алдааг олж засварлах
This section addresses common issues you might encounter with the AVer TR333V2 camera.
| Асуудал | Боломжит шалтгаан | Шийдэл |
|---|---|---|
| Эрчим хүчний үзүүлэлт байхгүй | Power cable disconnected; Power outlet faulty | Цахилгааны кабелийн холболтыг шалгана уу; Өөр залгуурыг туршаад үзээрэй |
| Видео гаралт байхгүй | Video cable disconnected/faulty; Incorrect input selected on display; Camera not initialized | Verify video cable connections; Select correct input on display; Wait for camera initialization |
| Auto-tracking not working | Tracking feature disabled; Incorrect tracking zone setup; Insufficient lighting; Subject too far/small | Enable tracking via web interface; Reconfigure tracking zones; Ensure adequate lighting; Adjust camera position or zoom |
| Нэвтрэх боломжгүй web интерфейс | Incorrect IP address; Network cable disconnected; Firewall blocking access | Verify camera's IP address; Check network cable; Temporarily disable firewall or add exception |
If the problem persists after attempting these solutions, please contact AVer technical support.
Үзүүлэлтүүд
The following table details the key specifications of the AVer TR333V2 4K PTZ Camera.
| Онцлог | Дэлгэрэнгүй |
|---|---|
| Брэнд | AVer |
| Загварын дугаар | TR333V2 |
| Зүйлийн жин | 9 фунт |
| Видео бичлэгийн нягтрал | 480p, 720p (Supports 4K UHD output) |
| Оптик томруулалт | 30 х |
| Дижитал томруулах | 30 х |
| Линзний төрөл | Томруулах |
| Фокусын төрөл | Автомат фокус |
| Form Factor | Компакт |
| Буудлагын горимууд | Автомат |
| Зураг тогтворжуулах | Үгүй |
Баталгаат болон дэмжлэг
Баталгаат хугацааны мэдээлэл
AVer products are backed by a limited warranty. The specific terms and duration of your warranty may vary by region and product. Please refer to the warranty card included with your product or visit the official AVer webбаталгааны дэлгэрэнгүй мэдээллийг авах сайт.
Техникийн дэмжлэг
For technical assistance, troubleshooting beyond this manual, or warranty claims, please contact AVer customer support. You can find contact information, FAQs, and additional resources on the official AVer webсайт: