1. Танилцуулга
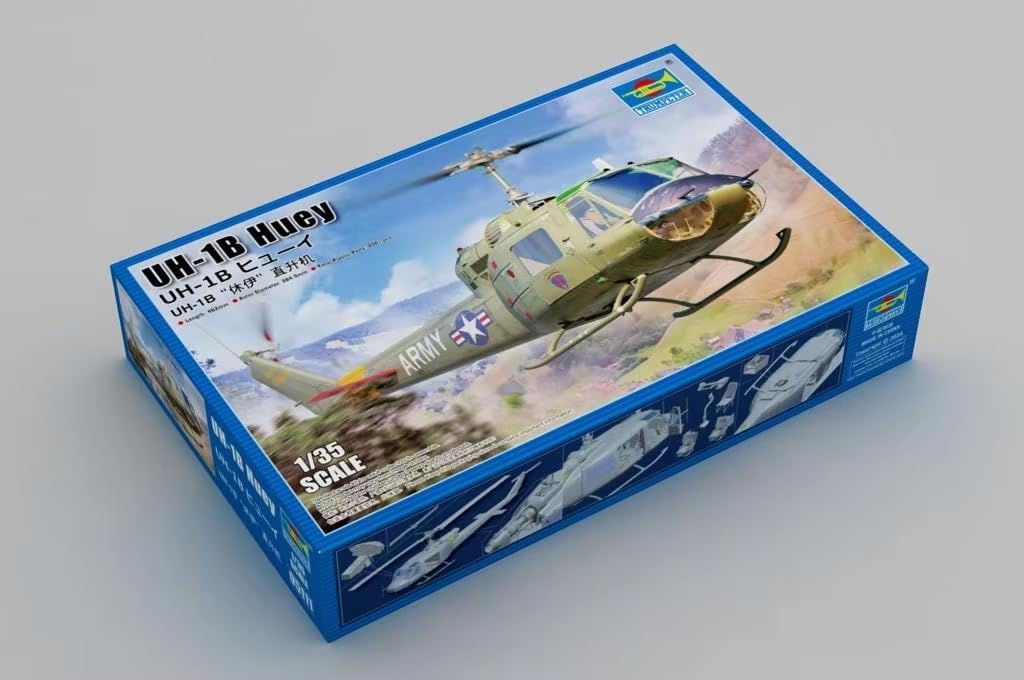
Худалдан авалт хийсэнд баярлалааasing the Trumpeter 05111 1/35 Scale UH-1B Huey Model Kit. This kit allows you to construct a detailed replica of the iconic Bell UH-1 Iroquois helicopter, commonly known as the "Huey." This manual provides comprehensive instructions for assembling your model, along with important safety information, maintenance tips, and product specifications. Please read through all instructions carefully before beginning assembly.

Image 1.1: The Trumpeter 05111 1/35 Scale UH-1B Huey Model Kit box art, showing the finished helicopter in flight.
2. Аюулгүй байдлын мэдээлэл
Model building involves small parts and sharp tools. Please observe the following safety precautions:
- Жижиг хэсгүүд: Энэ хэрэгсэл нь хахаж цацах аюул учруулж болзошгүй жижиг хэсгүүдийг агуулдаг. Бага насны хүүхдүүдийн гар хүрэхгүй газар хадгална уу.
- Хурц багаж хэрэгсэл: Use hobby knives, clippers, and other tools with extreme care. Always cut away from your body.
- Цавуу болон будаг: Use model adhesives and paints in a well-ventilated area. Refer to the specific product's safety data sheet for handling instructions. Avoid prolonged skin contact and inhalation of fumes.
- Нүд хамгаалах: Нисдэг хог хаягдлаас болж гэмтэхээс сэргийлж, эд ангиудыг зүсэх эсвэл зүлгэхдээ нүдний хамгаалалт зүүхийг зөвлөж байна.
3. Тохиргоо ба бэлтгэл
3.1. Багцын агуулга
Эхлэхийн өмнө бүх эд ангиуд байгаа эсэхийг шалгаарай. Таны хэрэгсэлд дараахь зүйлс багтсан байх ёстой.
- Plastic sprues with model parts (approximately 150 pieces)
- Clear parts for canopy and windows
- Декал хуудас
- Зааварчилгааны товхимол (энэхүү гарын авлага)
Note: Glue and paint are not included in this kit and must be purchased separately.
3.2. Санал болгож буй хэрэгслүүд
Дараах хэрэгслийг угсрахад ашиглахыг зөвлөж байна:
- Side cutters or sprue nippers
- Hobby knife with a sharp blade
- Хуванцар цемент (загвар цавуу)
- Нарийн ширхэгтэй зүлгүүр эсвэл зүлгүүрийн саваа
- хясаа
- Paint brushes (various sizes) and model paints (acrylic or enamel)
- Masking tape (for painting clear parts)
Зураг 3.1: Жишээ ньample of unassembled plastic parts on sprues. Carefully remove parts as needed.
4. Угсрах заавар
Follow these steps carefully. Refer to the diagrams in your physical instruction booklet for detailed part identification and placement. Test-fit parts before applying glue.
4.1. Cockpit Assembly
- Carefully remove cockpit floor, seats, instrument panel, and control sticks from their sprues.
- Clean any mold lines or flash using a hobby knife or sandpaper.
- Paint cockpit interior parts according to your desired scheme (e.g., dark grey for floor, black for instrument panel, olive drab for seats). Allow paint to dry completely.
- Apply decals to the instrument panel if provided.
- Glue seats, instrument panel, and control sticks to the cockpit floor.
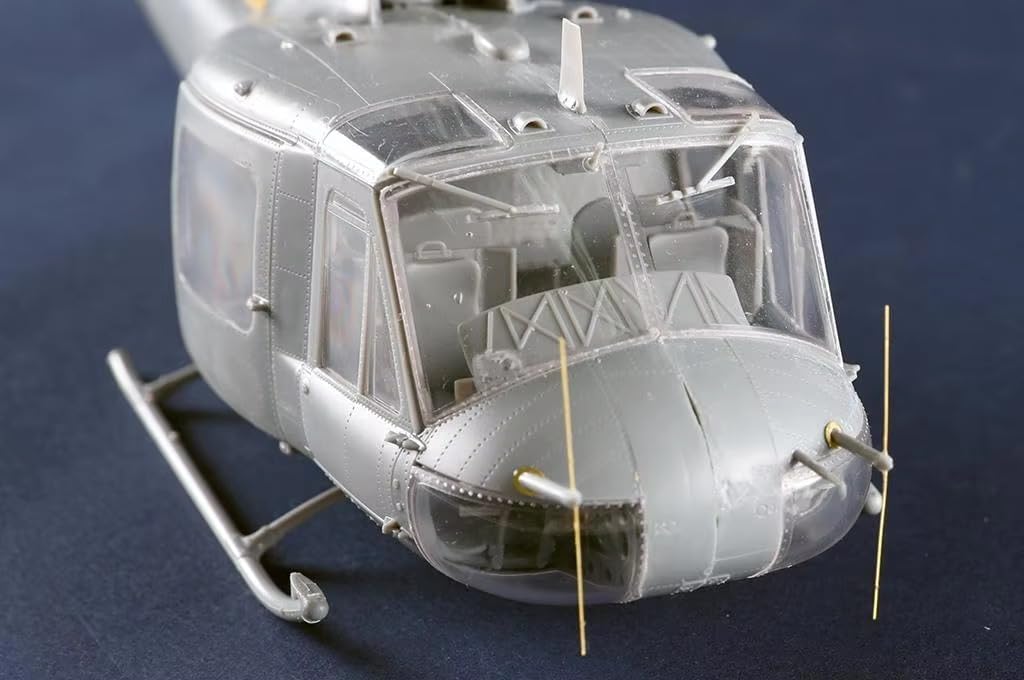
Зураг 4.1: Нарийвчилсан view of the cockpit area, showing the clear canopy and interior components.
4.2. Fuselage Assembly
- Glue the assembled cockpit into one half of the fuselage. Ensure proper alignment.
- Attach any interior details (e.g., cabin walls, rear seats) to the fuselage halves.
- Carefully join the two fuselage halves together. Apply plastic cement sparingly along the seams. Hold firmly until the glue sets.
- Once dry, sand down any visible seams to create a smooth surface.
- Attach the clear canopy and window parts. Use a clear-part-friendly adhesive to avoid fogging. Mask off clear parts before painting the main fuselage.

Зураг 4.2: Хажуу тал view of the partially assembled fuselage, showing the main body structure.
4.3. Landing Gear and Tail Boom
- Assemble the landing skids and attach them to the underside of the fuselage. Ensure they are level and securely glued.
- Assemble the tail boom components, including the tail rotor shaft and horizontal stabilizers.
- Attach the assembled tail boom to the rear of the fuselage.

Зураг 4.3: Ар талд view of the partially assembled model, highlighting the tail boom and landing gear.
4.4. Main Rotor and Detailing
- Assemble the main rotor hub and blades. Pay close attention to the pitch and alignment of the blades.
- Attach the main rotor assembly to the top of the fuselage. Some kits allow for a rotating rotor; ensure it moves freely if designed to.
- Assemble and attach any external details such as antennas, exhaust pipes, and weaponry (if included).
- Paint the entire model according to your chosen color scheme. Refer to historical references for accurate UH-1B Huey colors.
- Apply decals once the paint is fully dry. Use decal setting solutions for a seamless look.
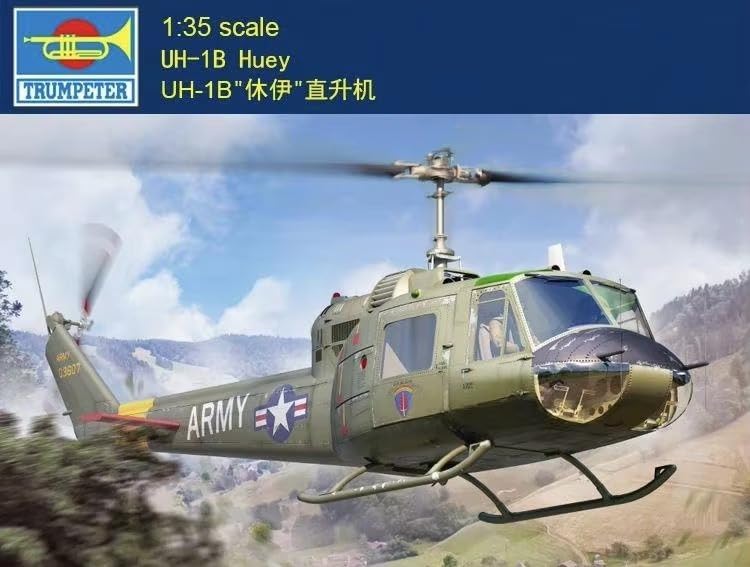
Image 4.4: A completed UH-1B Huey model, showcasing the main rotor and fine details.
5. Засвар үйлчилгээ, арчилгаа
To ensure the longevity and appearance of your finished model:
- Цэвэрлэгээ: Dust your model regularly with a soft brush or a can of compressed air. Avoid using harsh chemicals or abrasive cloths.
- Дэлгэц: Display your model in a cool, dry place away from direct sunlight to prevent fading and warping. A display case can protect it from dust and accidental damage.
- Харьцуулах: Handle the model by its sturdy parts, such as the fuselage, and avoid touching delicate components like antennas or rotor blades.
6. Алдаа засах
Загвар угсрах явцад гарч ирдэг нийтлэг асуудлуудын шийдлүүдийг энд оруулав.
- Тохирохгүй хэсгүүд:
- Ensure you are using the correct parts as indicated in the instruction diagrams.
- Check for excess plastic (flash) on the parts and carefully remove it with a hobby knife or sandpaper.
- Test-fit parts without glue first. If still tight, gently sand the mating surfaces.
- Харагдах оёдол:
- After gluing fuselage halves, allow sufficient drying time.
- Sand the seams smooth with progressively finer grits of sandpaper.
- For stubborn seams, apply a small amount of plastic putty, let it dry, then sand smooth.
- Наалт мөнгөлөг:
- Apply decals over a glossy surface. A clear gloss coat can be applied before decals.
- Use decal setting solutions (e.g., Micro Sol, Micro Set) to help decals conform to surfaces and eliminate air bubbles.
- Once dry, apply a clear flat or satin coat to seal the decals and blend them with the paint.
7. Техникийн үзүүлэлтүүд
| Загварын нэр: | UH-1B Huey |
| Загварын дугаар: | 05111 |
| Хэмжээ: | 1/35 |
| Материал: | Хуванцар |
| Хэсгийн тоо: | 150 орчим |
| Санал болгож буй нас: | Teen (14+) |
| Угсарсан хэмжээсүүд (Урт x Өргөн x Өндөр): | Approx. 39.37 x 2.36 x 3.94 inches (Note: These dimensions are based on product packaging and may not reflect the exact assembled model size.) |
| Барааны жин: | 1 Pound (unassembled kit) |
8. Баталгаат хугацаа ба дэмжлэг
For any missing or defective parts, please contact the retailer or manufacturer directly. Keep your proof of purchase. Specific warranty details may vary by region and retailer. For further assistance or inquiries, please refer to the contact information provided on the product packaging or the manufacturer's official webсайт.


