1. Танилцуулга
This manual provides detailed instructions for the installation, operation, and maintenance of your Jennov 5MP Wireless Security Camera System P48. This system includes an 8-channel NVR with a built-in monitor and four 5MP wireless cameras, designed for both indoor and outdoor surveillance. Please read this manual thoroughly before using the product to ensure proper setup and functionality.
2. Багцын агуулга
Verify that all items listed below are included in your package. If any items are missing or damaged, please contact Jennov customer support.
- 4 x Security Cameras (Outdoor Wireless)
- 1 x NVR Monitor
- 1 x P48 Security System (Integrated NVR with Monitor)
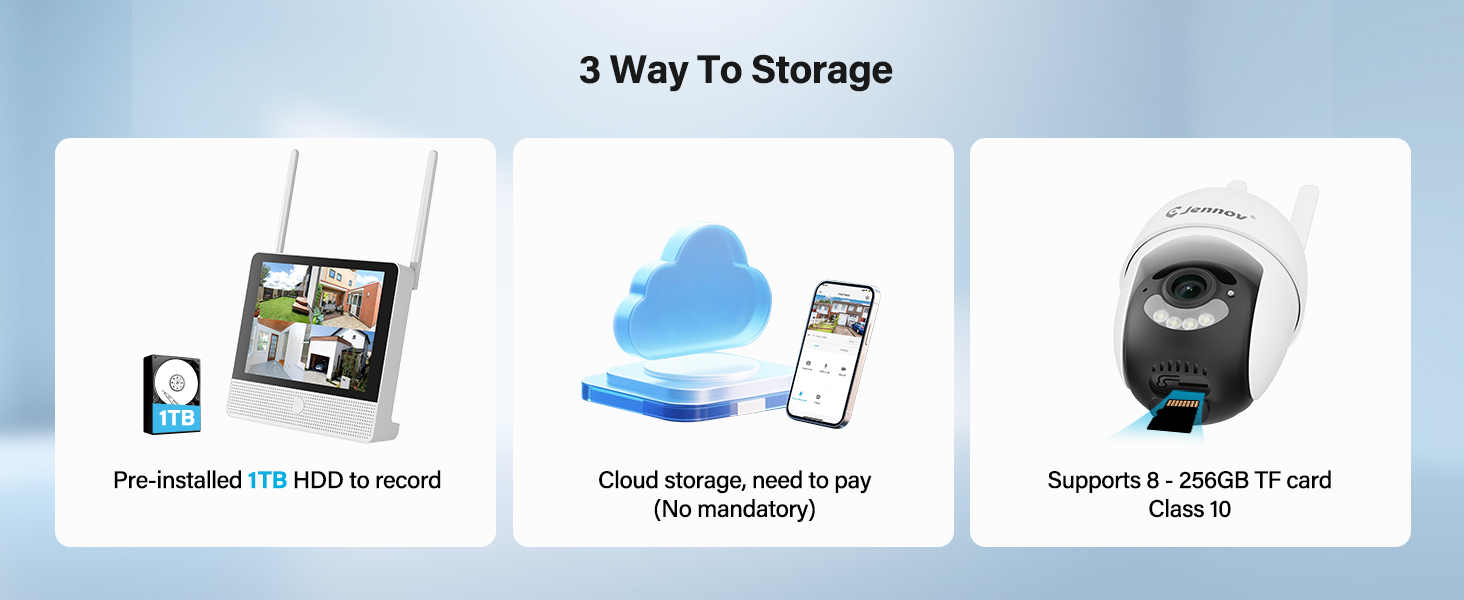
- 1 x 1TB Hard Disk (Pre-installed)
- 1 х Ethernet кабель
- 1 х хулгана
- 4 x Hole Stickers (for camera mounting)
- 4 x Camera Bases
- 1 х NVR цахилгаан хангамж
- 4 x Camera Power Supplies
- 1 x HDMI кабель
- 1 x анхааруулах наалт
- 1 х хэрэглэгчийн гарын авлага (энэ баримт бичиг)
- 1 x Screws Pack (for mounting)
3. Бүтээгдэхүүн дууссанview
The Jennov P48 system is a comprehensive wireless security solution designed for ease of use and reliable performance. Key features include:
- 5MP HD нягтрал: Cameras capture clear, detailed video.
- Утасгүй холболт: Cameras connect to the NVR wirelessly, simplifying installation.
- 1TB HDD Storage: Pre-installed hard drive for local recording without subscription fees.
- Шөнийн хараа: Enhanced visibility in low-light conditions up to 15 meters.
- Хөдөлгөөн илрүүлэх: Хөдөлгөөнийг илрүүлэх үед бичлэг хийж, дохио өгдөг.
- IP66 цаг агаарт тэсвэртэй: Cameras are designed to withstand various outdoor weather conditions.
- Залгаад Тоглуулах: Simple setup with cameras pre-paired to the NVR.
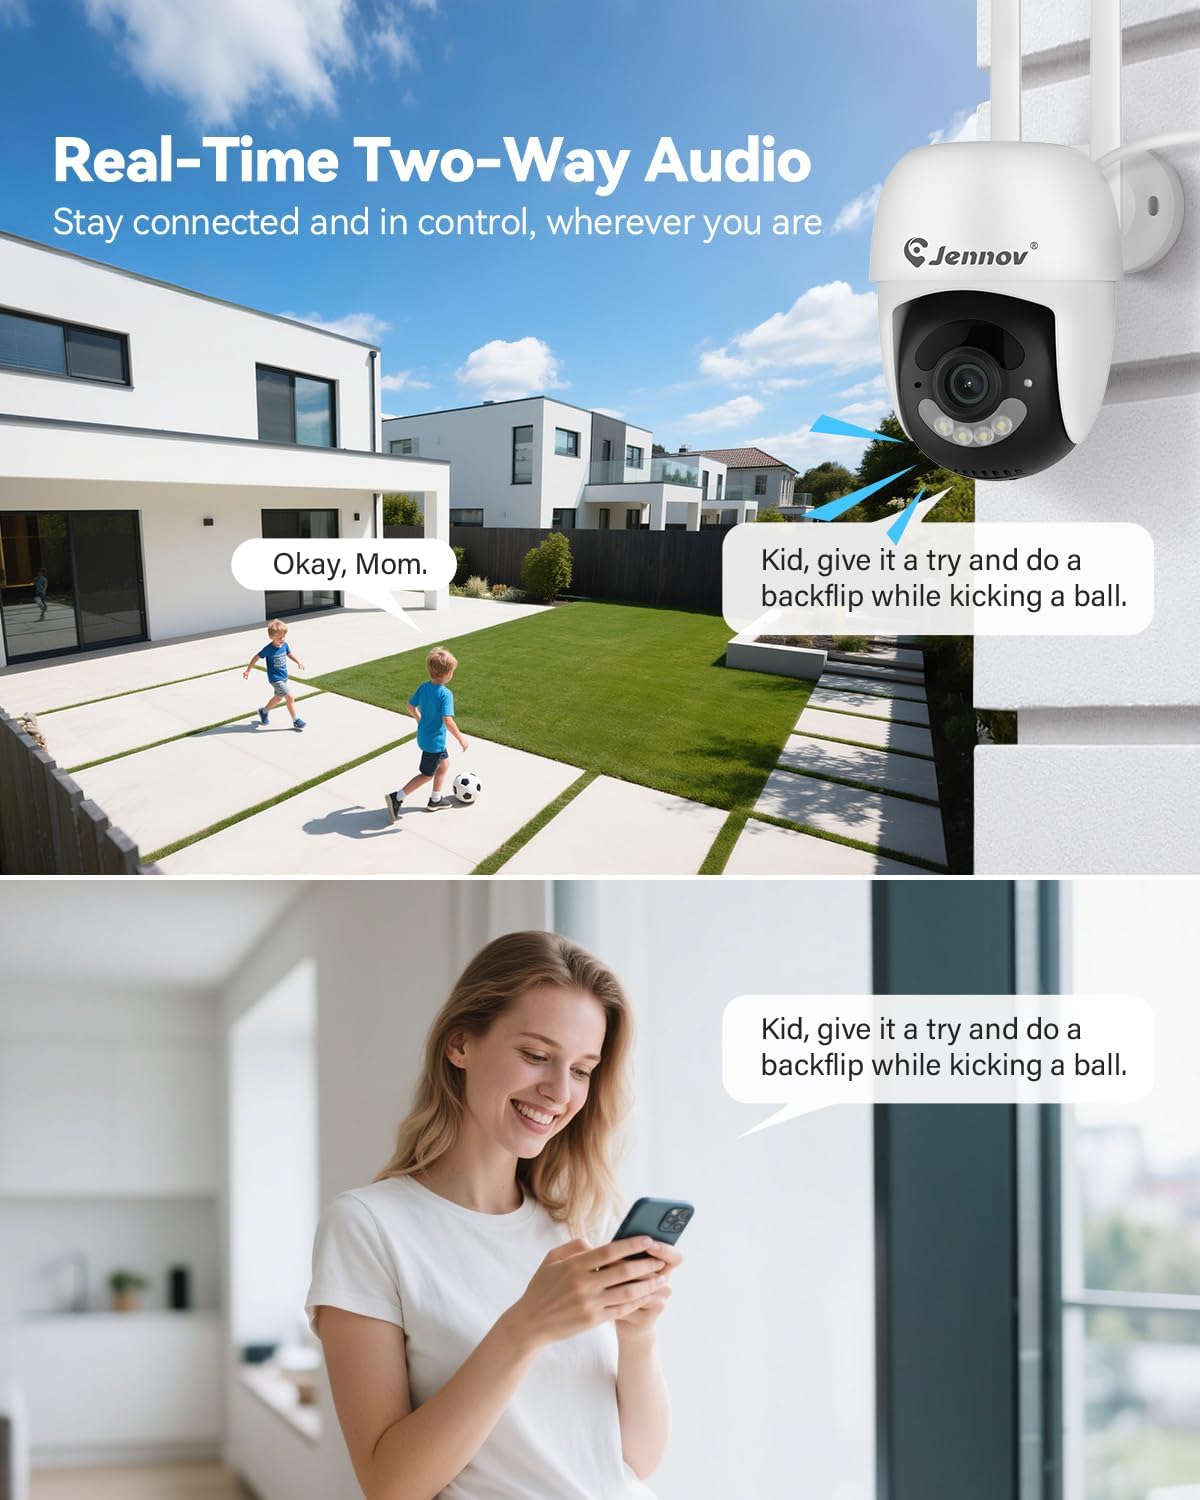
- Хоёр талын аудио: Communicate through the cameras using the mobile app.
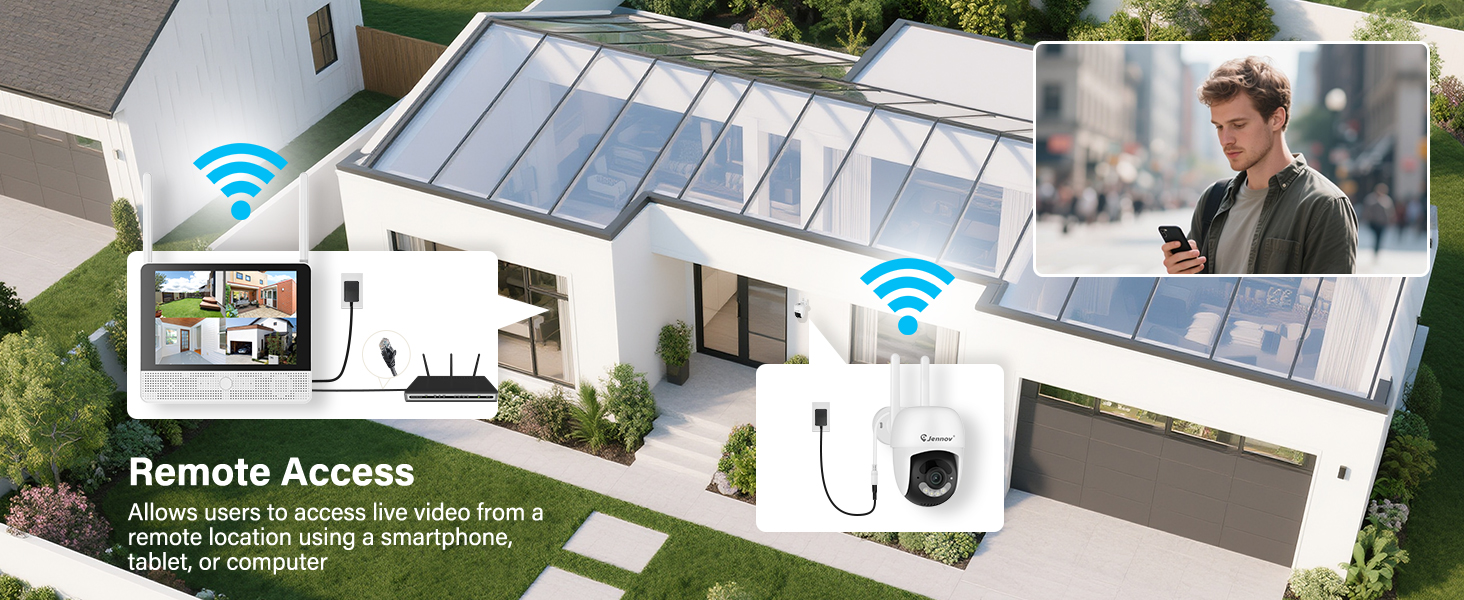
- Алсын хандалт: View live feeds and recordings from anywhere via the Jennov app.
3.1 Системийн бүрэлдэхүүн хэсгүүд

The system consists of a Network Video Recorder (NVR) with an integrated monitor and four wireless IP cameras. The NVR manages video recording, storage, and provides a local viewing interface. The cameras capture video and transmit it wirelessly to the NVR.
3.2 NVR Ports and Connections
- Эрчим хүчний порт: Connect the NVR power adapter.
- USB порт: For connecting the included mouse or a USB drive for backup.
- HDMI порт: Connect to an external monitor for larger display (optional).
- LAN порт: Connect to your router for internet access and remote viewing.
- Дахин тохируулах товч: Used to reset the NVR to factory settings.
- SD картны үүр: For additional local storage (supports up to 256GB TF card, Class 10).
4. Тохируулах гарын авлага
4.1 Initial NVR Setup
- Эрчим хүчийг холбох: Connect the NVR power adapter to the Power Port and plug it into an electrical outlet. The NVR will power on automatically.
- Хулгана холбох: Plug the included USB mouse into the USB Port on the NVR.
- Анхны ачаалах: The NVR will boot up and display the live view from the pre-paired cameras on its integrated monitor.
- Сүлжээний холболт (Алсын зайнаас хандахад заавал биш): Алсын хувьд viewing via the mobile app, connect the NVR's LAN Port to your internet router using the provided Ethernet cable.
4.2 Камер суурилуулах
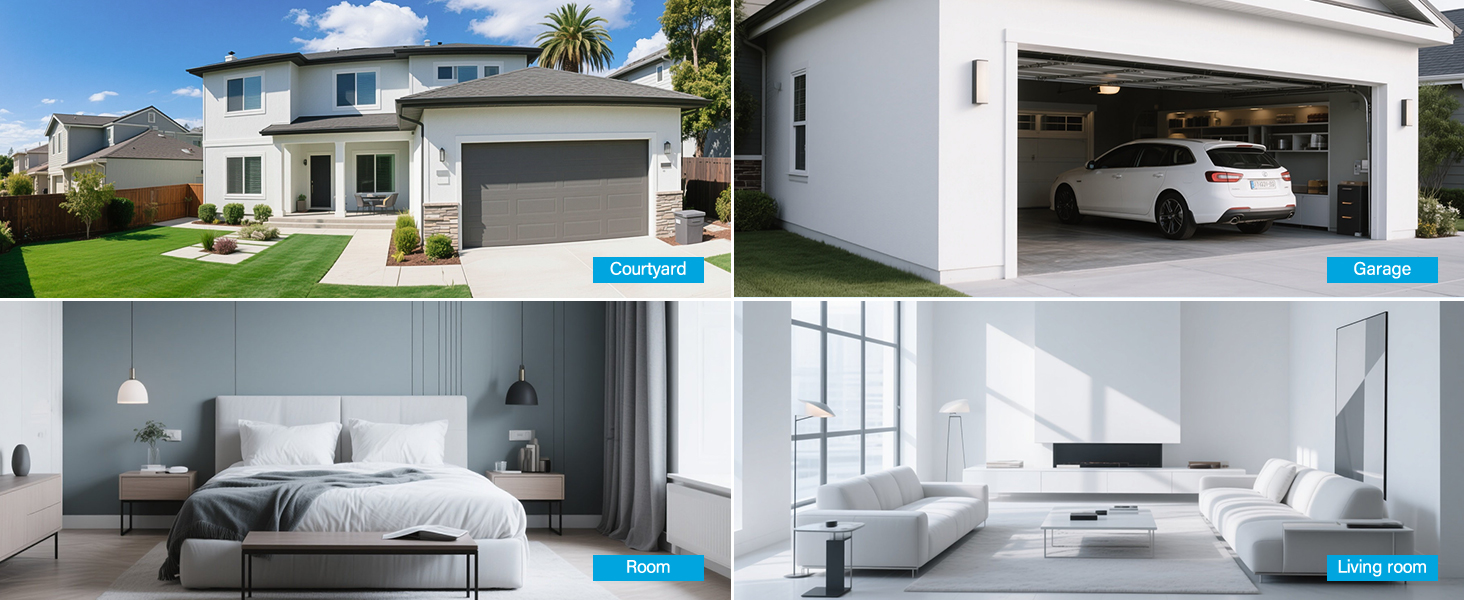
The cameras are designed for both indoor and outdoor use (IP66 rated). Choose mounting locations that provide optimal coverage and are within range of a power outlet.
- Байршлыг сонгох: Identify suitable locations for each camera. Consider areas like entryways, driveways, garages, and backyards. Ensure the camera has a clear line of sight to the area you wish to monitor.
- Суурилуулалт:
- Use the included hole stickers to mark drilling points on the wall or ceiling.
- Шаардлагатай бол чиглүүлэгч нүх өрөмдөж, хананы зангууг оруулна уу.
- Secure the camera base using the provided screws.
- Attach the camera to the base and adjust its angle.
- Эрчим хүчийг холбох: Connect each camera to its individual power adapter and plug it into an electrical outlet. The cameras will power on and automatically connect to the NVR.
Жич: The cameras are pre-paired to the NVR. If a camera does not display a live feed, ensure it is powered on and within wireless range of the NVR. You may need to re-pair it if issues persist (refer to Troubleshooting section).
5. Ашиглалтын заавар
5.1 Амьд View болон Навигац
Once the system is powered on, the NVR's integrated monitor will display the live feeds from all connected cameras. Use the included mouse to navigate the NVR interface.
- Үндсэн цэс: Шууд нэвтрүүлгийн аль ч хэсэгт хулганы баруун товчийг дарна уу view дэлгэц дээр дарж үндсэн цэс рүү орно.
- Суваг солих: Click on a specific camera feed to view it in full screen, or use the layout options to change the multi-camera display.
5.2 Бичлэг хийх, тоглуулах
The system records continuously to the pre-installed 1TB HDD. Recording settings can be adjusted via the NVR's menu.
- Үргэлжлүүлэн бичлэг хийх: The system is configured for 24/7 continuous recording by default.
- Хөдөлгөөнөөр идэвхжүүлсэн бичлэг: You can configure cameras to record only when motion is detected, saving storage space.
- Тоглуулах: From the main menu, select "Playback" to review foo бүртгэгдсэнtage. You can search by date, time, and event type (e.g., motion detection).
5.3 Хөдөлгөөн илрүүлэх ба дохиолол
The cameras feature smart motion detection to alert you to activity.
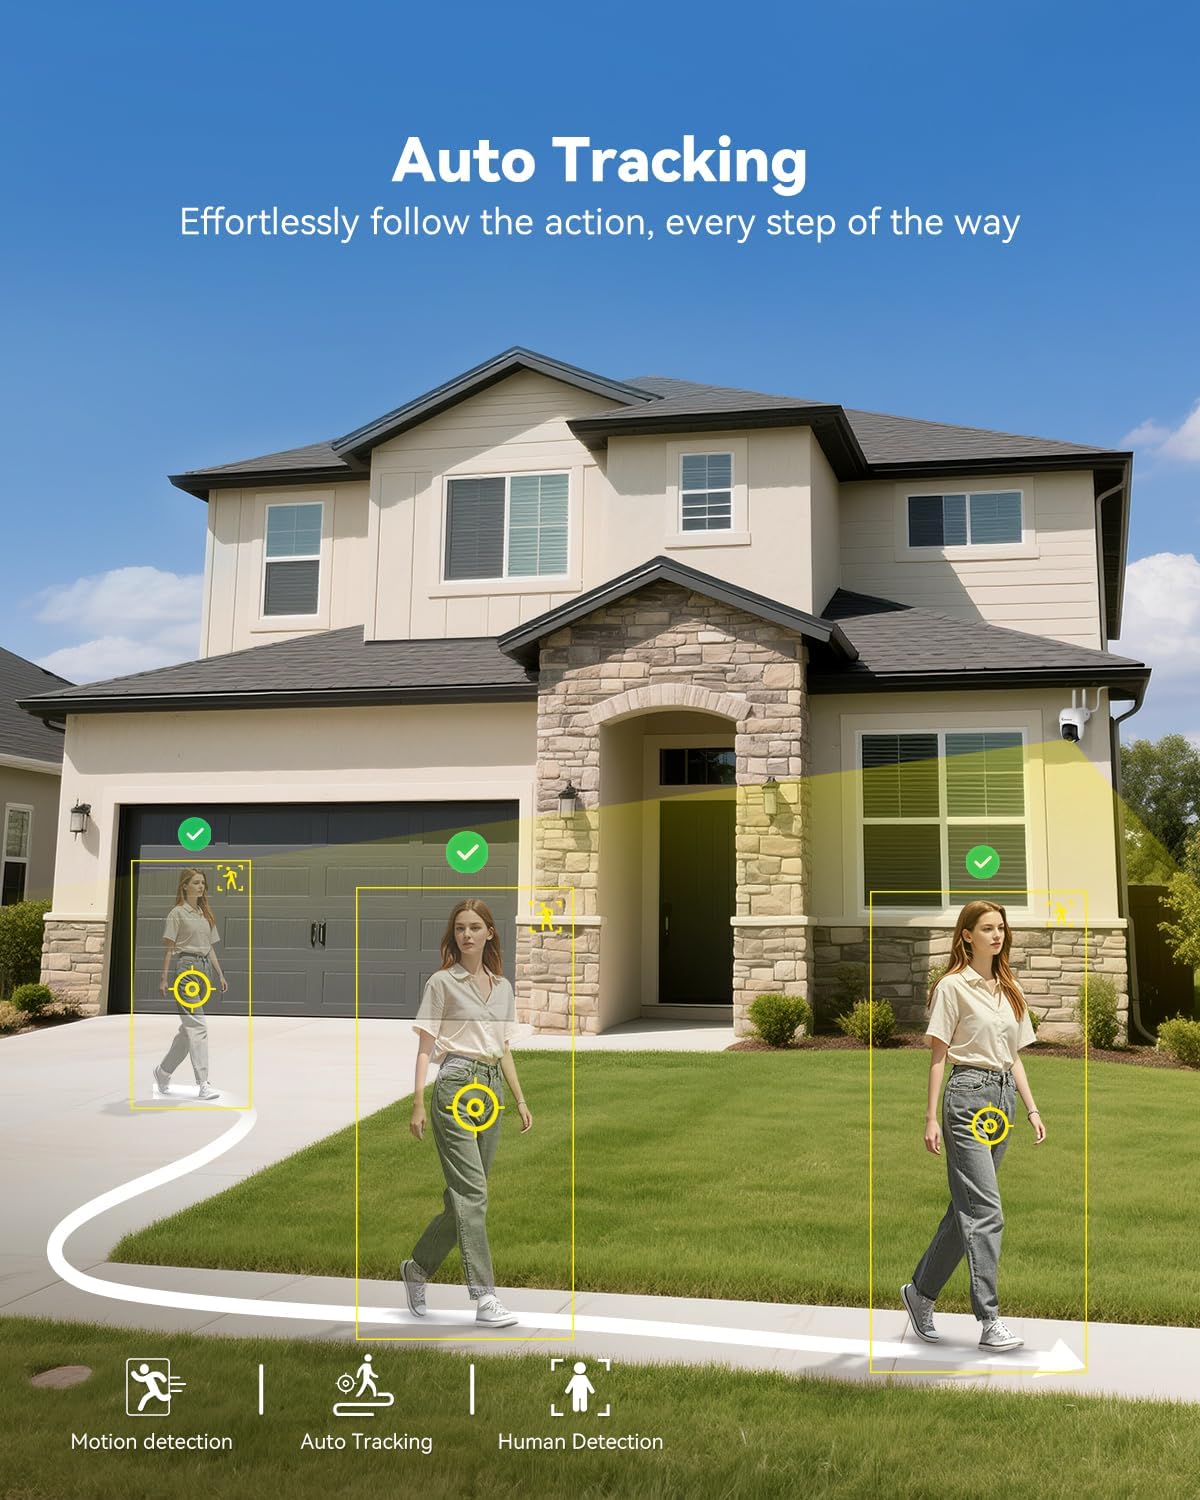
- Тохиргоо: Access motion detection settings from the NVR's main menu. You can define detection zones and sensitivity levels for each camera.
- Анхааруулга: When motion is detected, the system can trigger recordings, send push notifications to your mobile app (if configured), and activate audible alarms or spotlights on the camera (if supported and enabled).

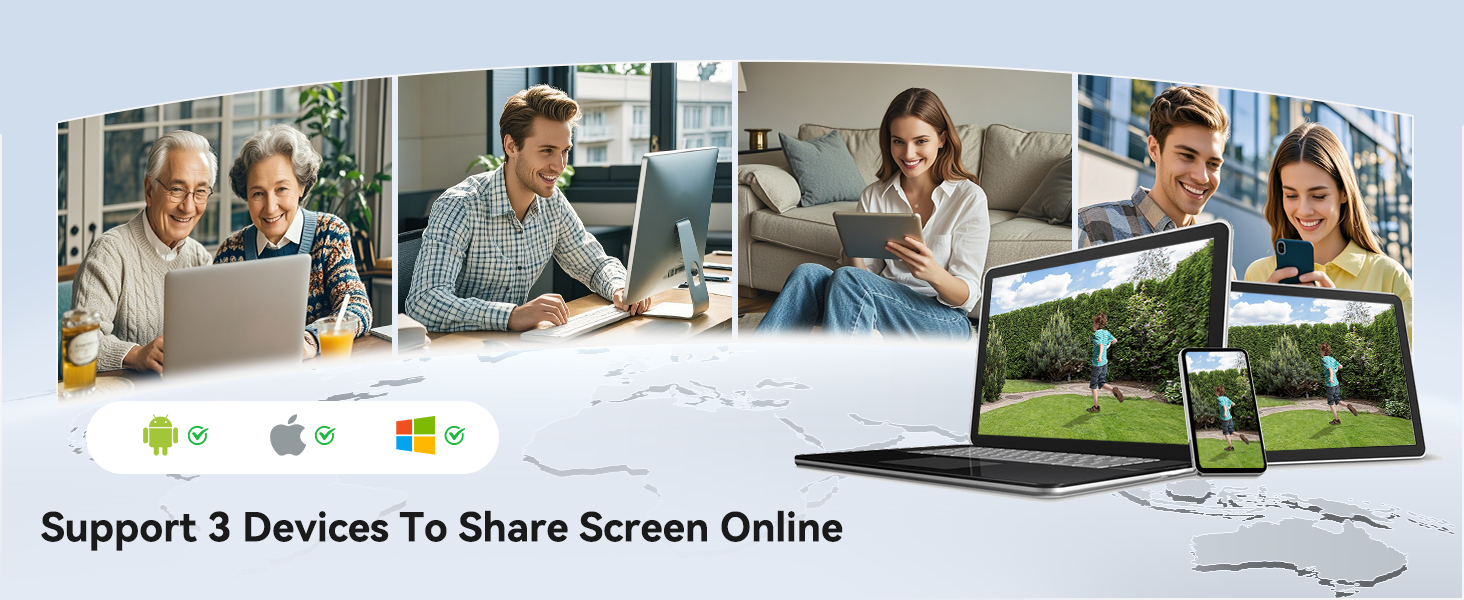
5.4 Remote Access (Jennov App)
руу view your cameras remotely, download the Jennov app on your smartphone or tablet.
- Апп татаж авах: хайх "Jennov" in your device's app store (iOS or Android).
- Бүртгэл бүртгүүлэх: Create a new user account within the app.
- Төхөөрөмж нэмэх: Follow the in-app instructions to add your NVR system. This typically involves scanning a QR code displayed on the NVR's monitor or entering the device ID manually.
- Амьд View & Тоглуулах: Нэгэнт нэмсэн бол та чадна view live feeds, play back recordings, and receive alerts directly on your mobile device.
5.5 Хоёр талын аудио
Each camera is equipped with a microphone and speaker, enabling two-way communication through the Jennov app.
- Идэвхжүүлэх: Амьдаар view of a specific camera on the app, locate the microphone icon. Tap it to speak, and your voice will be transmitted through the camera's speaker.
- Сонсох: The camera's microphone will pick up audio from its surroundings, which you can hear through the app.
5.6 Шөнийн хараа
The cameras automatically switch to night vision mode in low-light conditions, providing clear surveillance even in darkness.

- Автоматаар идэвхжүүлэх: Infrared (IR) LEDs enable black-and-white night vision. Some models may also offer color night vision under certain conditions (e.g., with ambient light or activated spotlight).
- Хүрээ: Night vision is effective up to 15 meters (50 feet).
6. Засвар үйлчилгээ
6.1 Хатуу дискний менежмент
The 1TB HDD will automatically overwrite the oldest footage when full. No manual intervention is typically required for continuous recording.
- Нөөц Footage: If you need to save specific recordings, use the NVR's backup function (via USB port) or download from the mobile app.
- HDD эрүүл мэндийн үзлэг: Periodically check the HDD status in the NVR's system settings to ensure proper functioning.
6.2 Цэвэрлэгээ
- Камерууд: Gently wipe camera lenses with a soft, damp cloth to remove dust or smudges. Do not use harsh chemicals.
- NVR: Keep the NVR monitor and unit free from dust. Use a dry, soft cloth for cleaning.
6.3 Програм хангамжийн шинэчлэлтүүд
Periodically check the Jennov website or contact customer support for available firmware updates. Updates can improve system performance, add new features, or address security vulnerabilities. Follow the provided instructions carefully when performing updates.
7. Алдаа засах
| Асуудал | Боломжит шалтгаан | Шийдэл |
|---|---|---|
| No image on NVR monitor | NVR not powered on; Power adapter faulty; Monitor cable loose. | Ensure NVR power adapter is securely connected and plugged in. Check power outlet. If using external monitor, ensure HDMI cable is connected properly. |
| Camera not displaying live feed | Camera not powered; Out of wireless range; Not paired with NVR. | Ensure camera power adapter is connected and plugged in. Move camera closer to NVR. If still no feed, re-pair the camera: access NVR menu, go to "Camera Management" and follow instructions to add/re-pair cameras. |
| Cannot access system via mobile app | NVR not connected to internet; Incorrect app settings; Firewall issues. | Ensure NVR is connected to your router via Ethernet cable. Verify your phone has internet access. Double-check device ID/QR code in the app. Ensure router firewall is not blocking NVR access. |
| Poor video quality or lag | Weak wireless signal; Obstructions; Interference. | Relocate camera or NVR to improve signal strength. Minimize obstructions (thick walls, metal objects). Avoid placing near other wireless devices that may cause interference. |
| Хөдөлгөөн мэдрэгч ажиллахгүй байна | Settings incorrect; Sensitivity too low; Detection zone not set. | Access NVR menu, go to "Motion Detection" settings. Adjust sensitivity, define detection zones, and ensure motion recording/alerts are enabled. |
8. Техникийн үзүүлэлтүүд
| Онцлог | Дэлгэрэнгүй |
|---|---|
| Брэнд | Женнов |
| Загварын дугаар | K4-P48HC55AS-V2108-1F2 (P48 System) |
| Холболтын технологи | Утасгүй |
| Видео бичлэгийн нягтрал | 5MP (Ultra-HD) |
| Сувгийн тоо | 8 (System includes 4 cameras, expandable) |
| Санах ойн хадгалах багтаамж | 1 TB HDD (pre-installed), supports up to 256GB TF card |
| Эрчим хүчний эх үүсвэр | Corded Electric (Outlet-Powered Cameras) |
| Хэмжээ (L x W x H) | 13.39 x 7.48 x 11.42 инч |
| Зөвлөмж болгож буй хэрэглээ | Indoor, Outdoor Surveillance |
| Шөнийн харааны хүрээ | 10-15 Meters (approx. 33-50 feet) |
| Цаг агаарын хамгаалалт | IP66 үнэлгээтэй |
| Ашиглалтын температур | -20°C - 60°C (-4°F - 140°F) |
9. Баталгаат хугацаа ба дэмжлэг
For warranty information, technical support, or any questions regarding your Jennov P48 Wireless Security Camera System, please refer to the warranty card included in your package or visit the official Jennov website. You can also contact Jennov customer service directly for assistance.
Jennov Official Webсайт: Visit Jennov Store on Amazon


